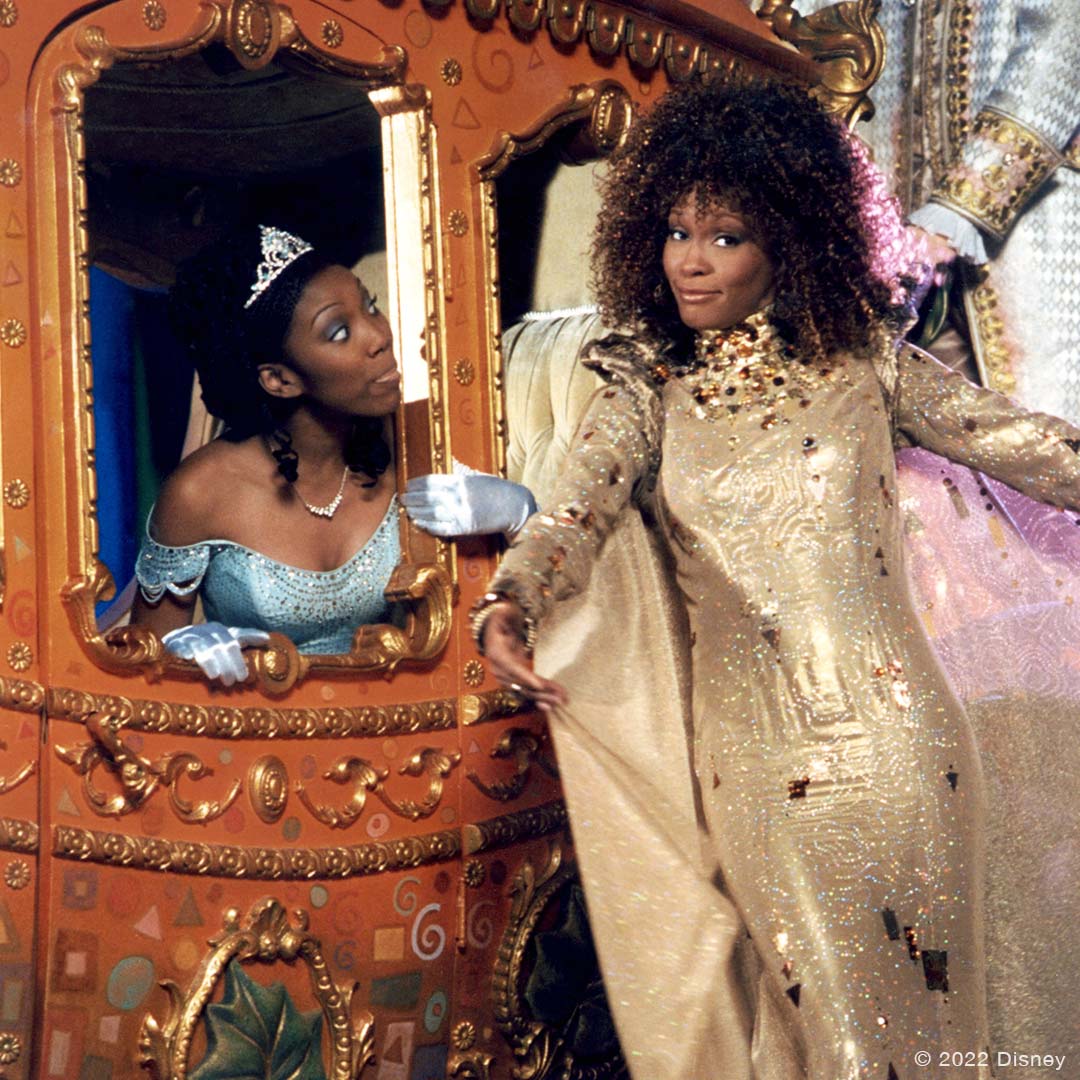
This year is the 25th anniversary of the 1997 version of Rodgers & Hammerstein’s Cinderella, starring Brandy and Whitney Houston. To celebrate, we partnered with one of our favorite crafty creators, IvyPINK, to create this Halloween pumpkin display inspired by Cinderella’s stunning carriage. Follow along with this easy, step-by-step tutorial - and after trick or treating, don’t forget to watch the iconic film on Disney+!
Pumpkin Carriage
Supplies Needed:
- One medium or large orange pumpkin, and two small white pumpkins
- An assortment of pumpkin carving tools
- A trash bag to dispose of pumpkin guts
- Metallic gold fabric pain
- Gold glitter
- Tacky glue
- Loose rhinestones and other embellishments
- Strips of rhinestones
- Scissors
- Optional: Wooden dowels to secure the pumpkin wheels
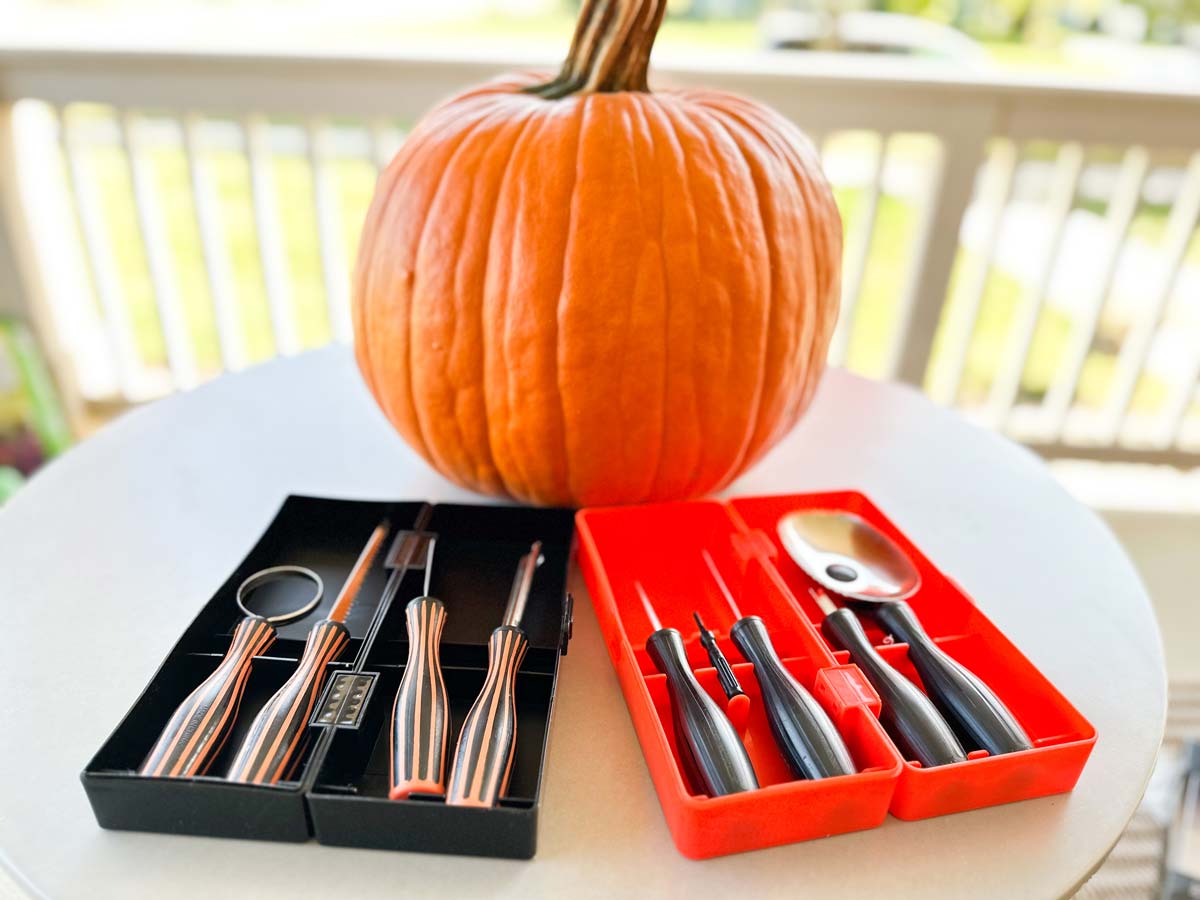
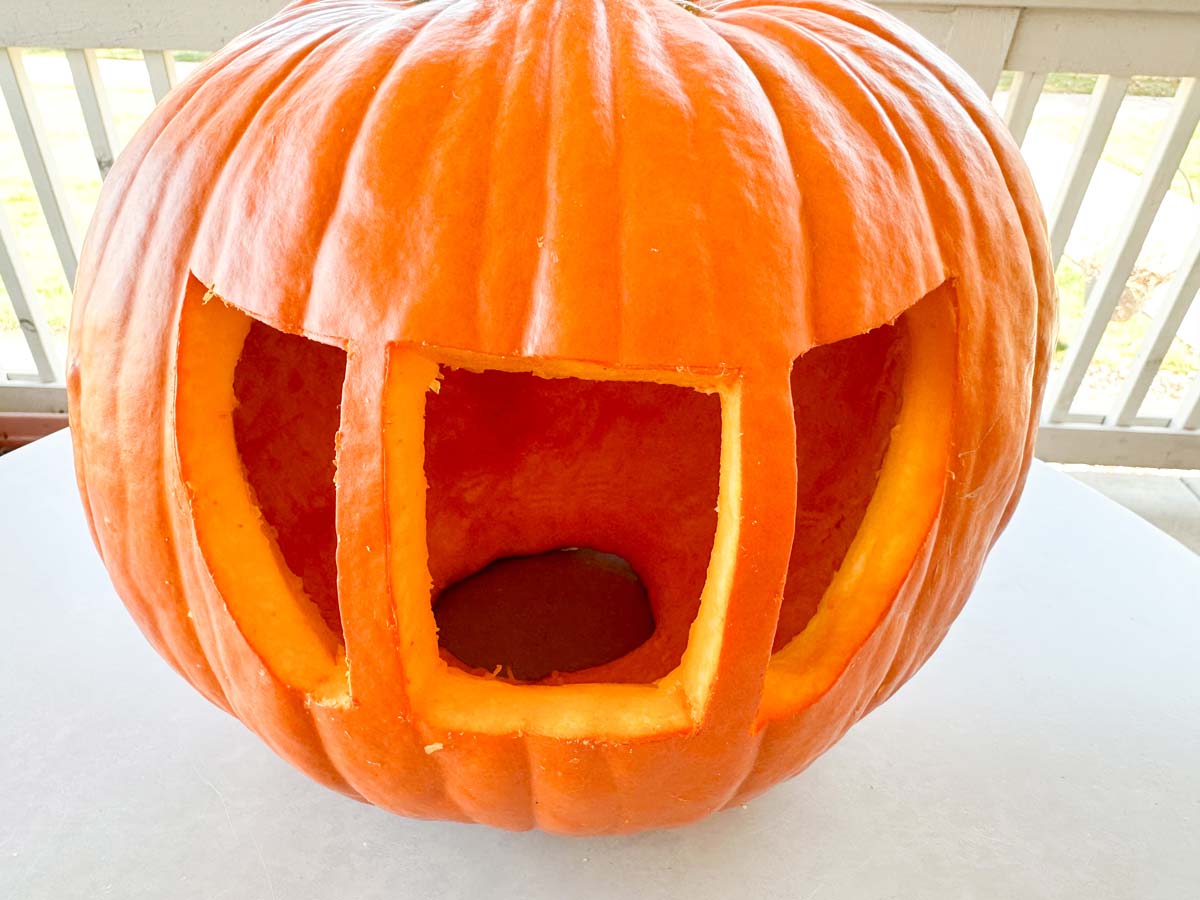
1. Pick out a round pumpkin that’s shaped like a carriage and grab your pumpkin carving tools.
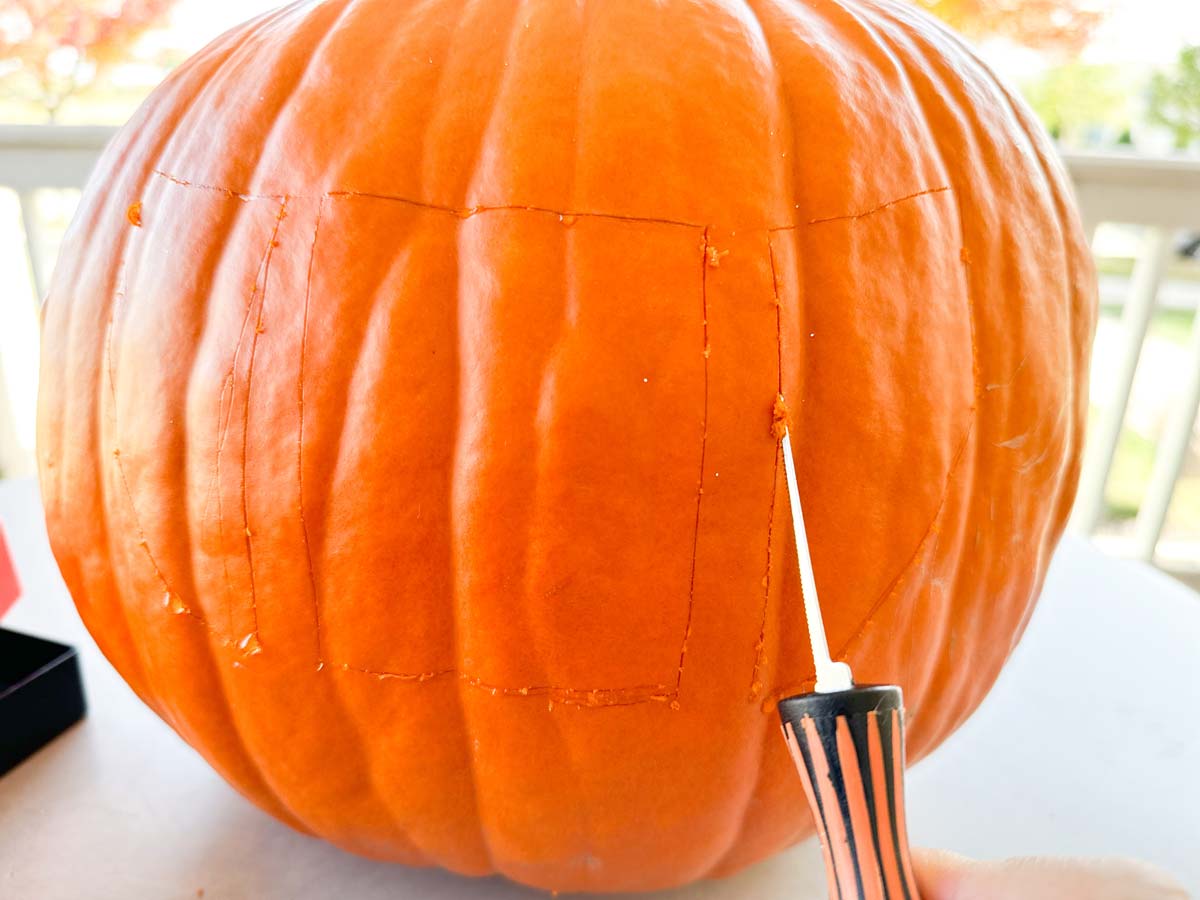
2. Use a thin knife to draw the windows, then carve out the window.
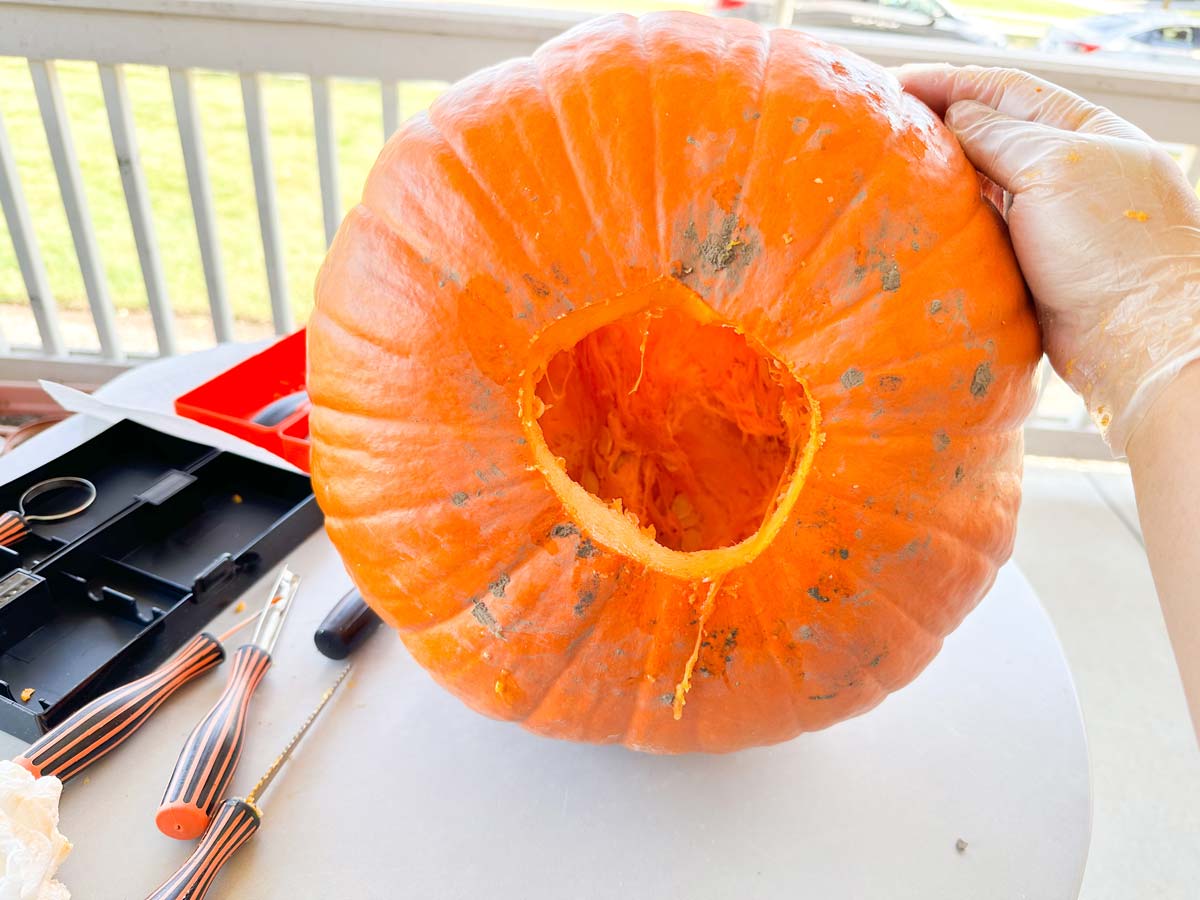
3. Make a hole at the bottom of the pumpkin to remove the pumpkin guts. Carve out from the bottom instead of the top – because we will be decorating the top later on!
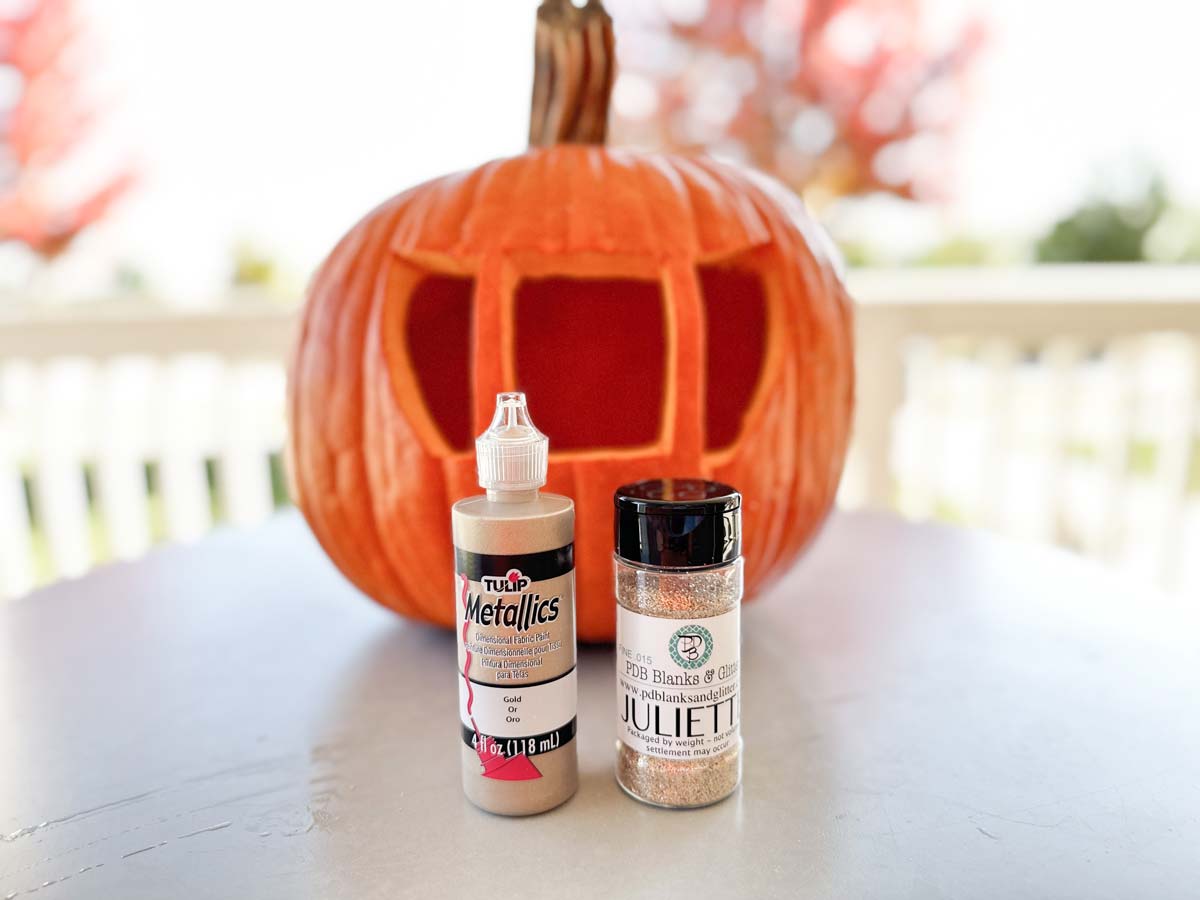
4. Once the pumpkin is ready, grab your metallic gold fabric paint and gold glitter.

5. The carriage used in the 1997 film featured beautiful gold details around the window. Use the fabric paint to replicate the details around your carved windows.
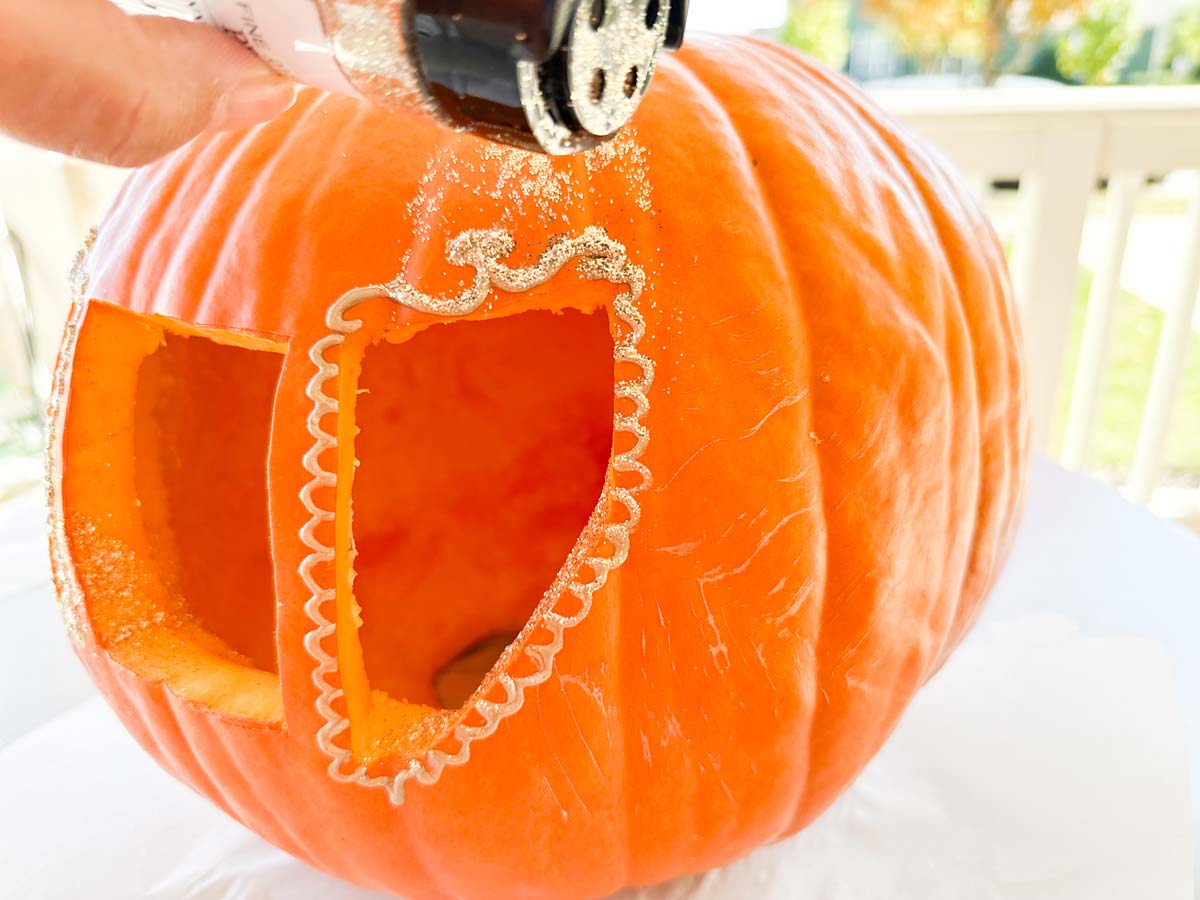

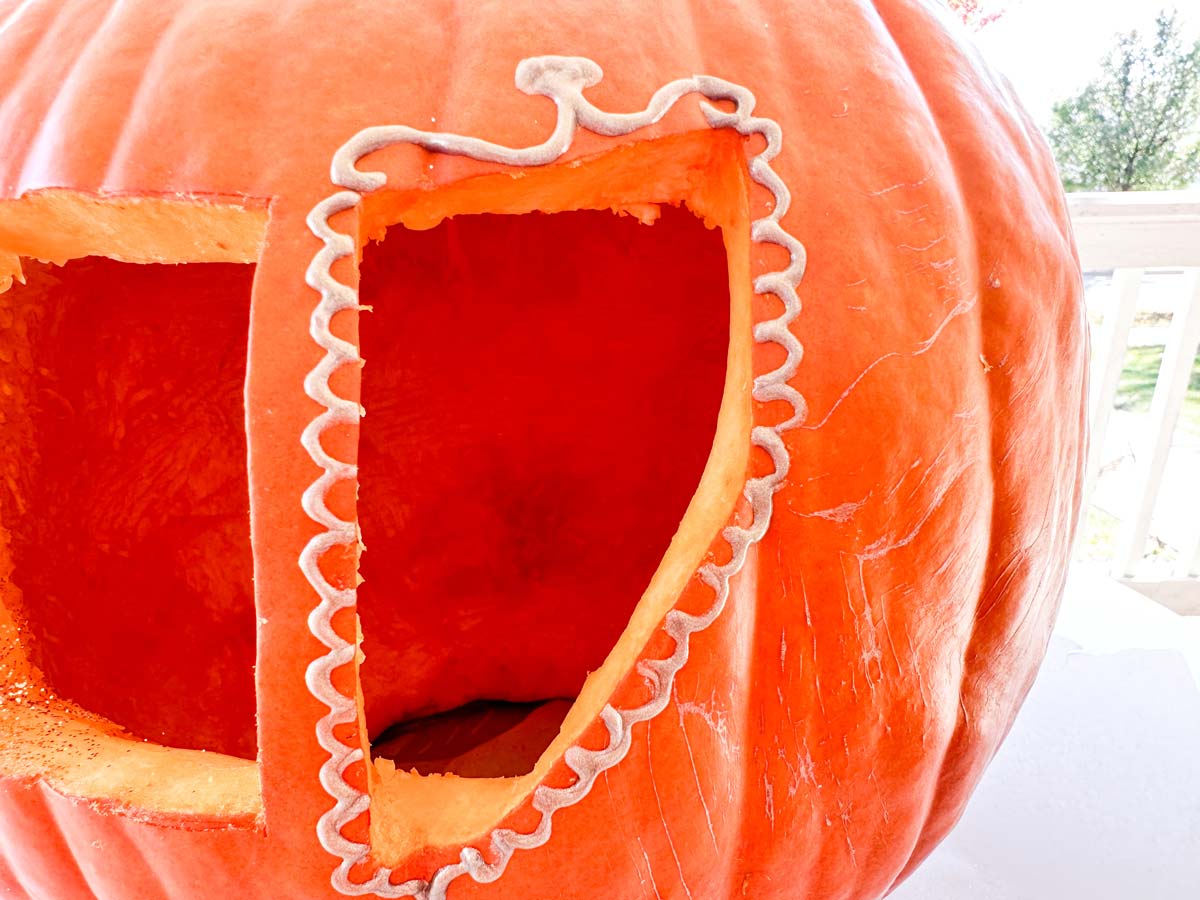
6. Tap gold glitter on top of the fabric paint. (Glitter is optional because the fabric paint does dry with a gold metallic finish – but if you want extra sparkle, add some gold glitter. Be sure to sprinkle on the glitter before the paint dries.)
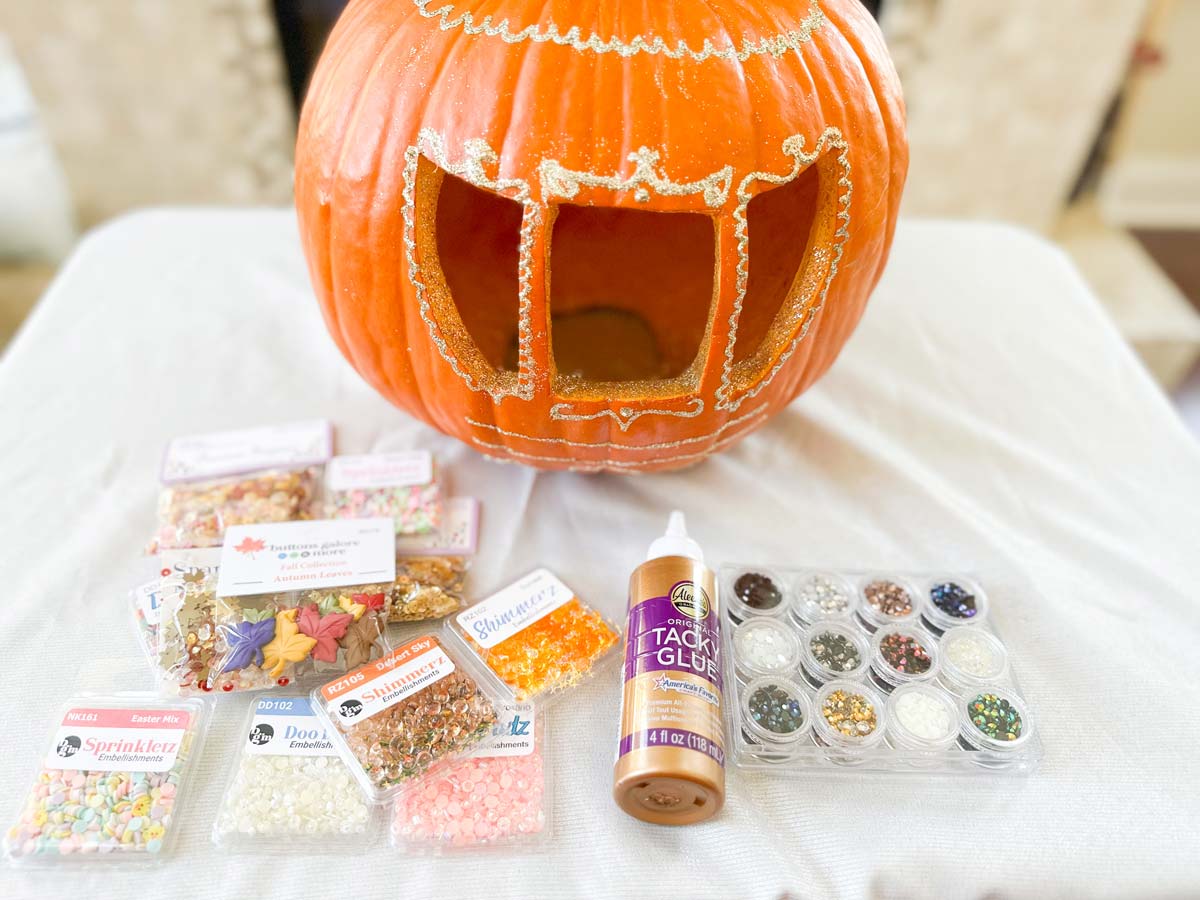
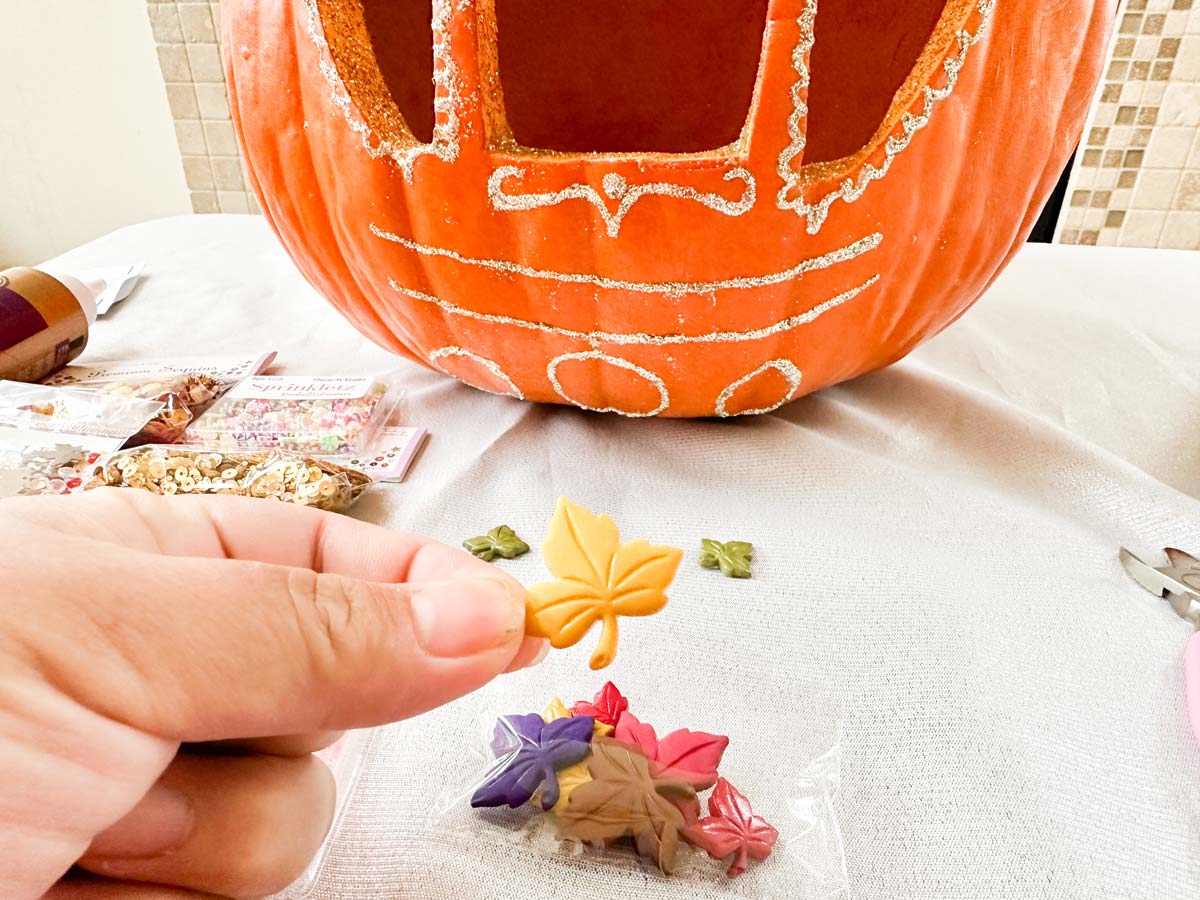
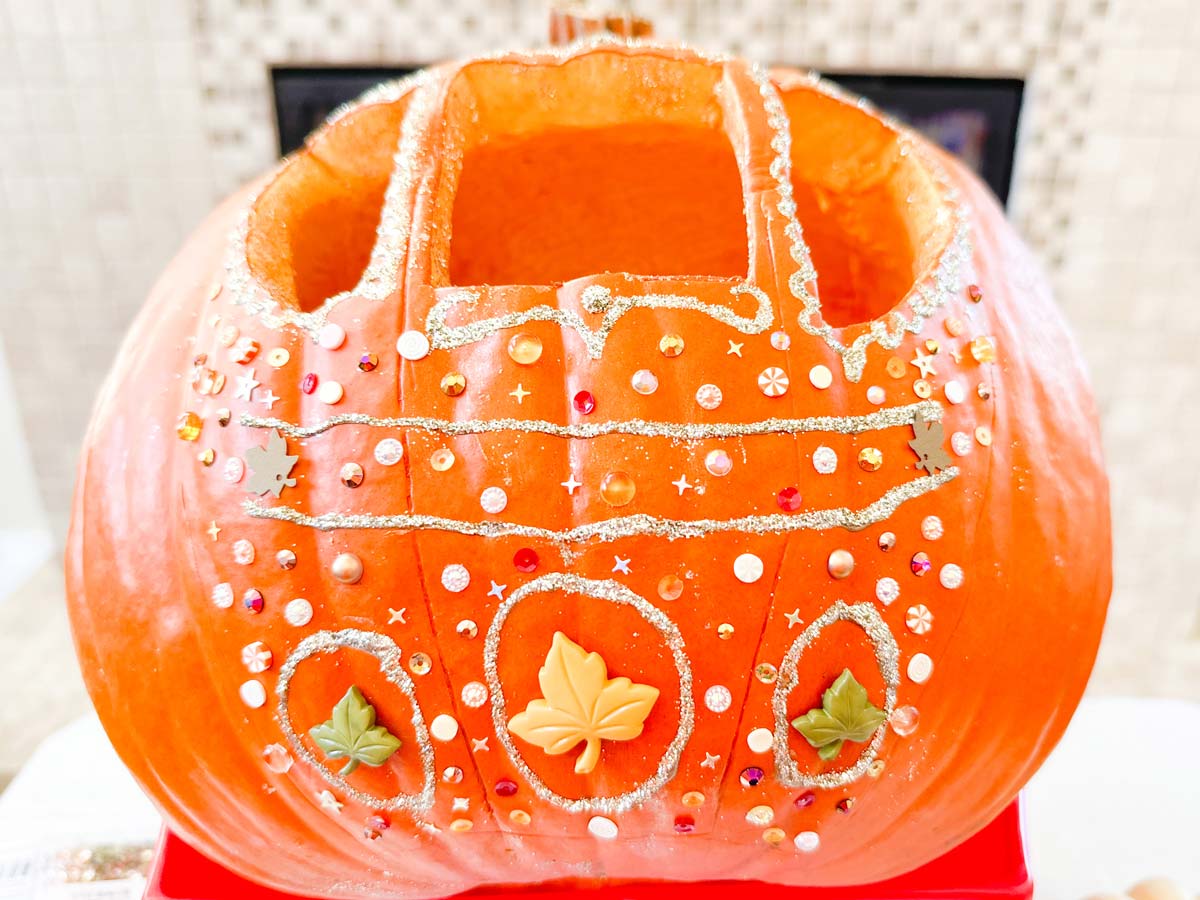
7. Once the fabric paint is completely dry the fun part can begin. Cinderella's carriage had some fun shapes which inspired me to use a mix of embellishments.
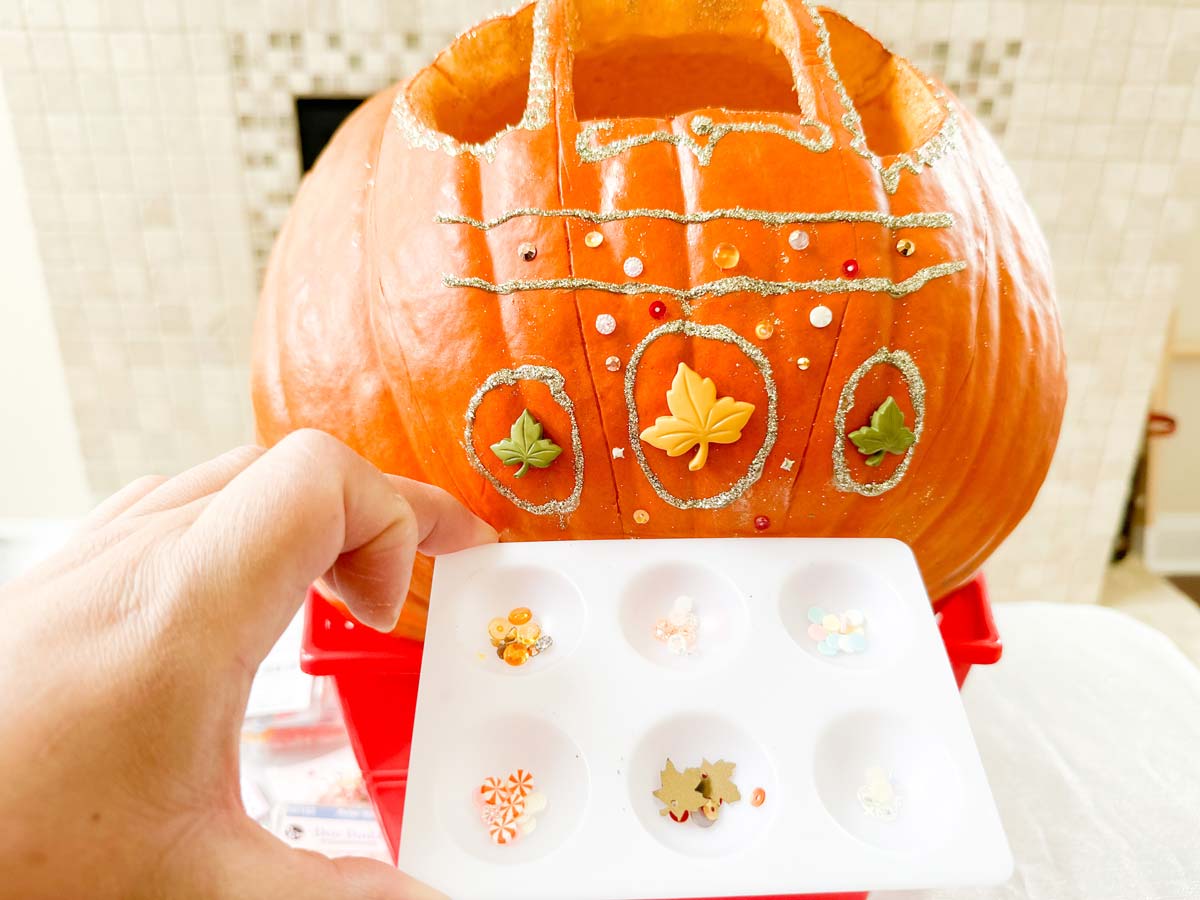
8. Use Tacky glue to adhere the embellishments. Once the adhesive is dry it will turn clear.
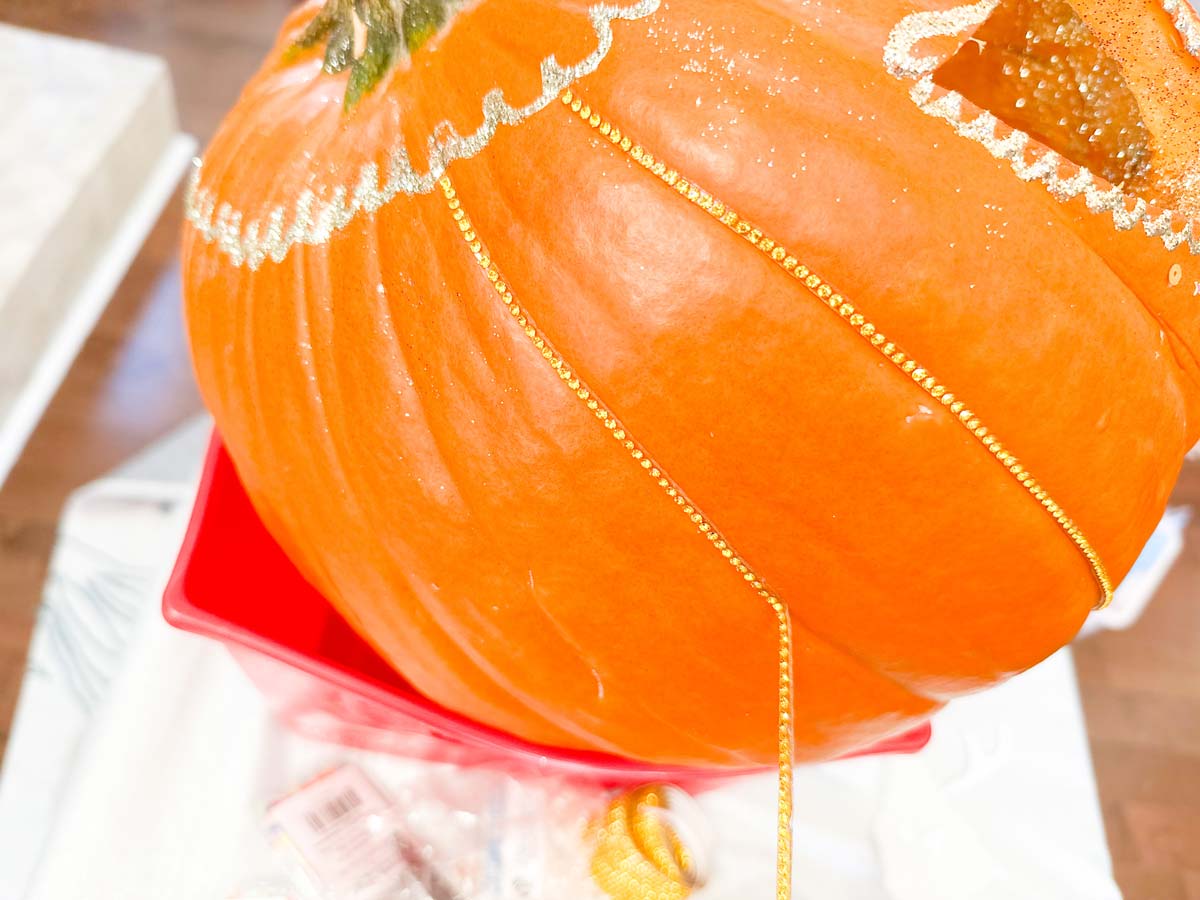
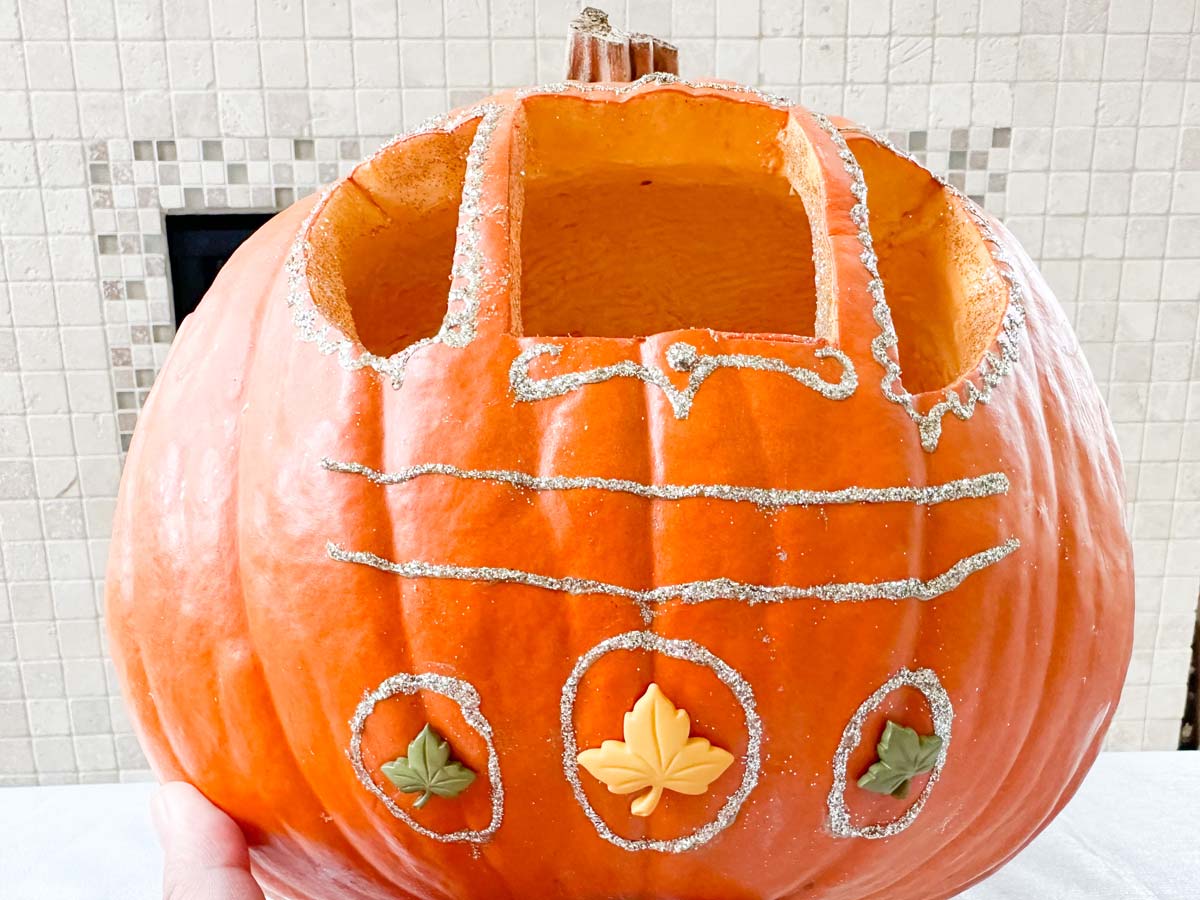
9. Once the pumpkin is embellished and adhesive has dried, the finishing touch is adding rows of rhinestones on the droves around the pumpkin and wheels.
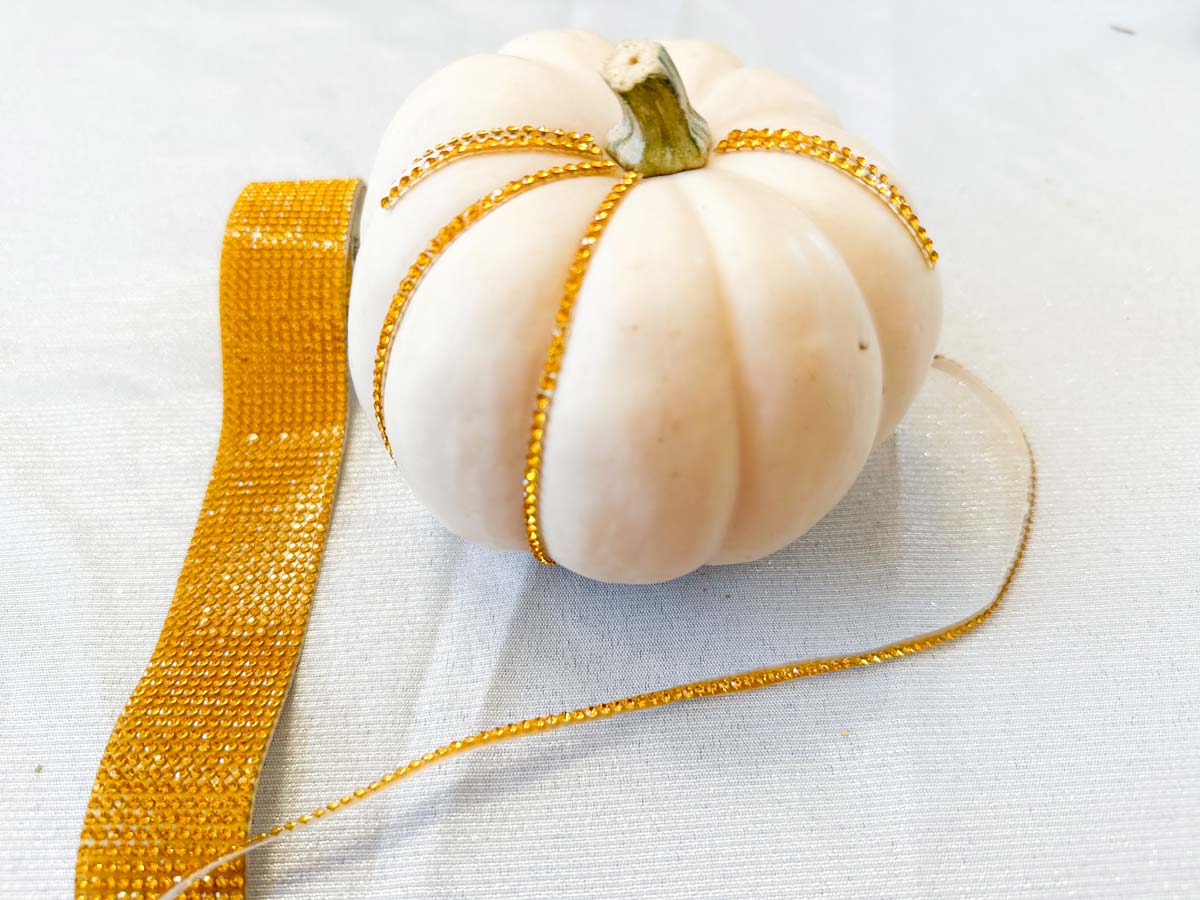
10. If your rhinestones come in a thick strip, use scissors to cut off the length you need for each line.
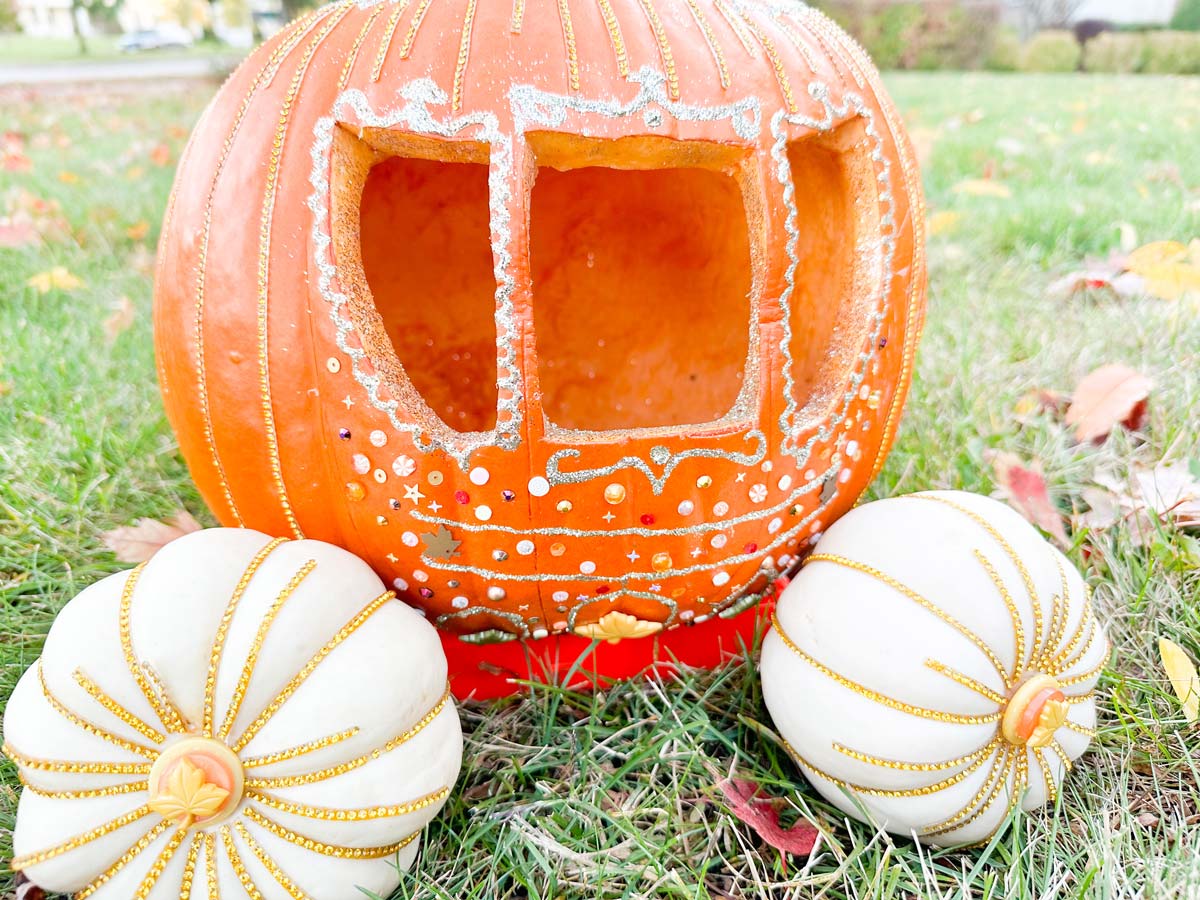
11. The wheels can be attached to the large pumpkin with a wooden dowel or left freestanding.
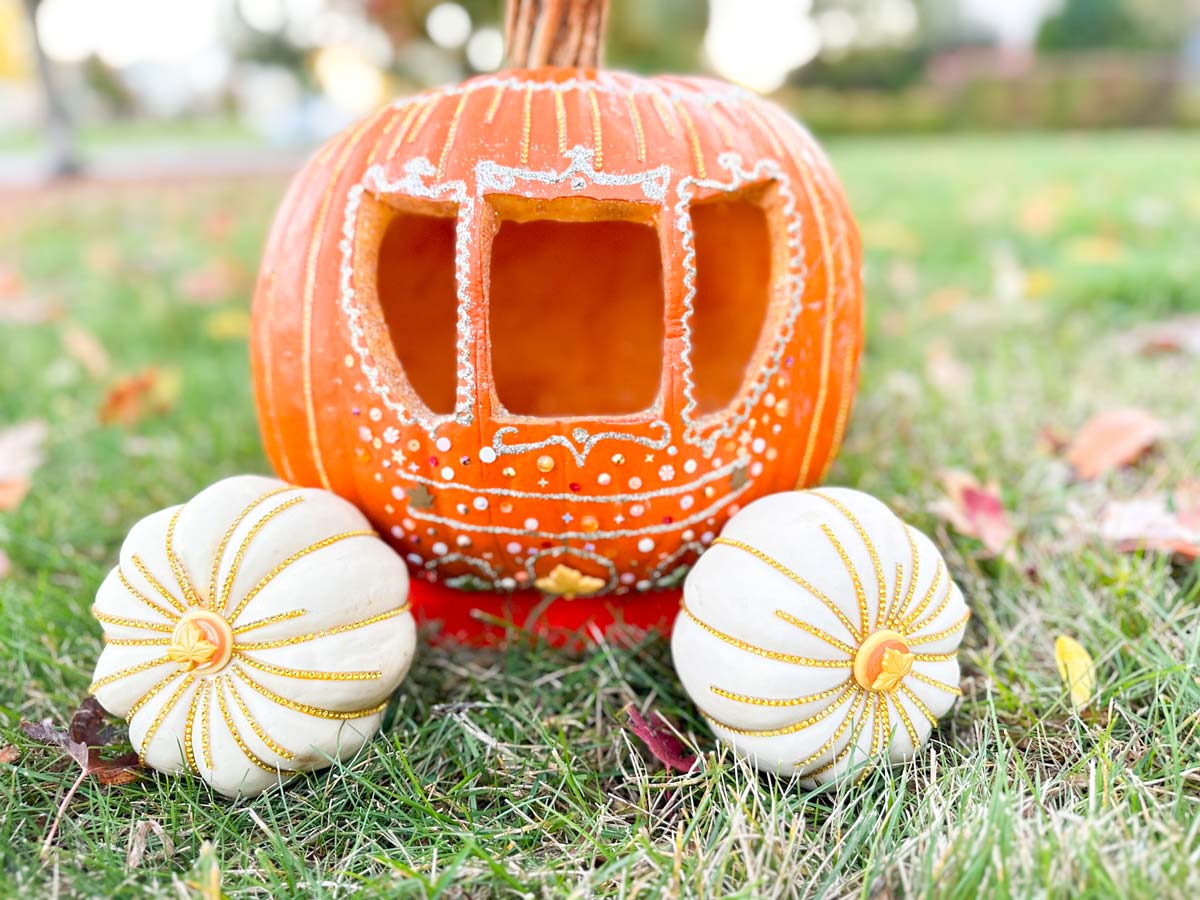
12. Now your beautiful Cinderella carriage is complete. Happy Halloween! Share your pumpkin carriages on social media using #Cinderella1997.