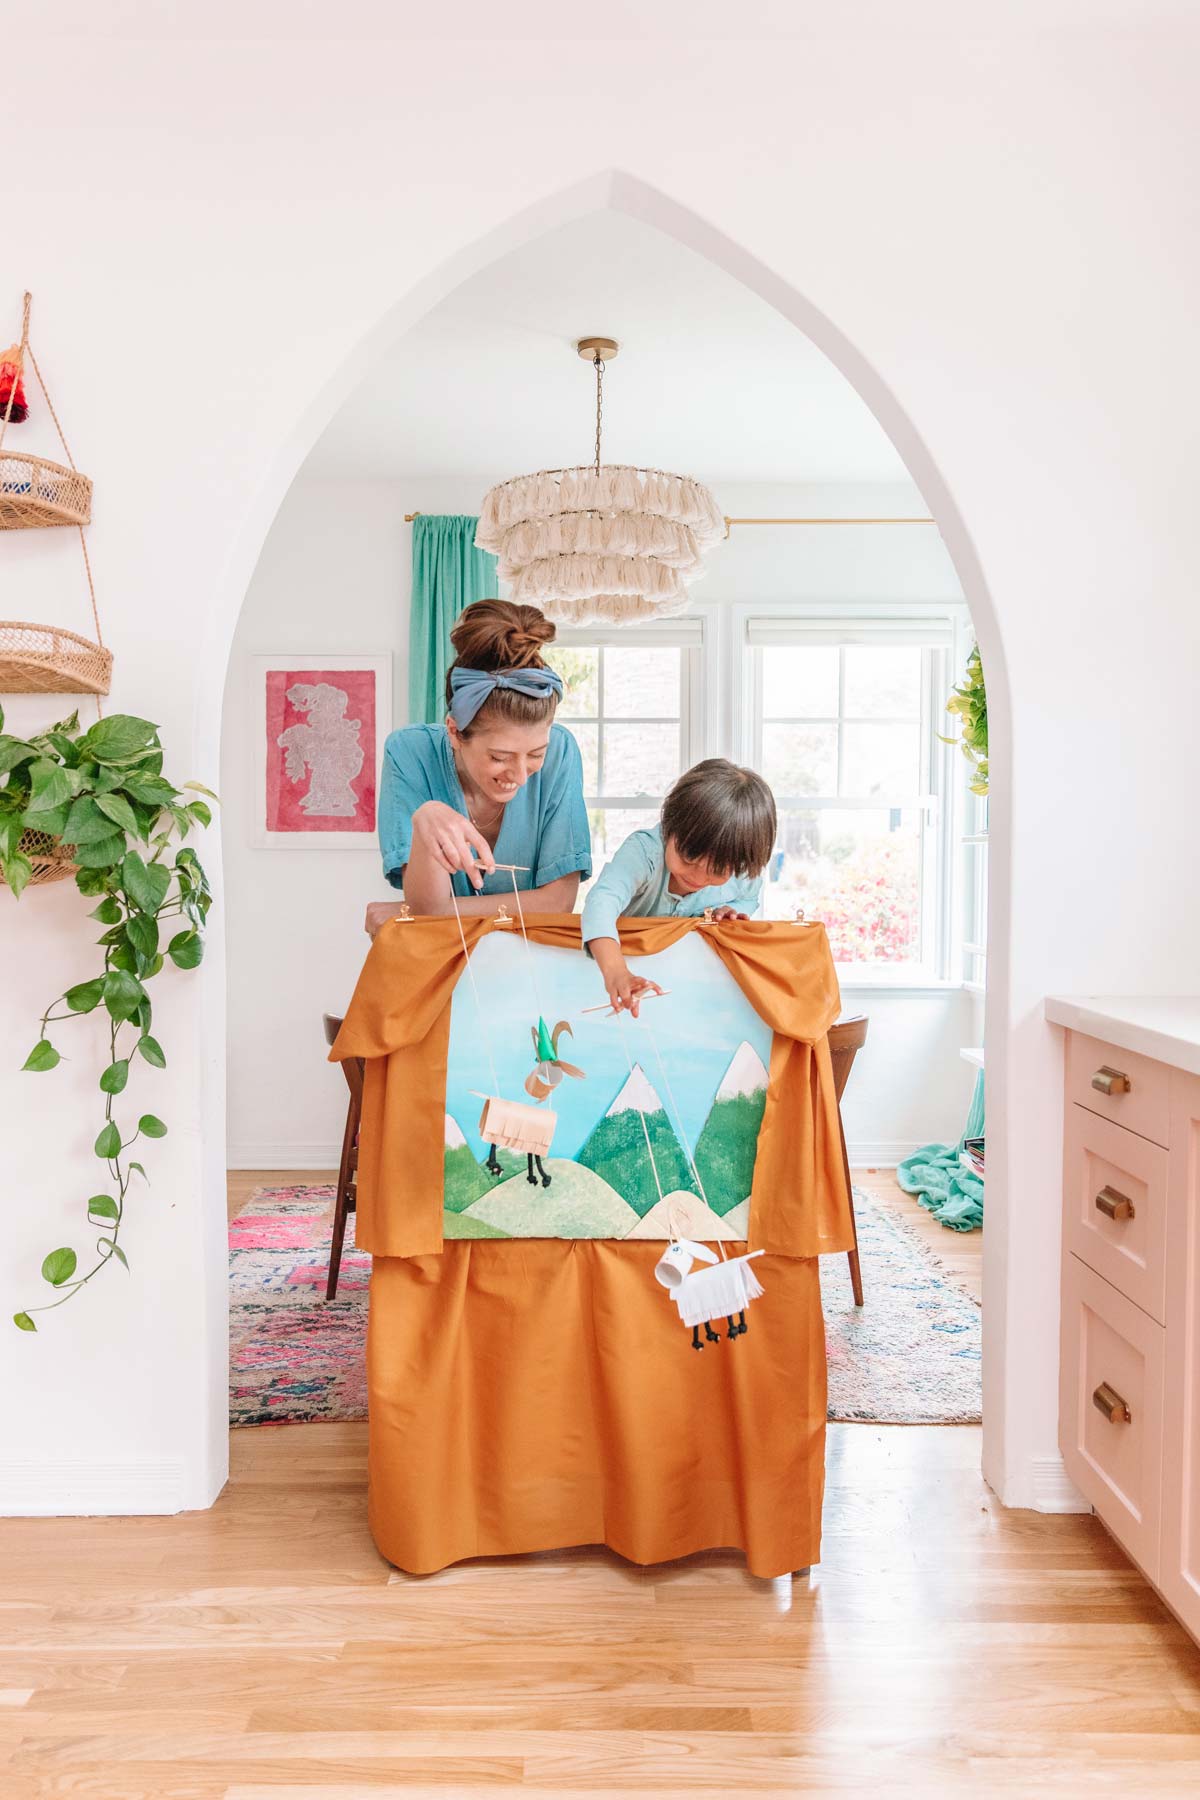

Puppet Theater Scenery
Supplies Needed:
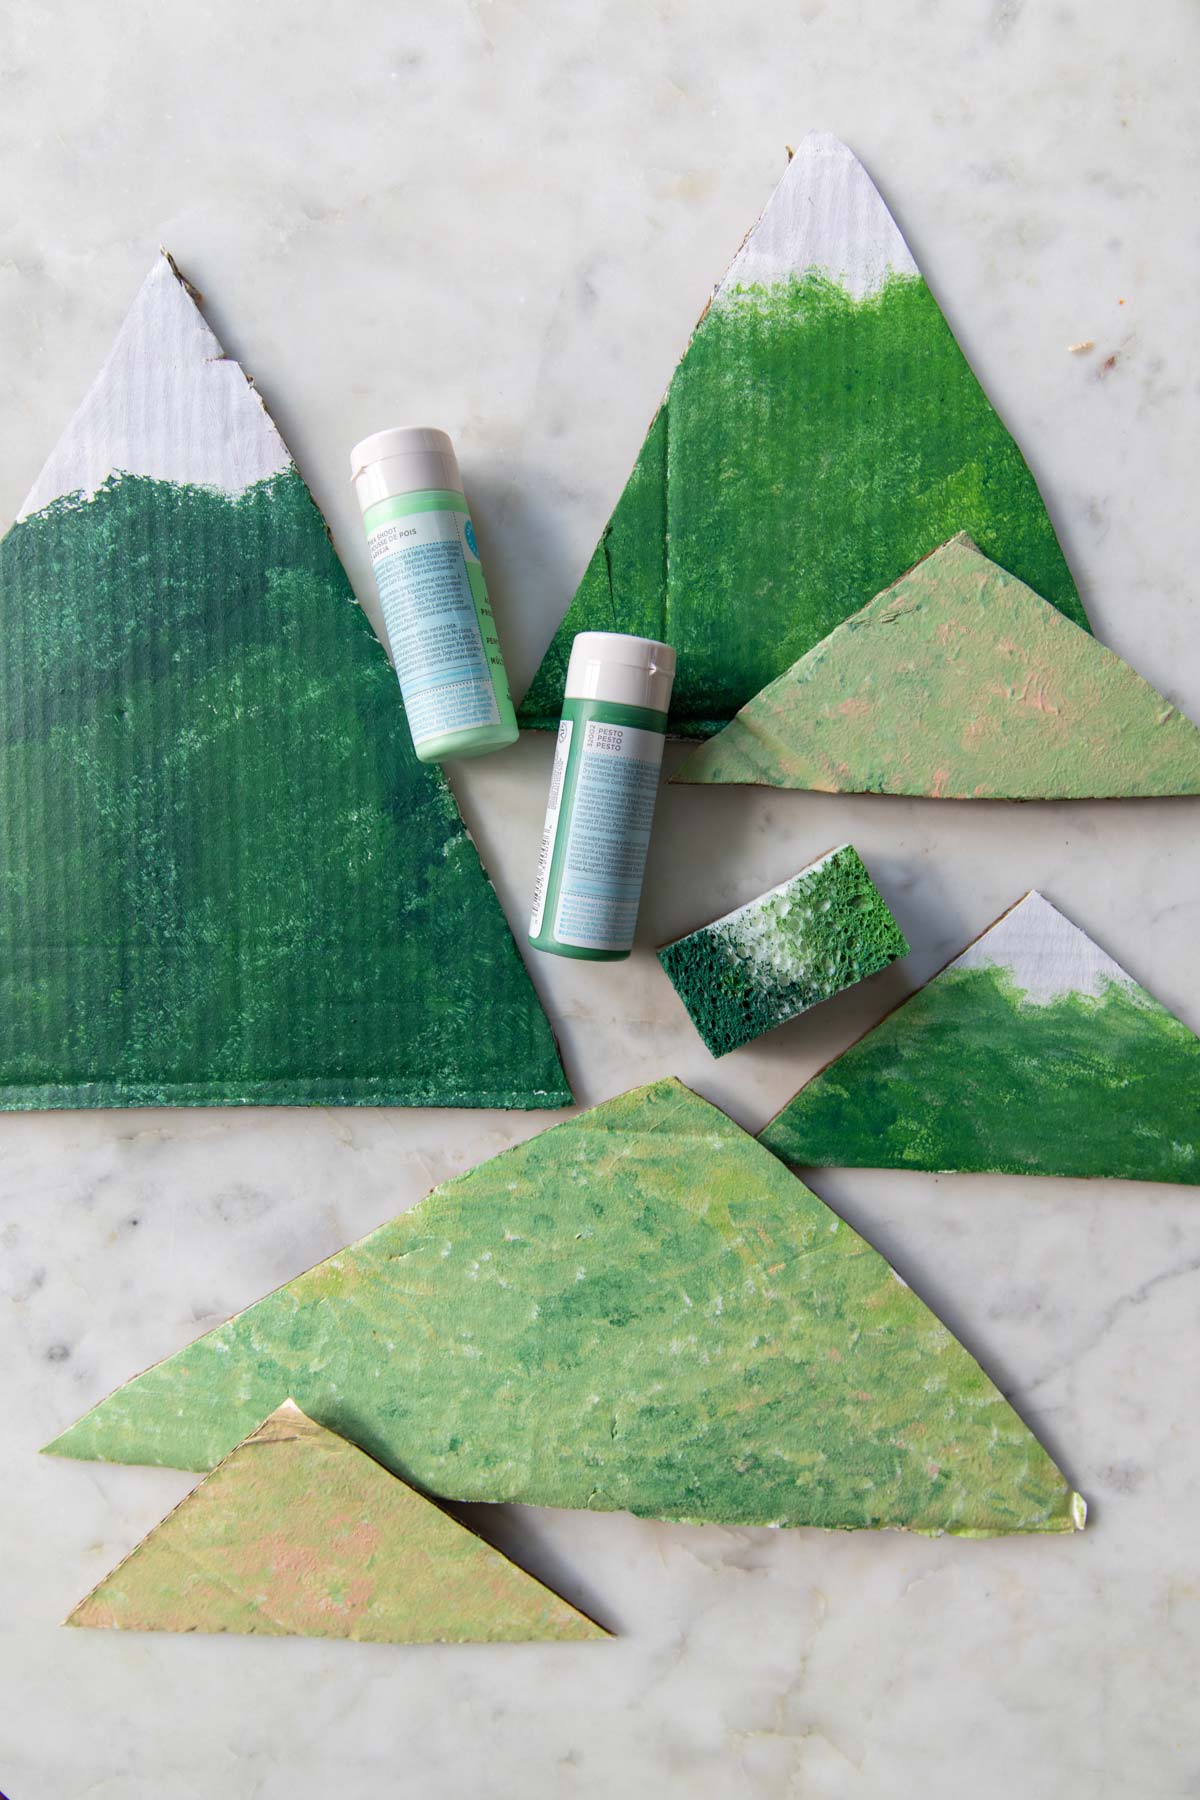
1. Cardboard and/or foam core
2. Green, white, brown and blue paint
3. Sponge
4. Paint brush
5. Scissors
6. Hot glue
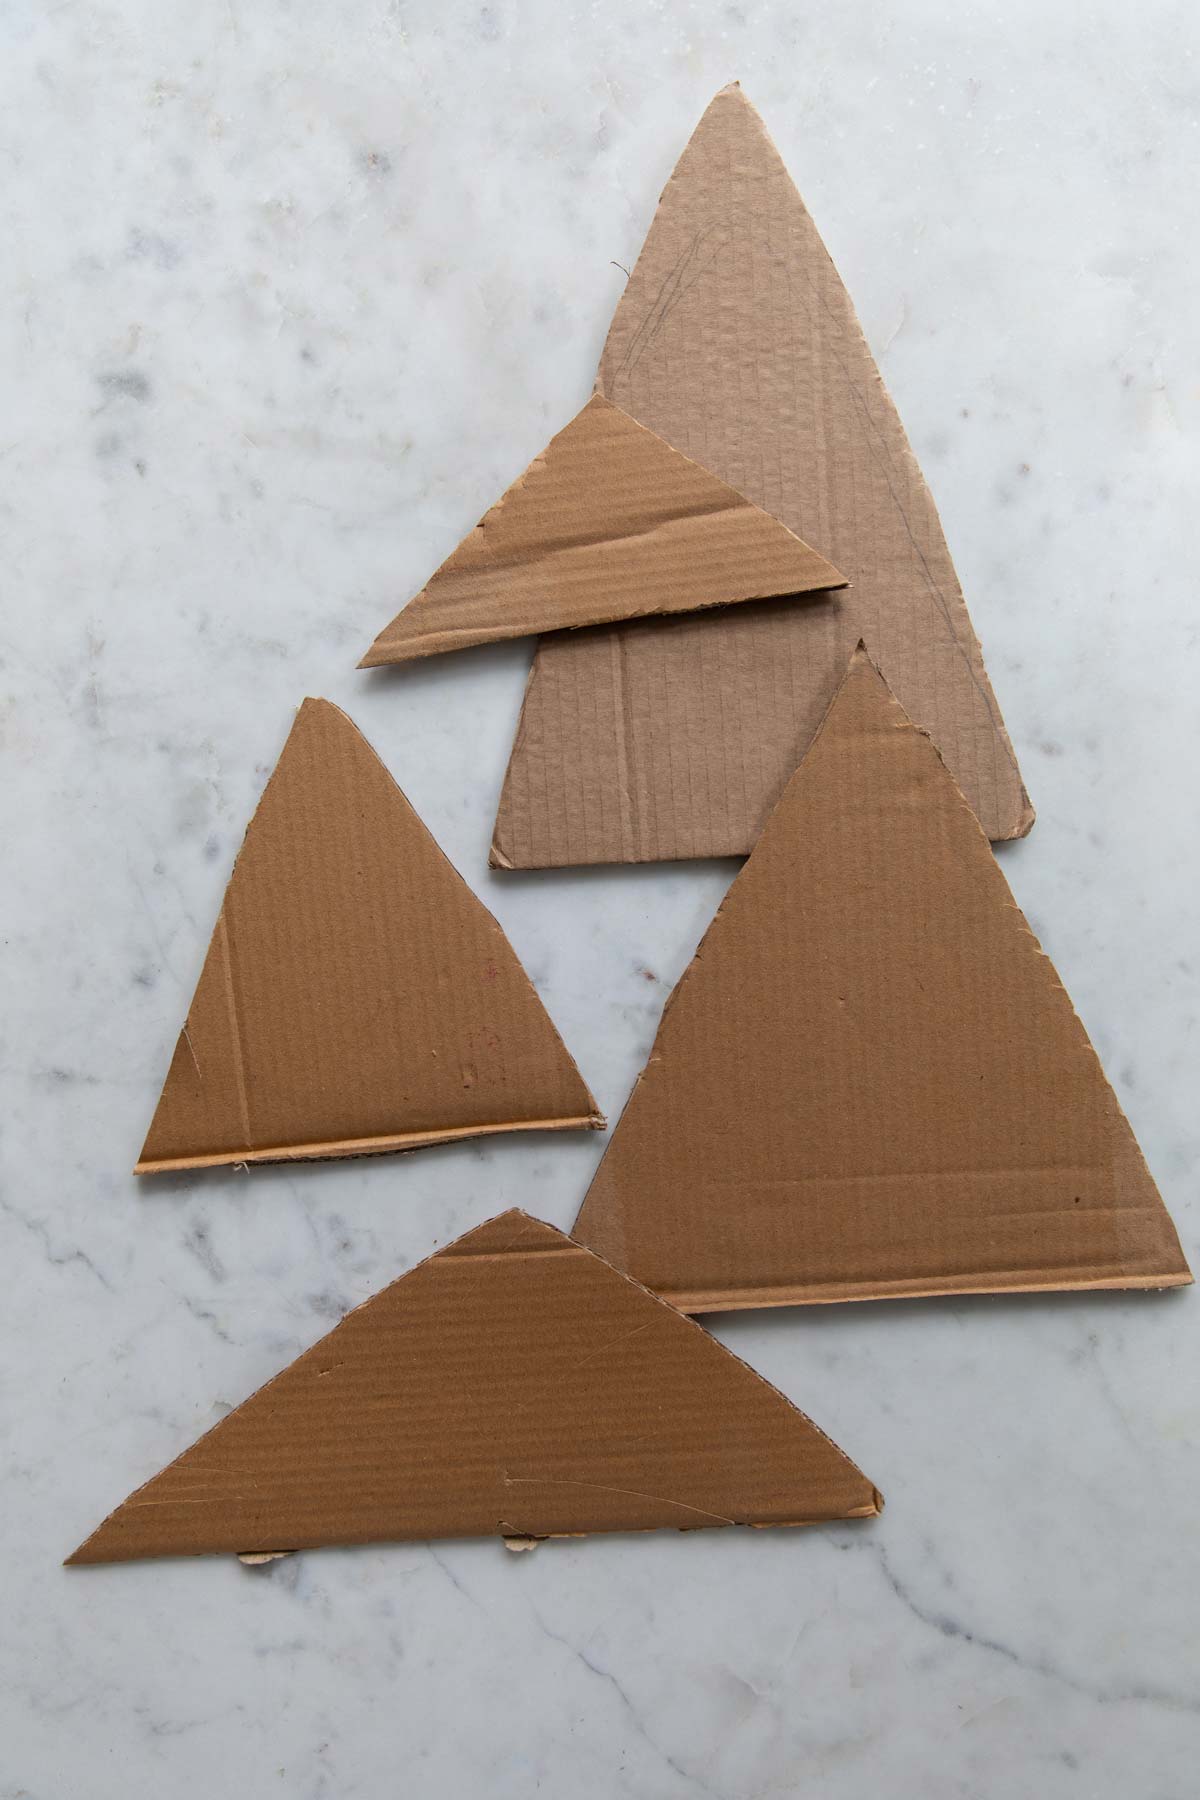
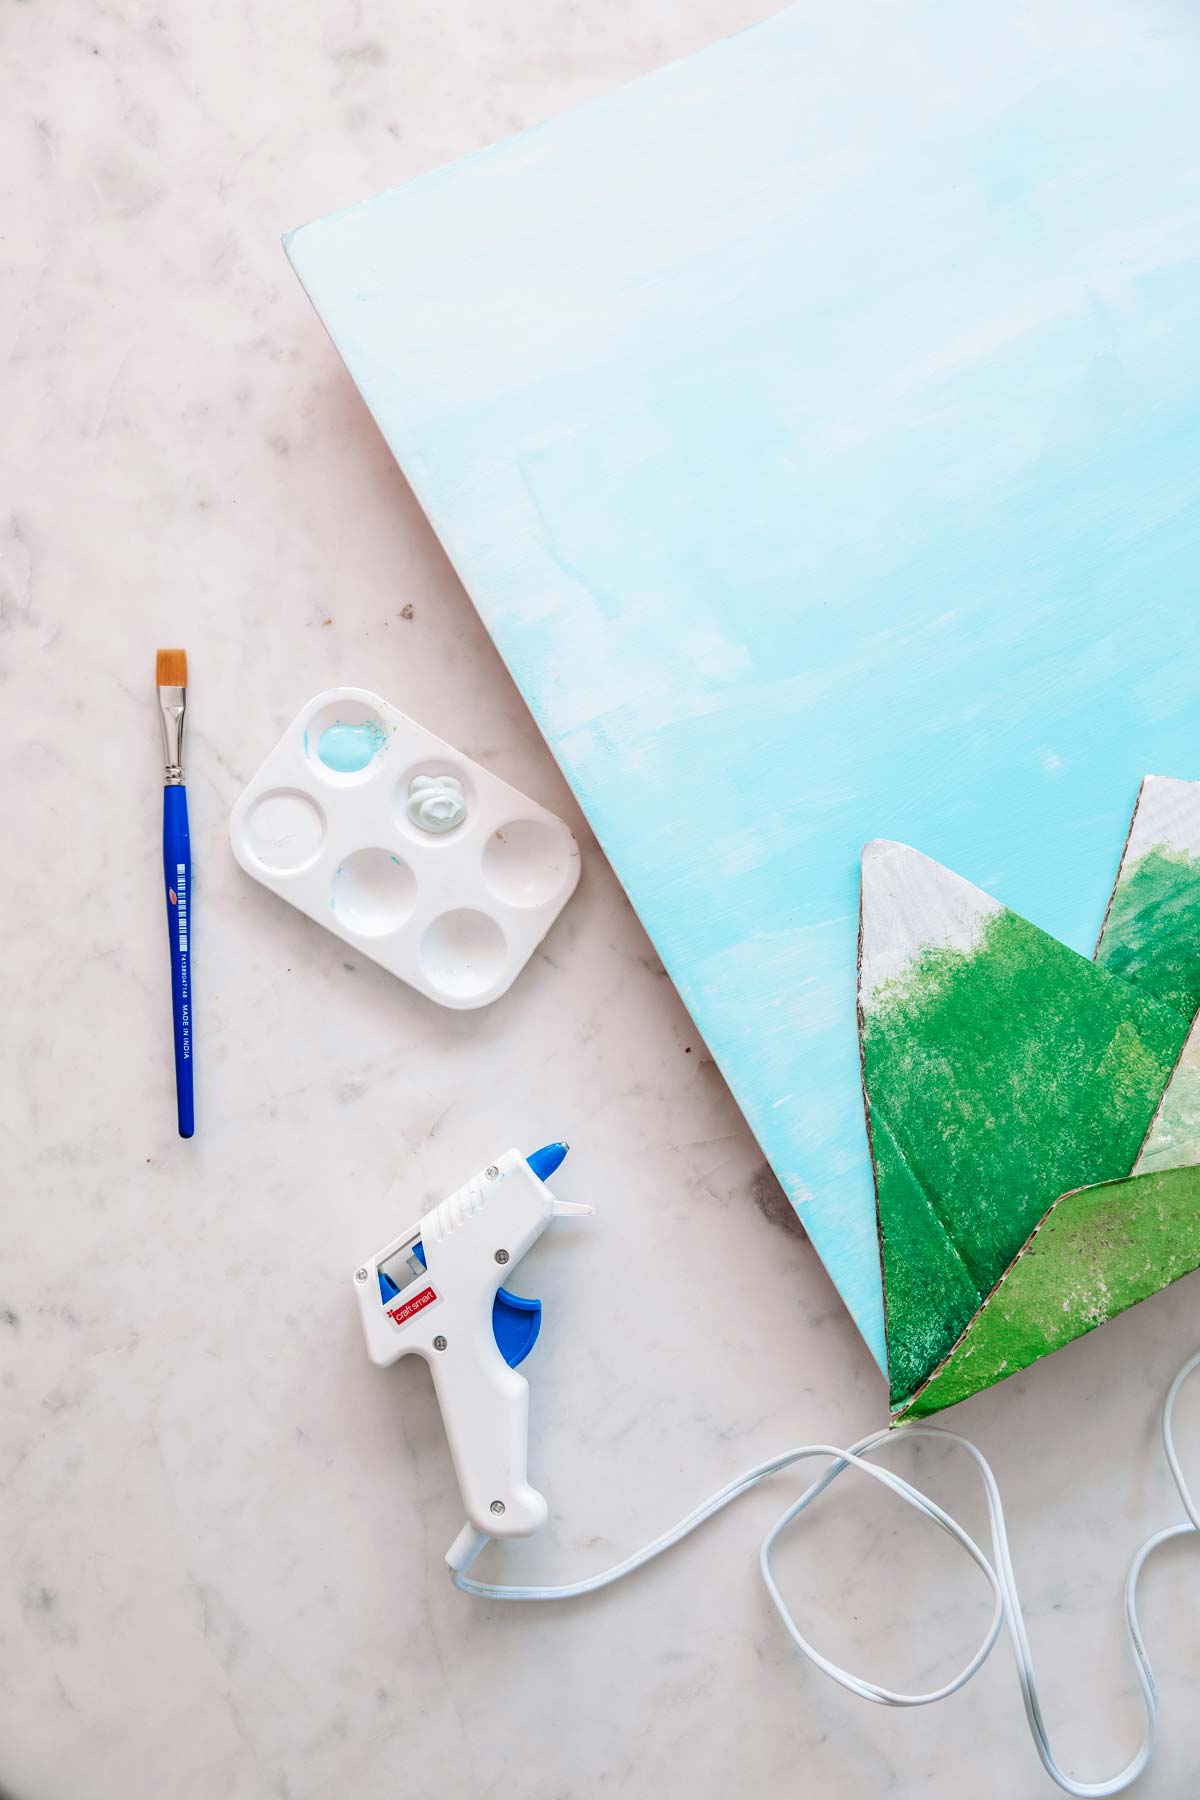
3. Paint a larger piece of cardboard or blue foam core to act as the background.
4. Hot glue the mountains to the blue background you painted.
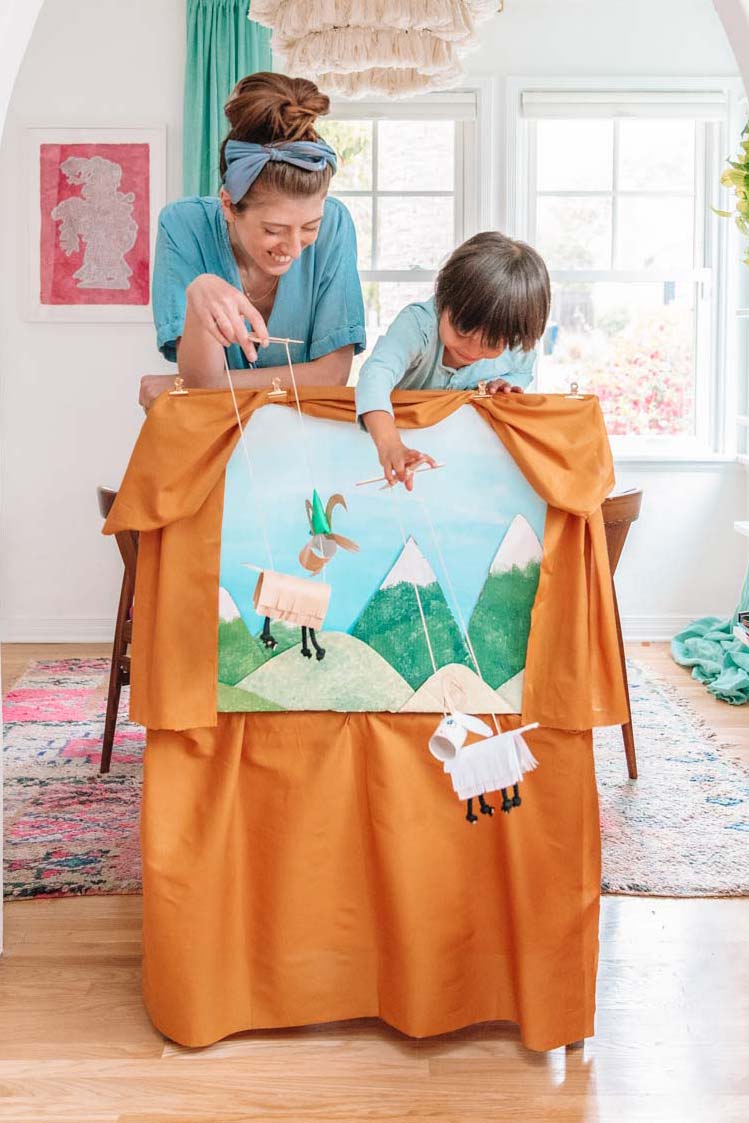
5. Prop up or attach to a table, play kitchen, learning stool, chair or other item in your house! Add fabric or sheets if desired as curtains to create the full "theater" look.
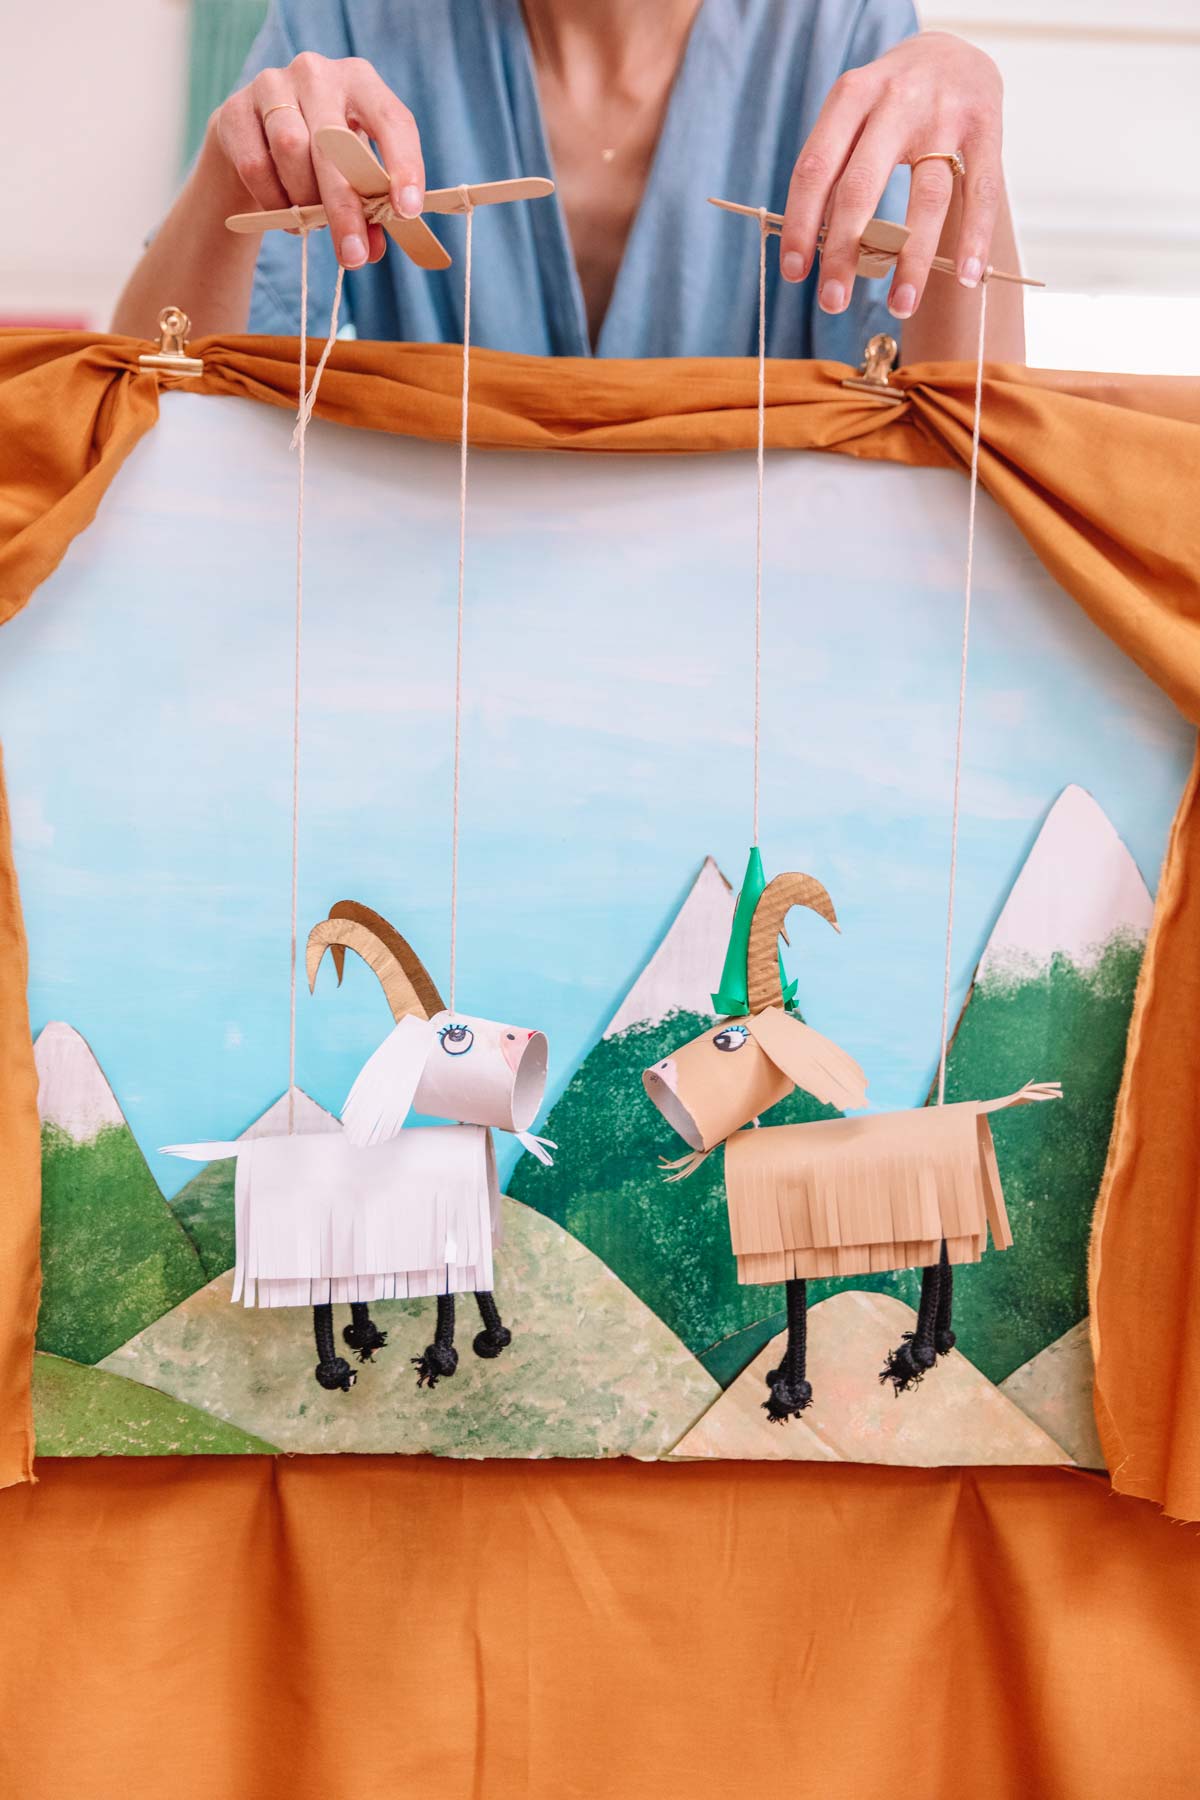
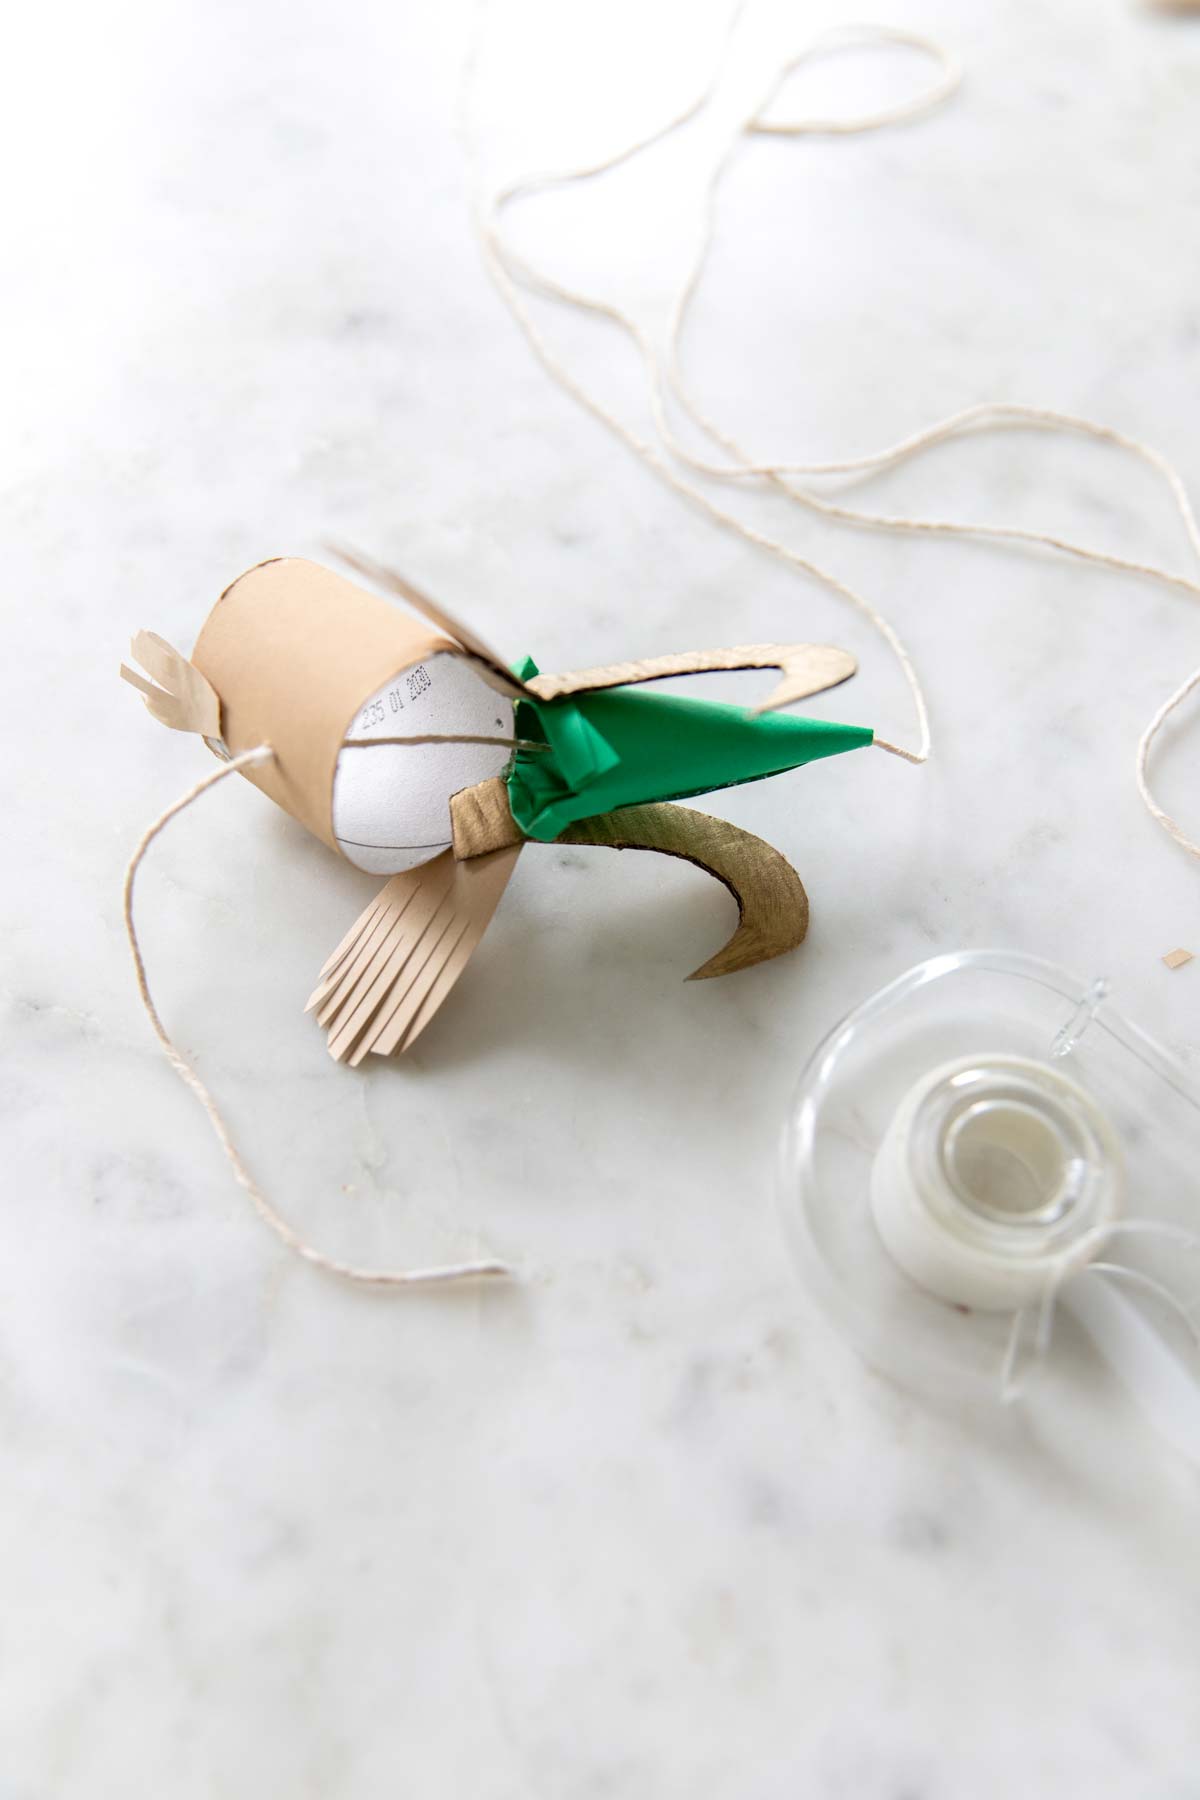
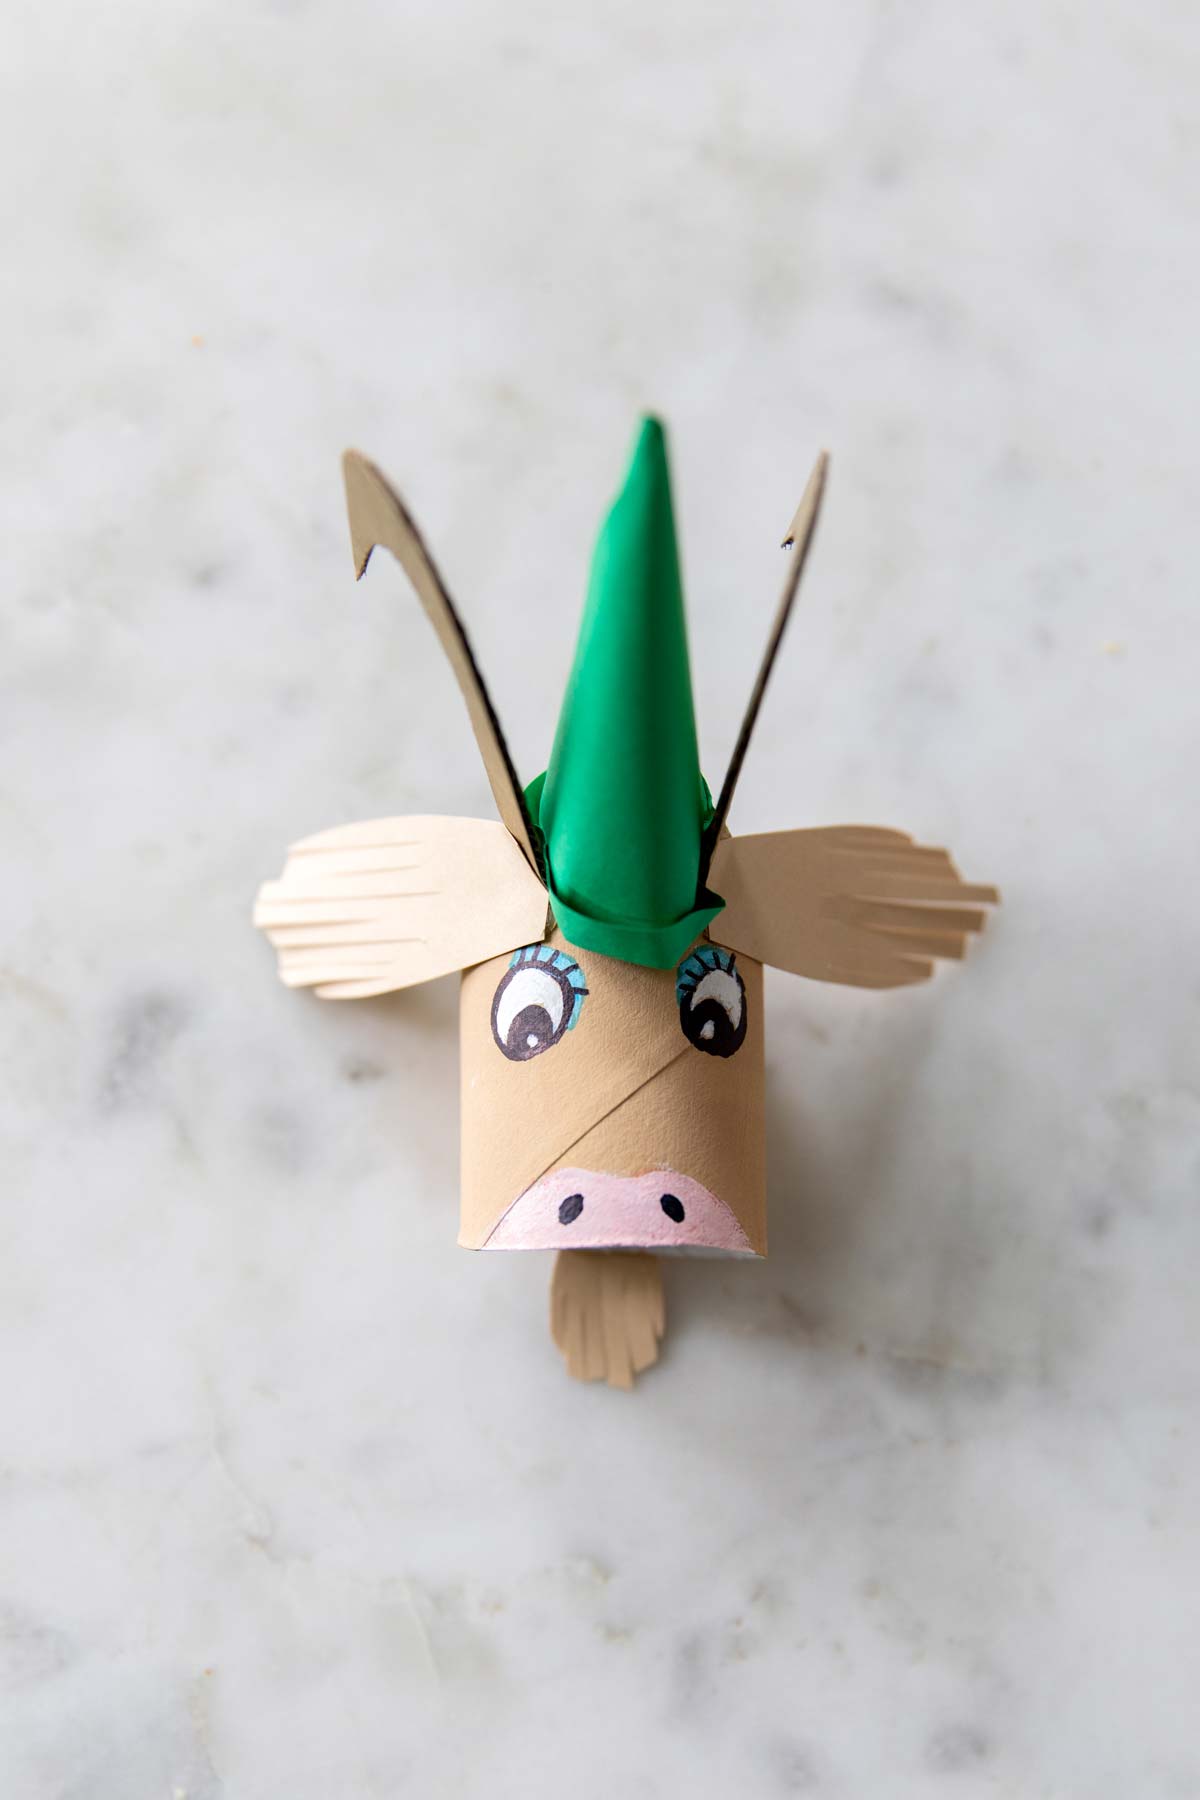
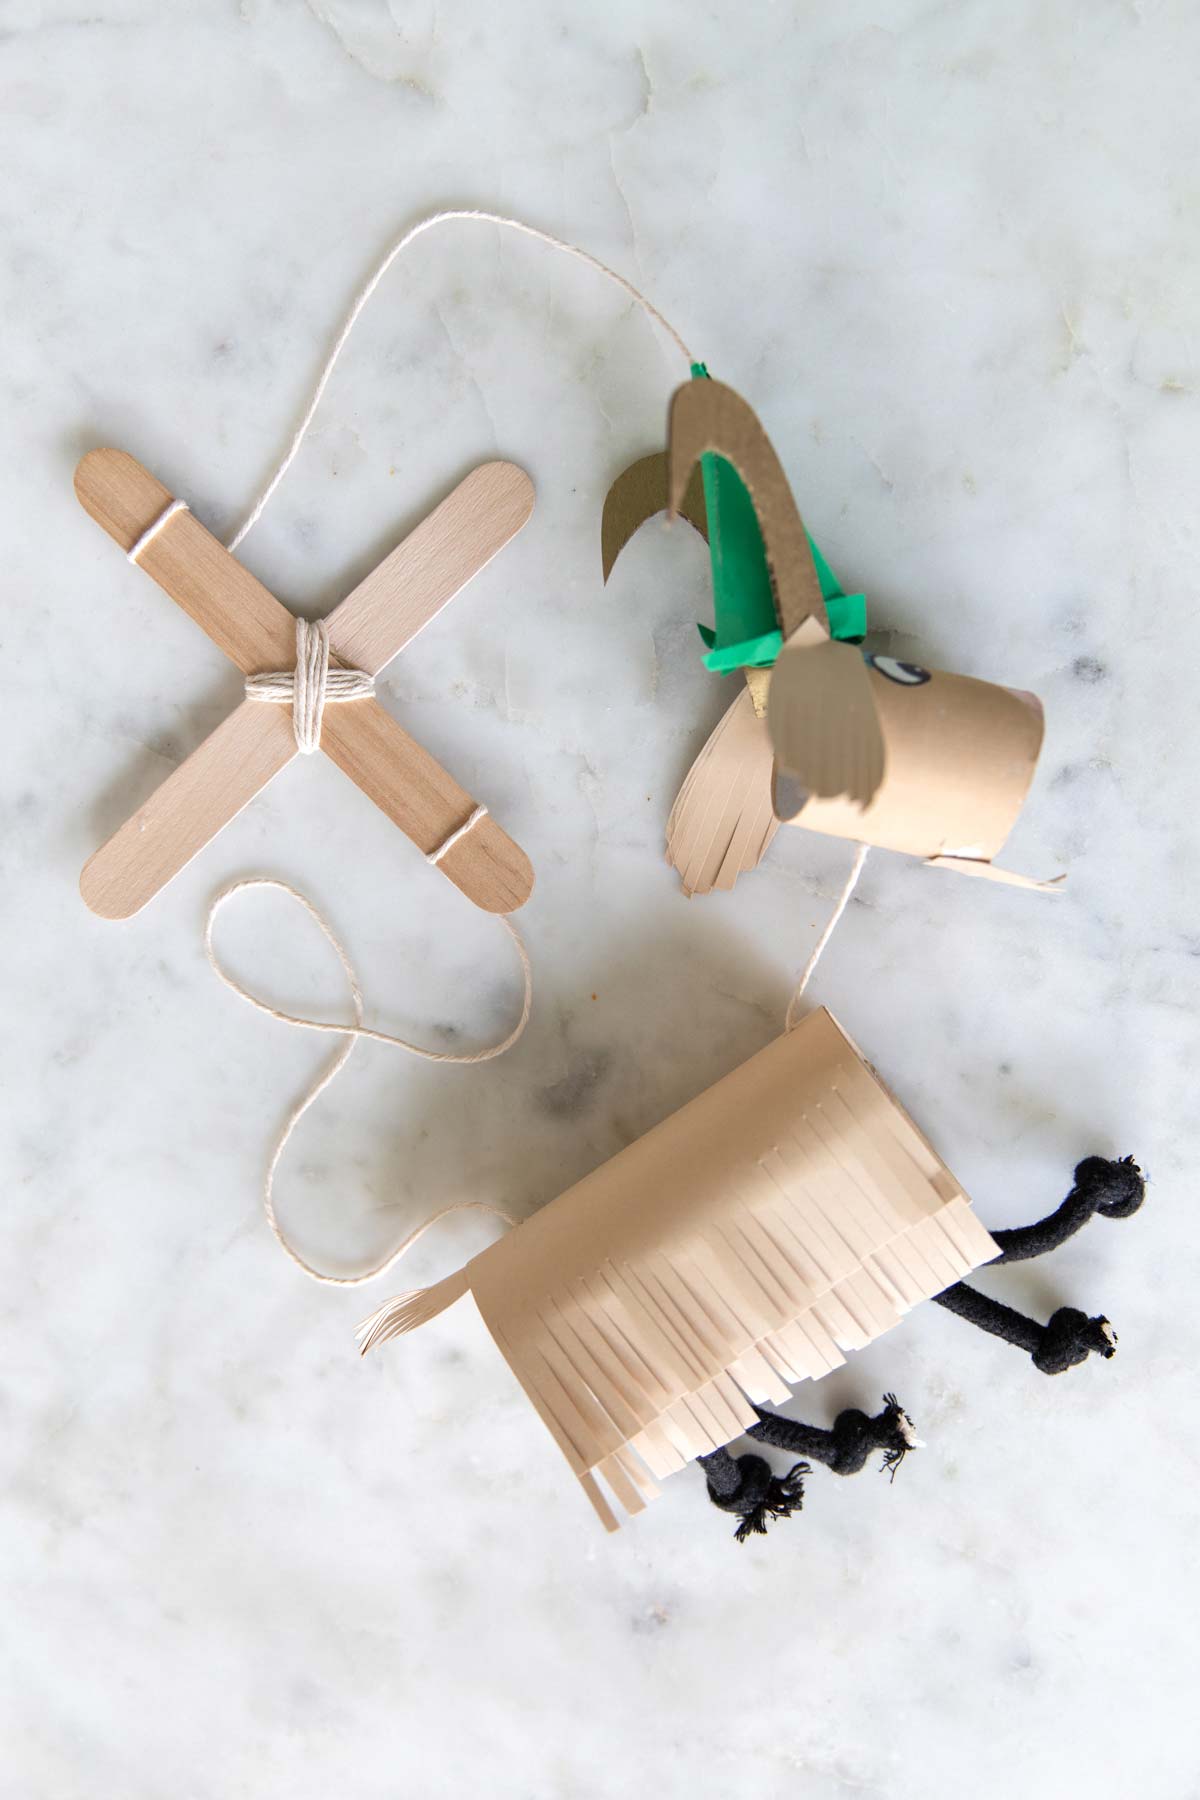
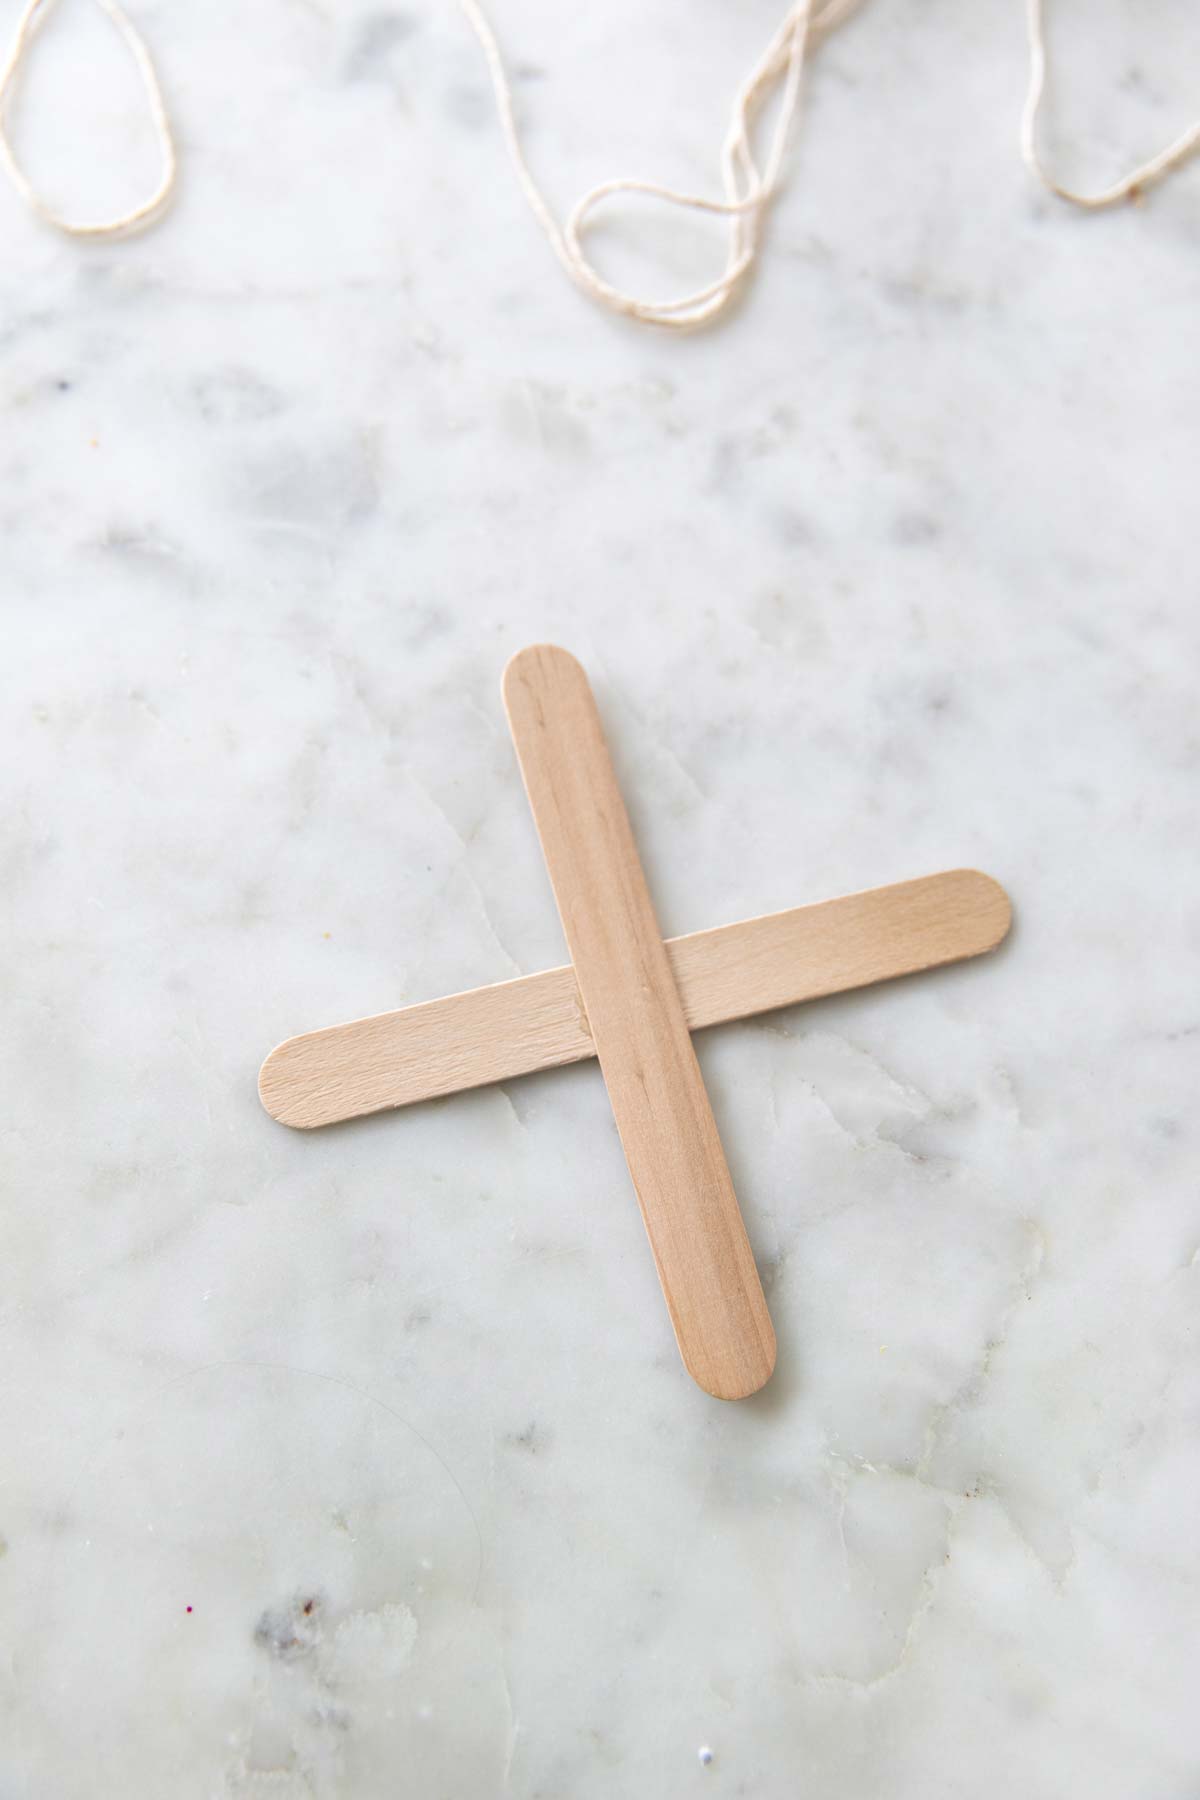
Goat Marionettes
Supplies Needed (for one marionette) :
1. Two toilet paper rolls
2. Paper (in desired colors)
3. Scrap cardboard
4. Paint and/or markers (for decorating)
5. Black rope, yarn or ribbon
6. White/neutral rope, yarn or ribbon
7. Two popsicle sticks
8. Scissors
9. School glue or hot glue
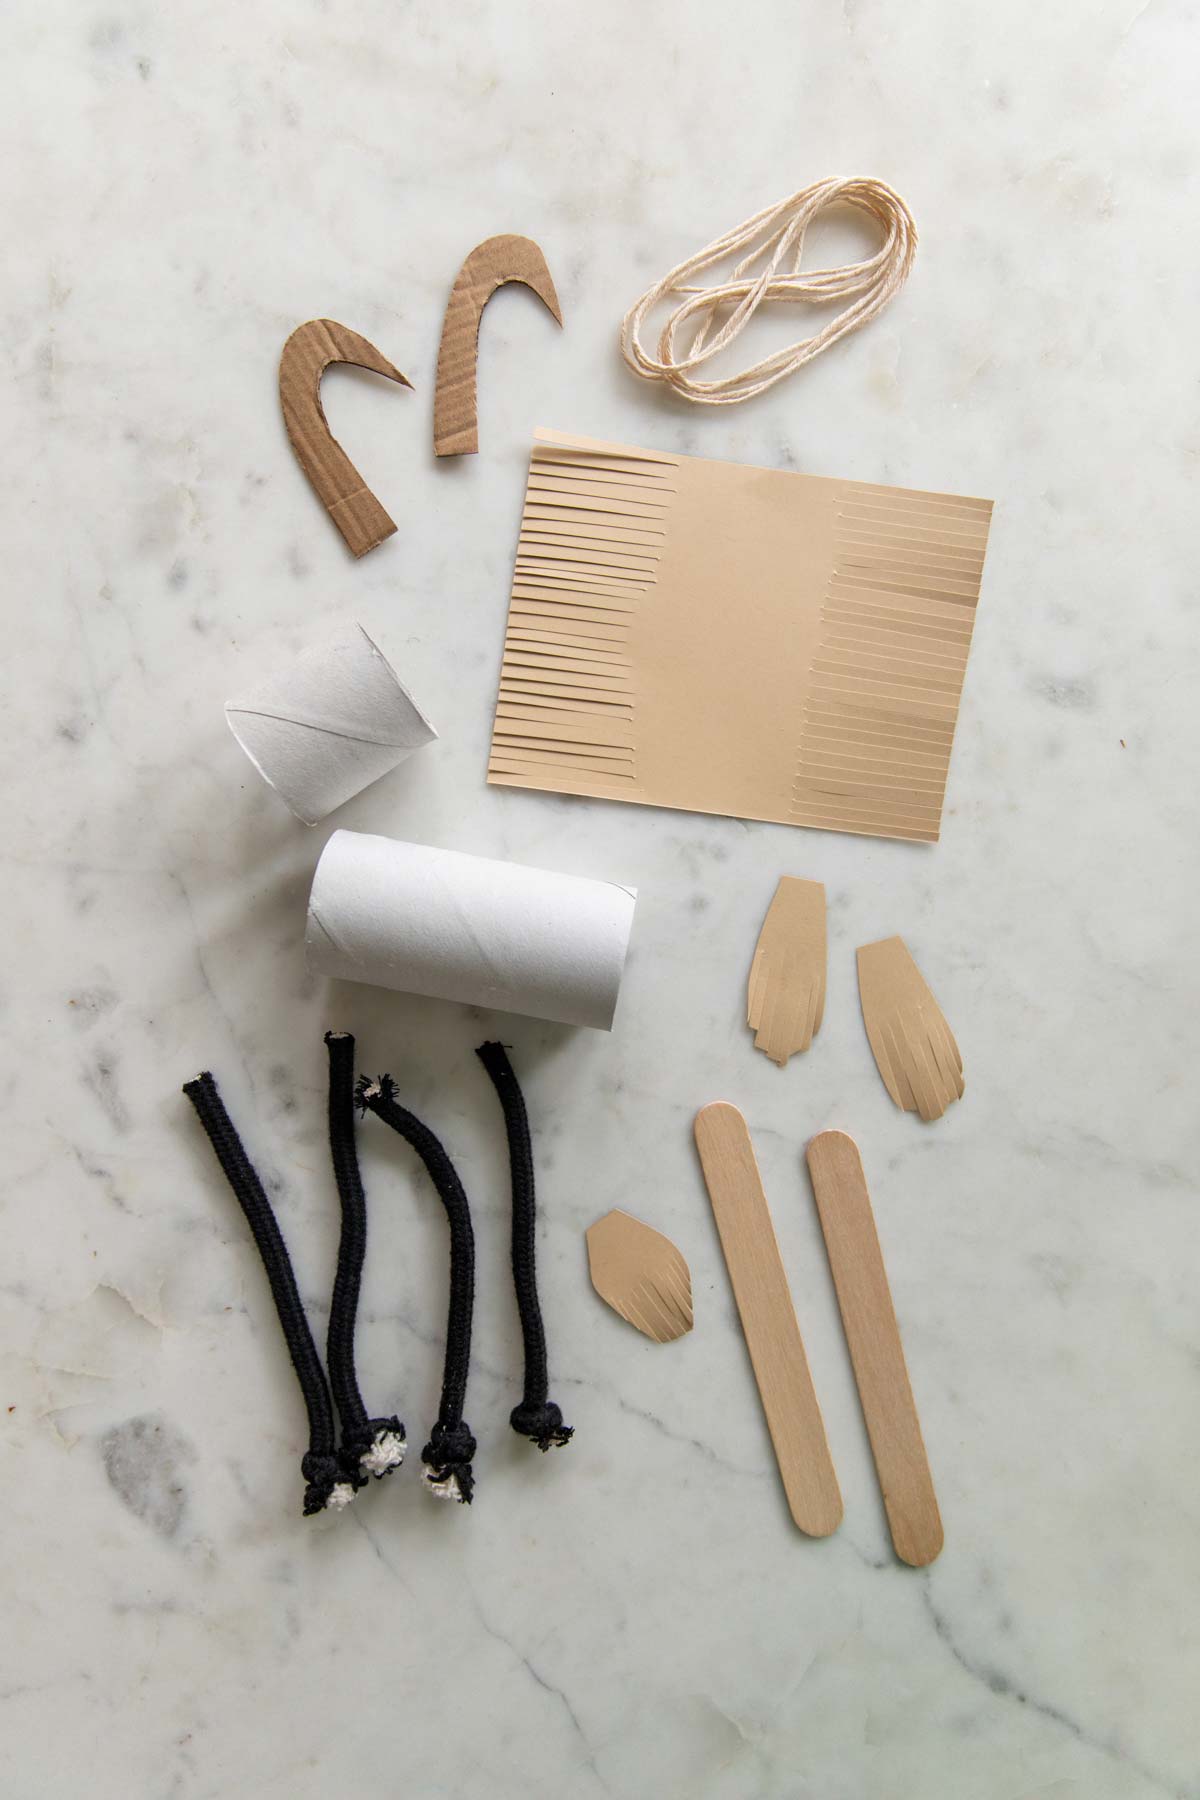
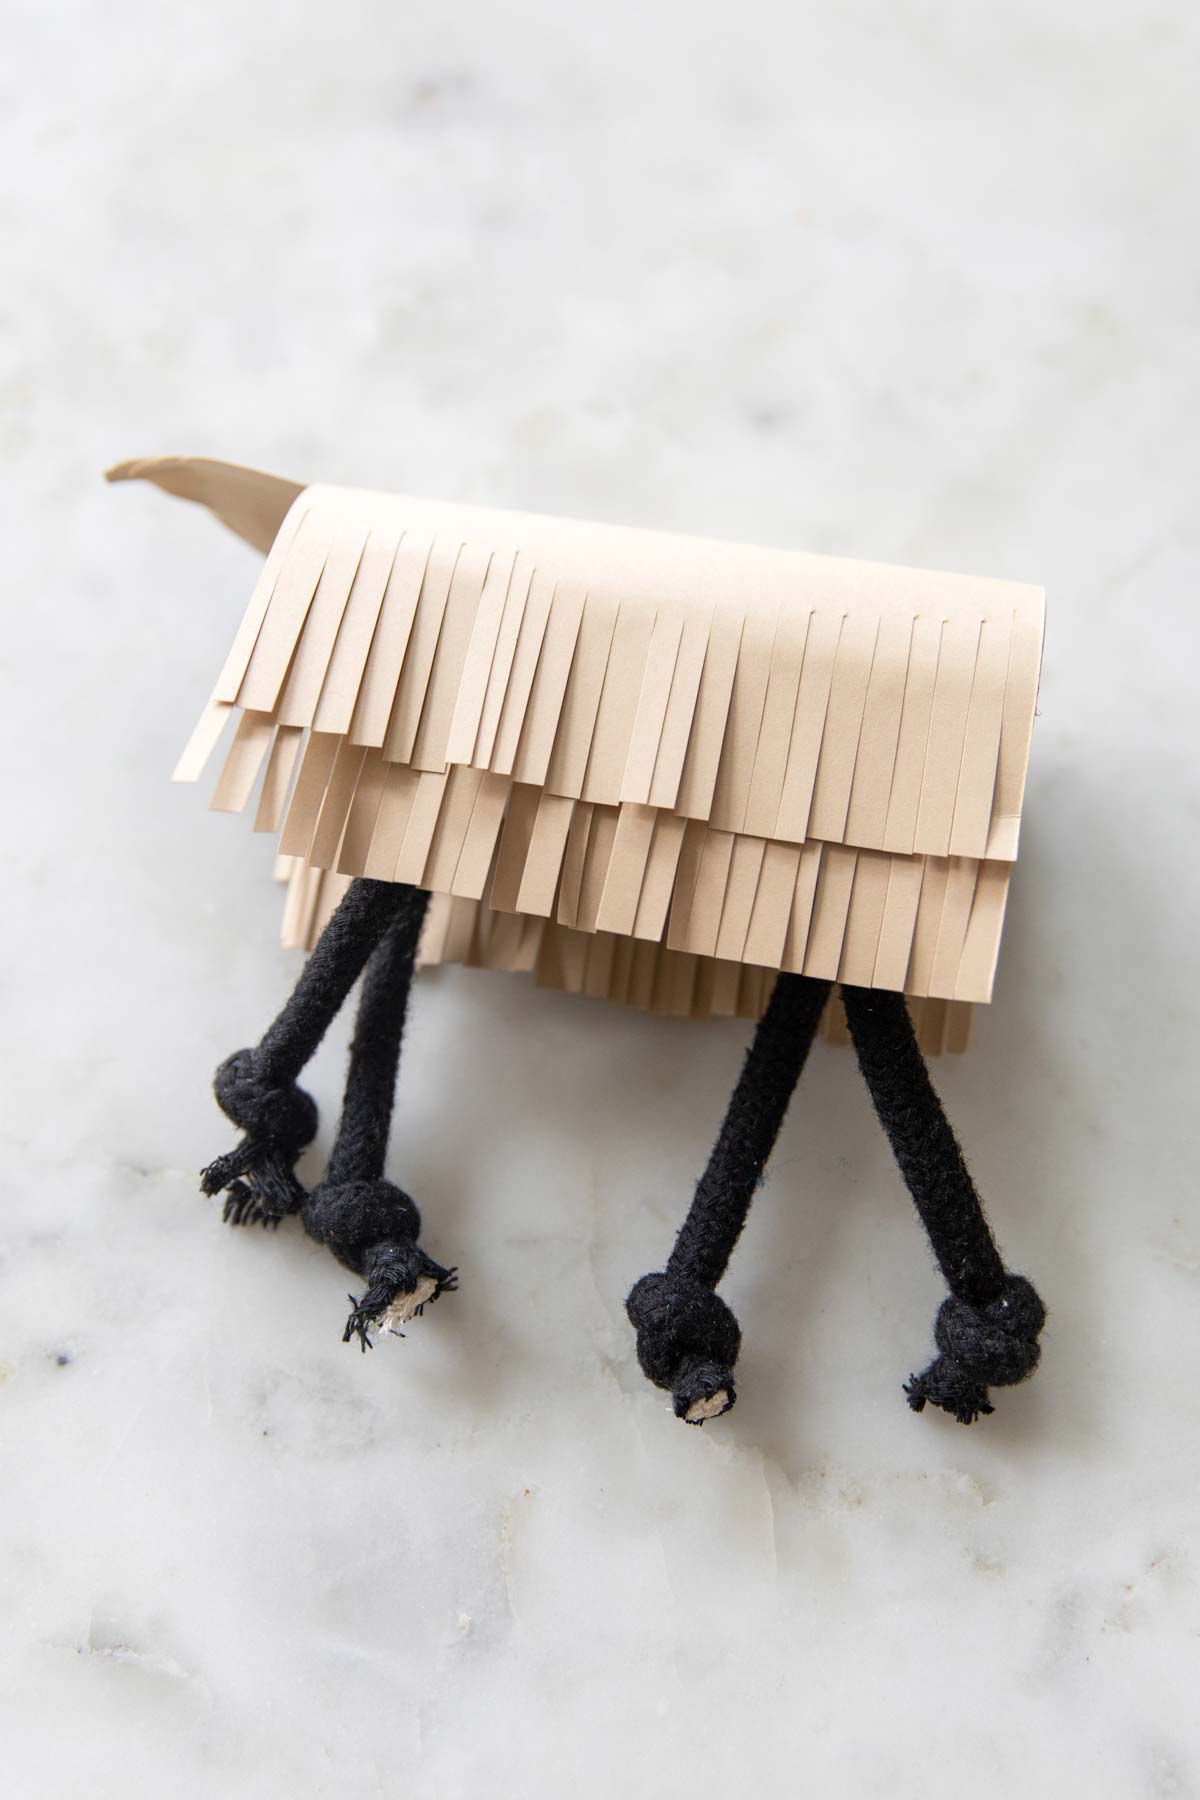
5. Glue the larger fringed rectangle over the toilet paper roll. Then glue the smaller one on top. Glue the tail to one end as well.
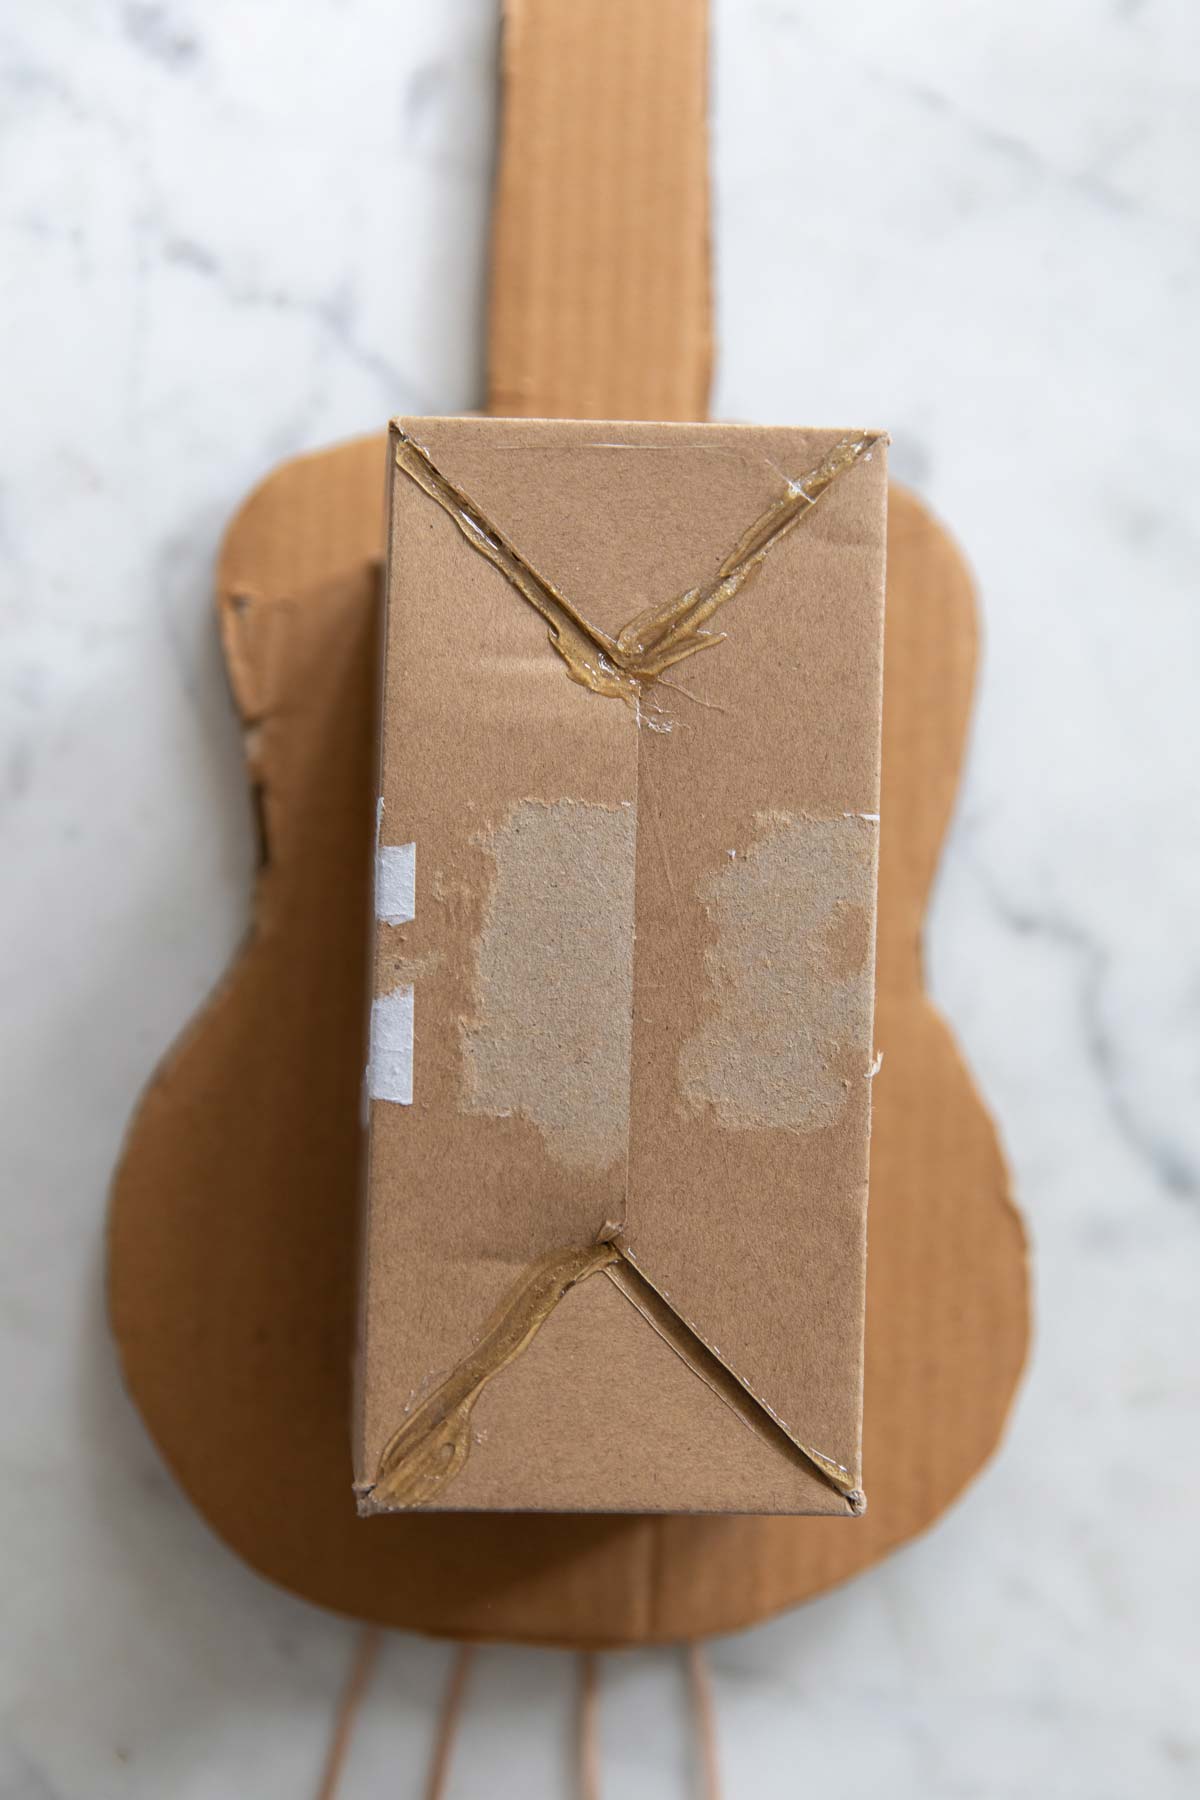
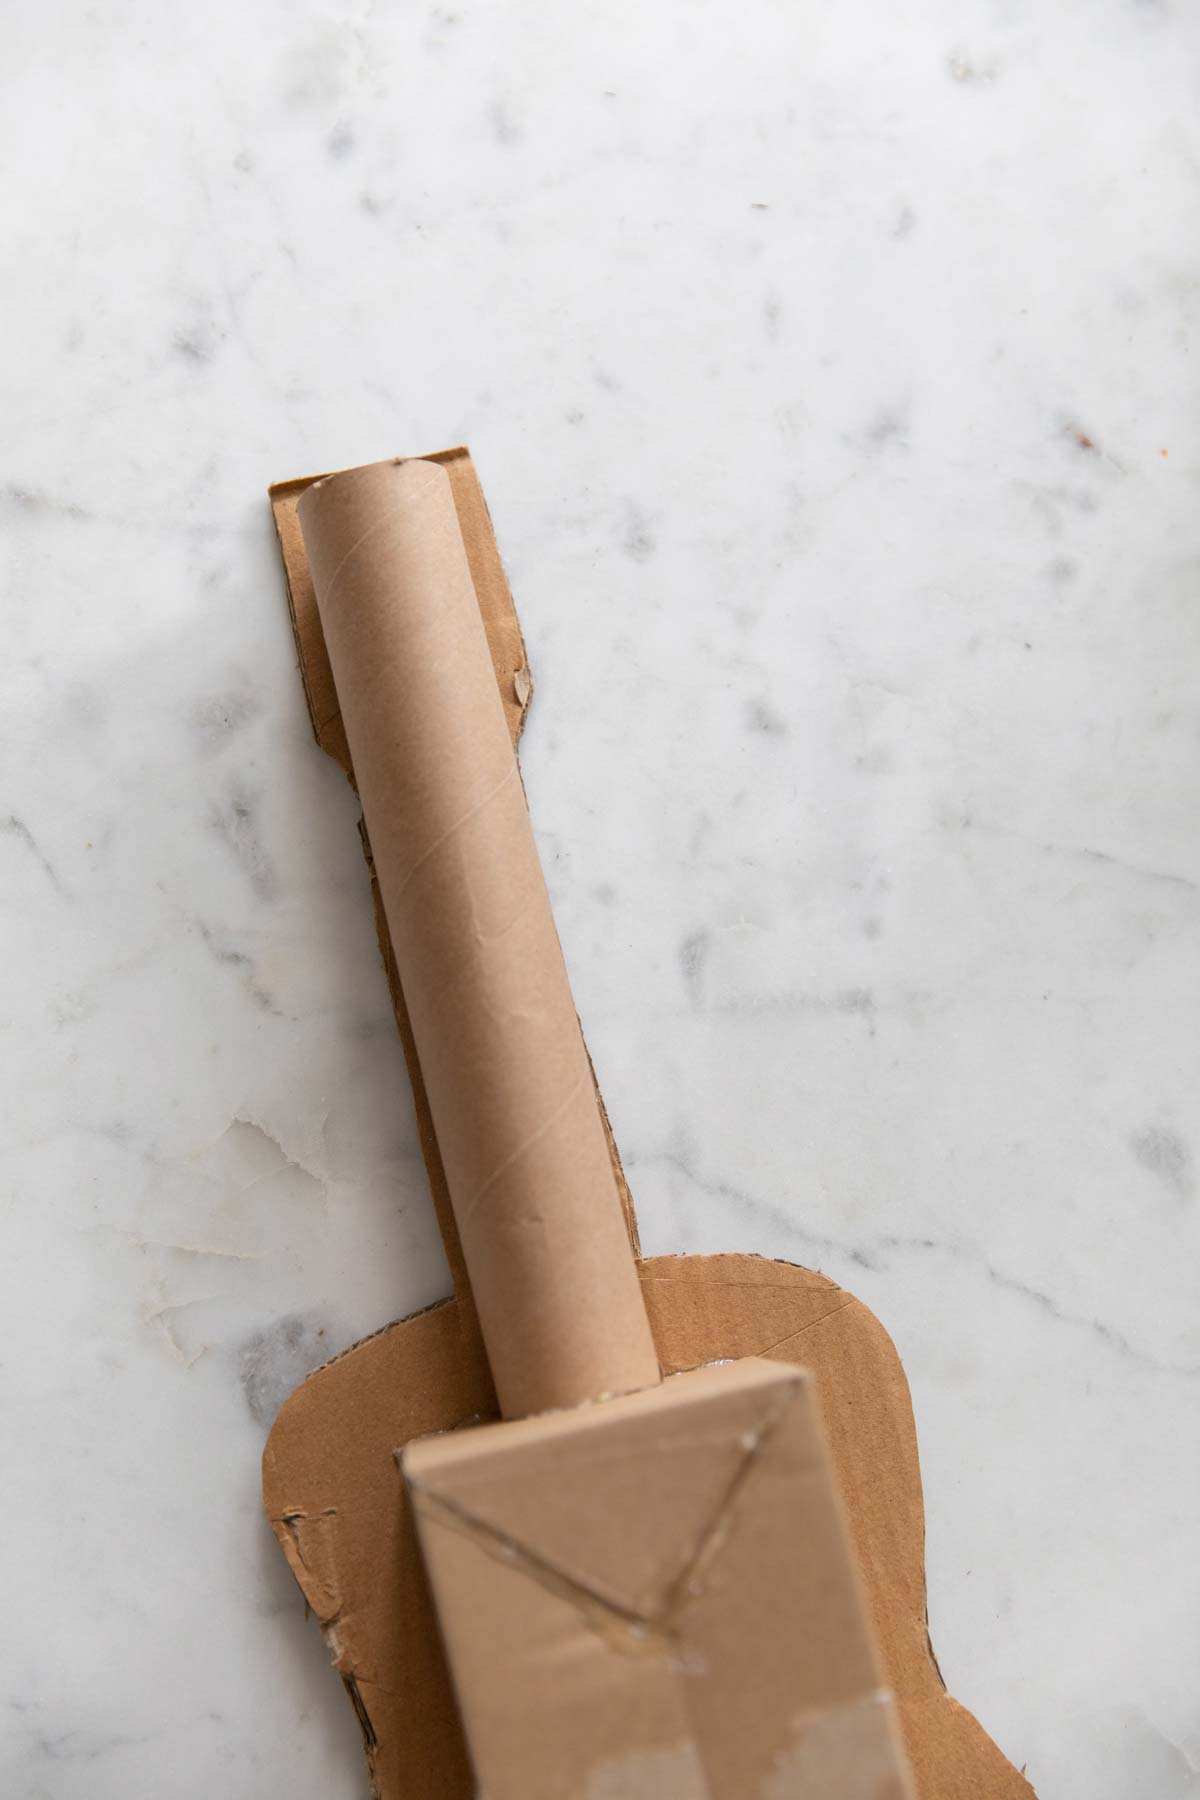
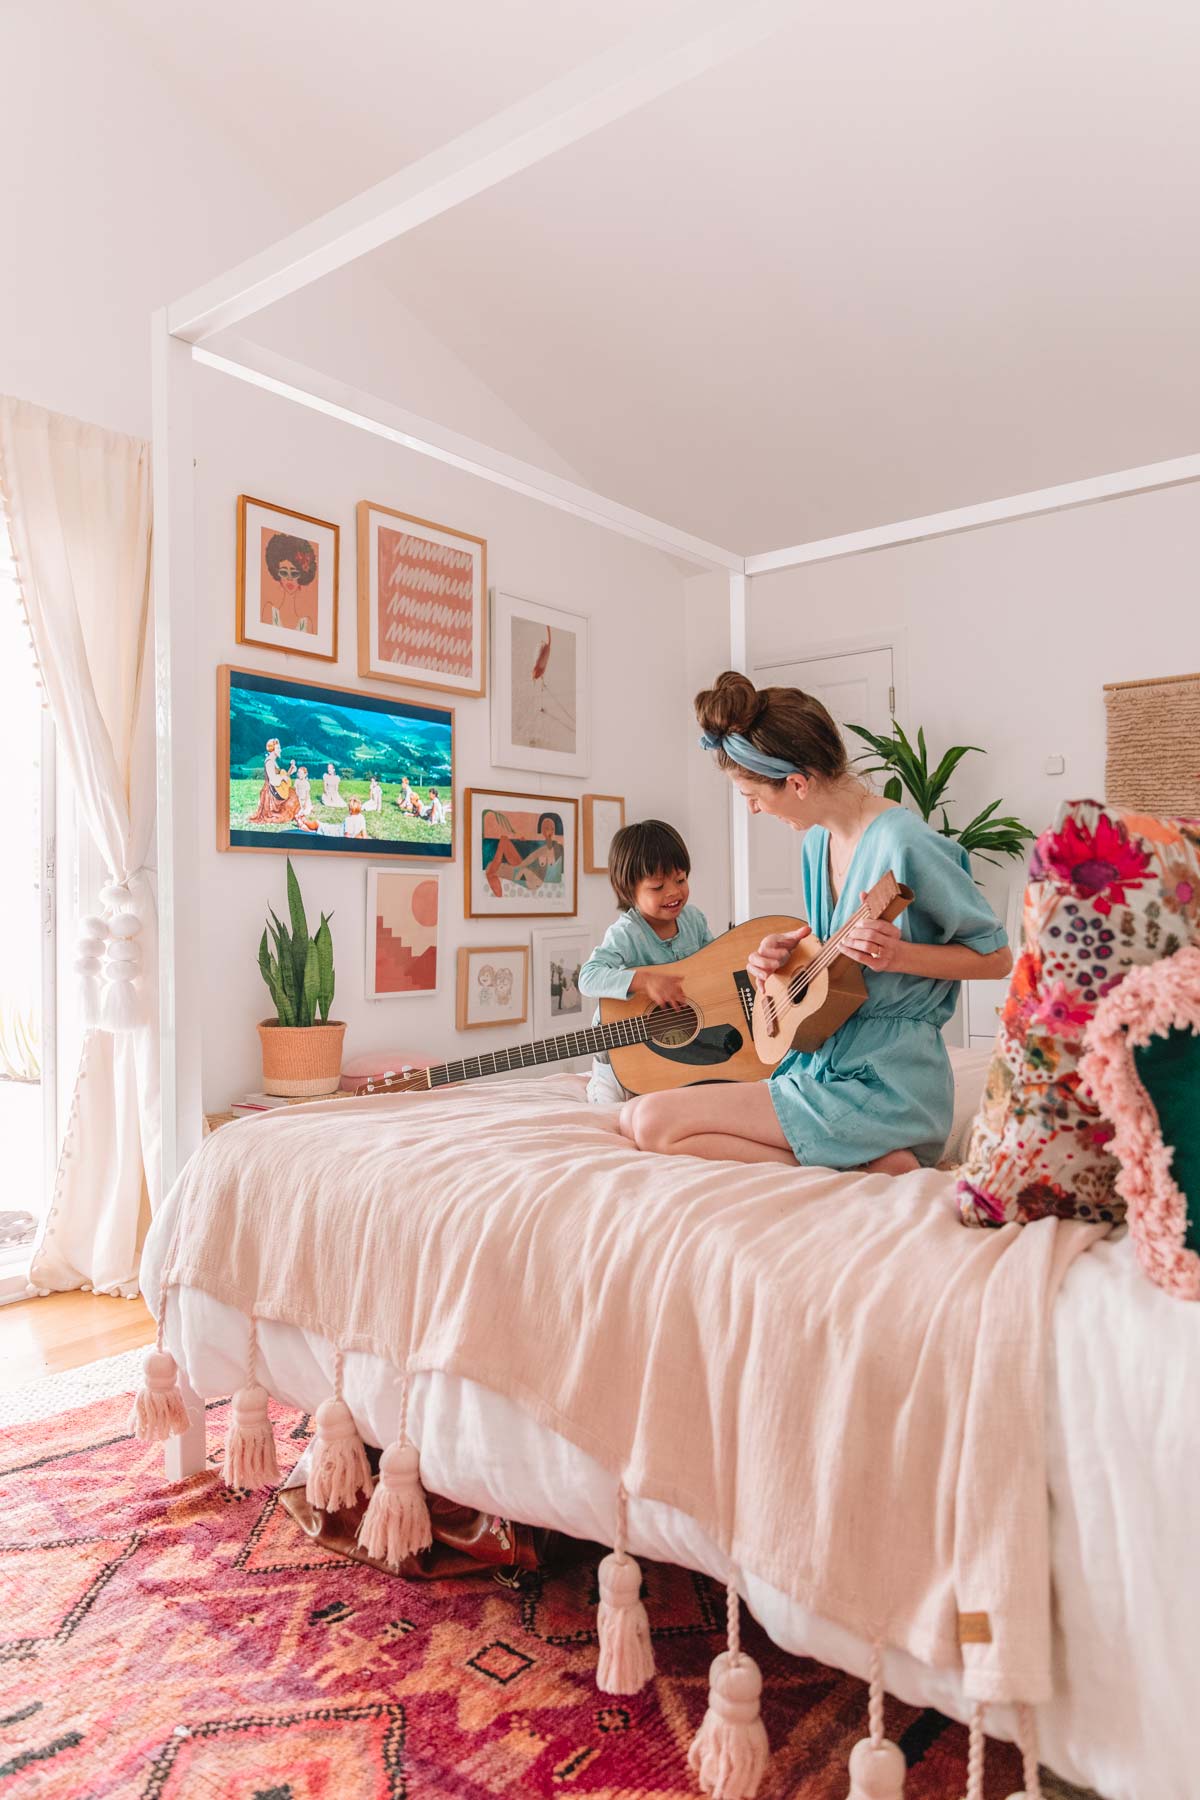
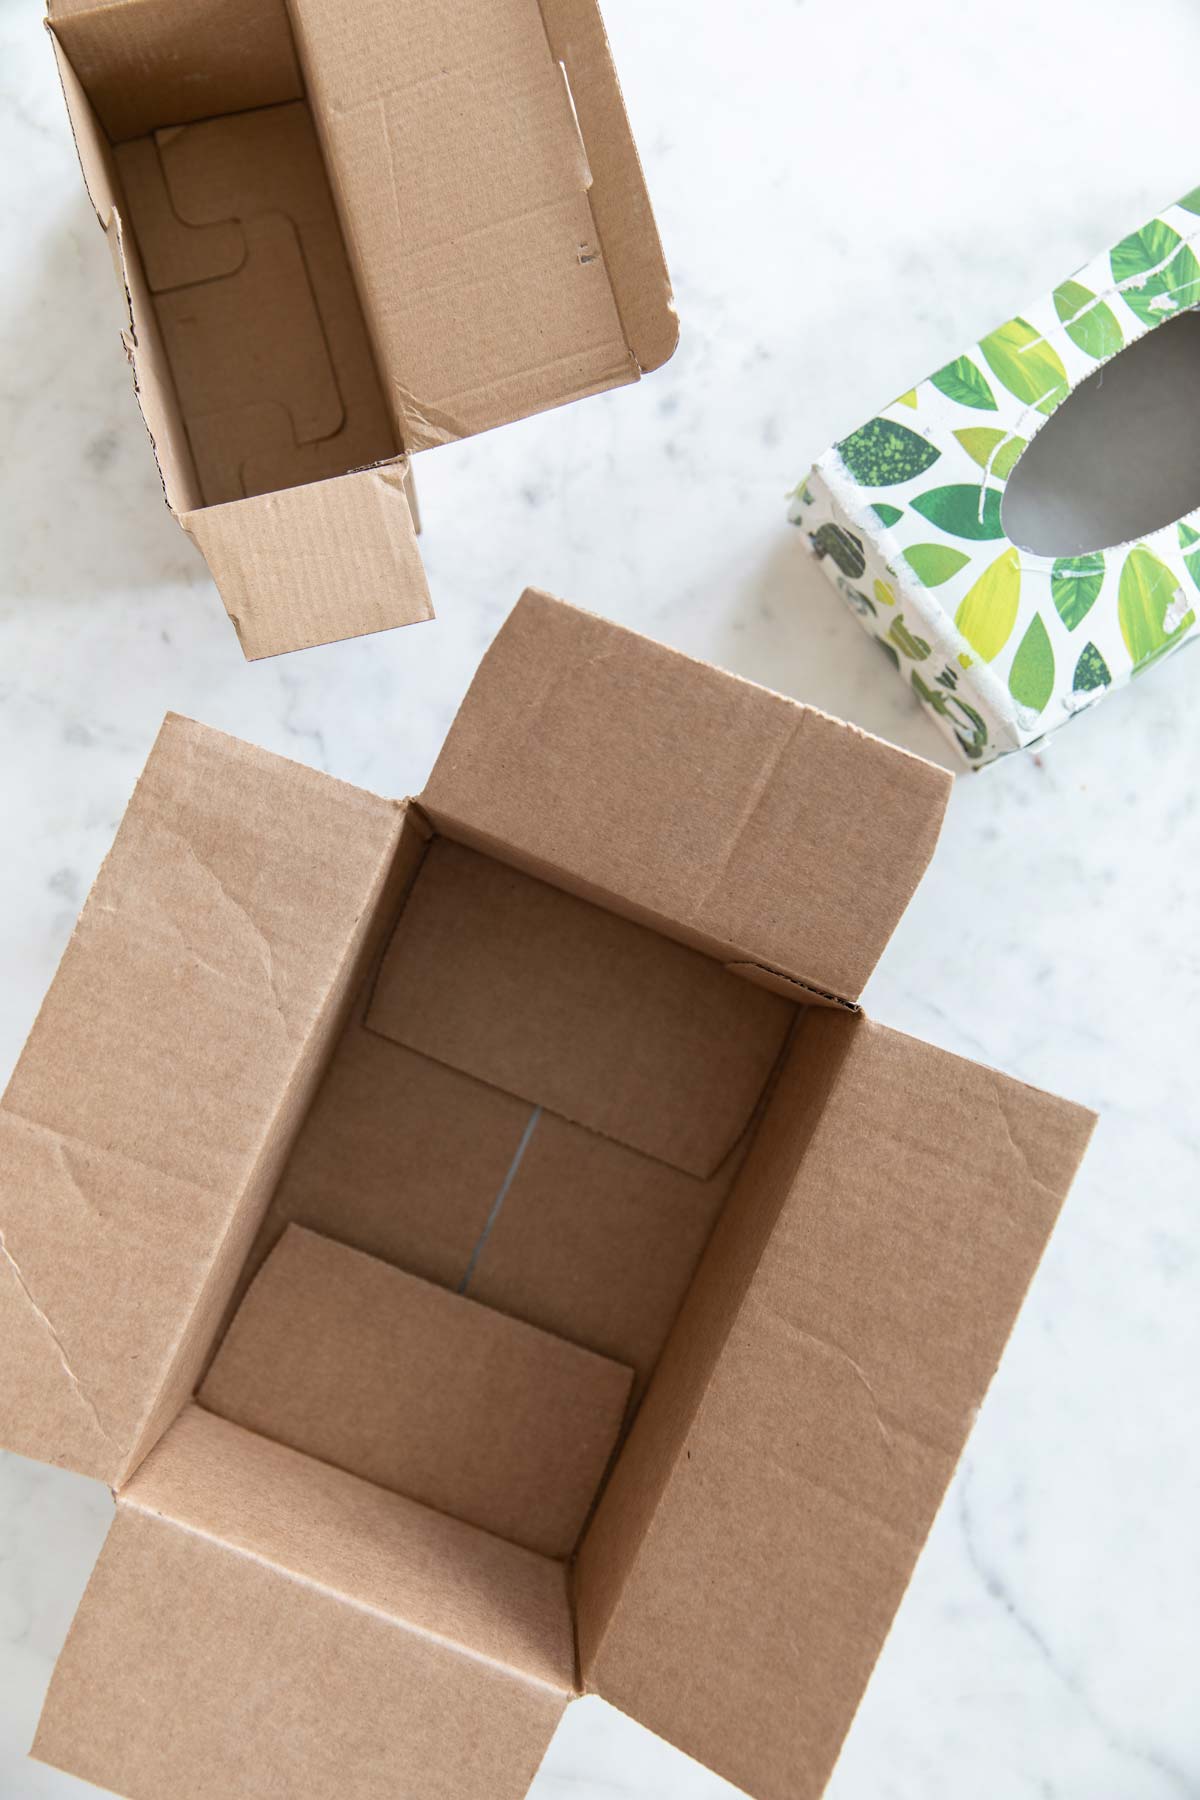
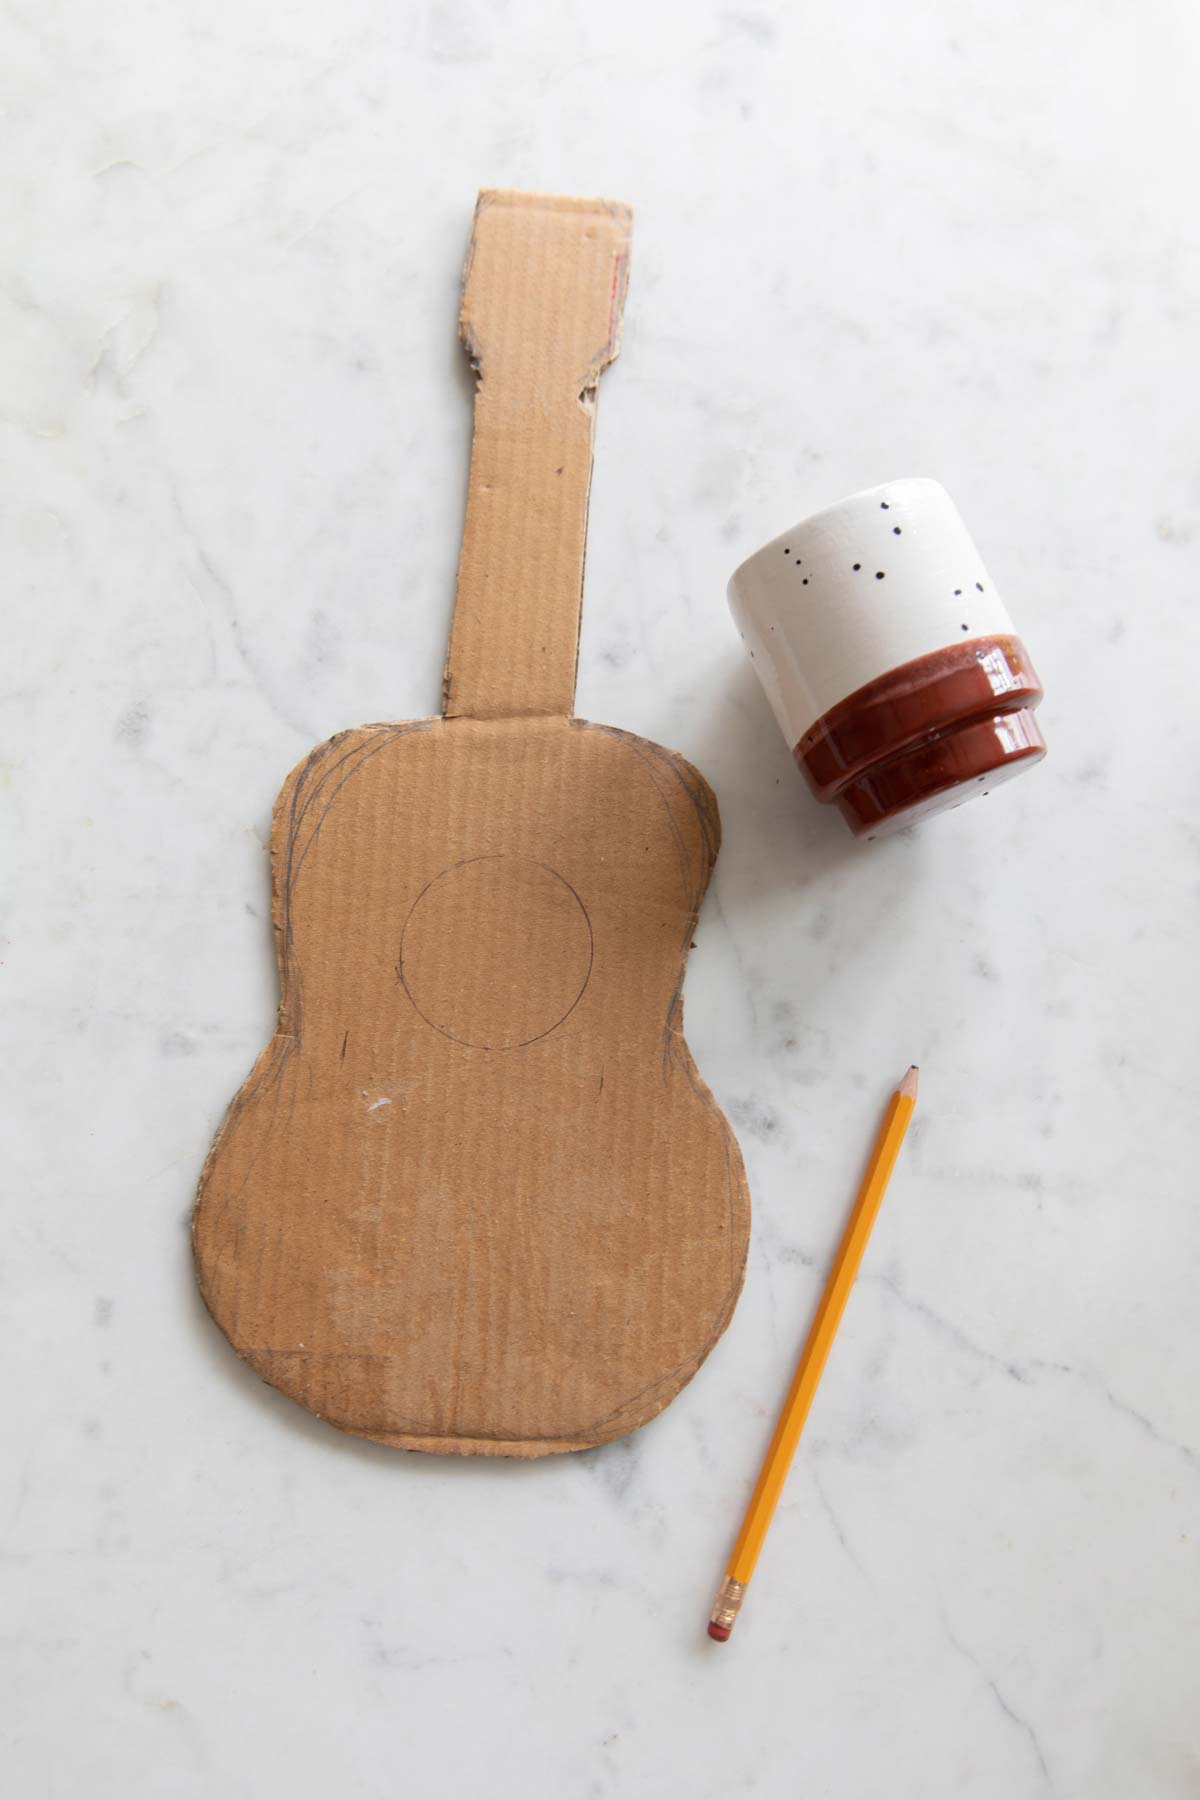
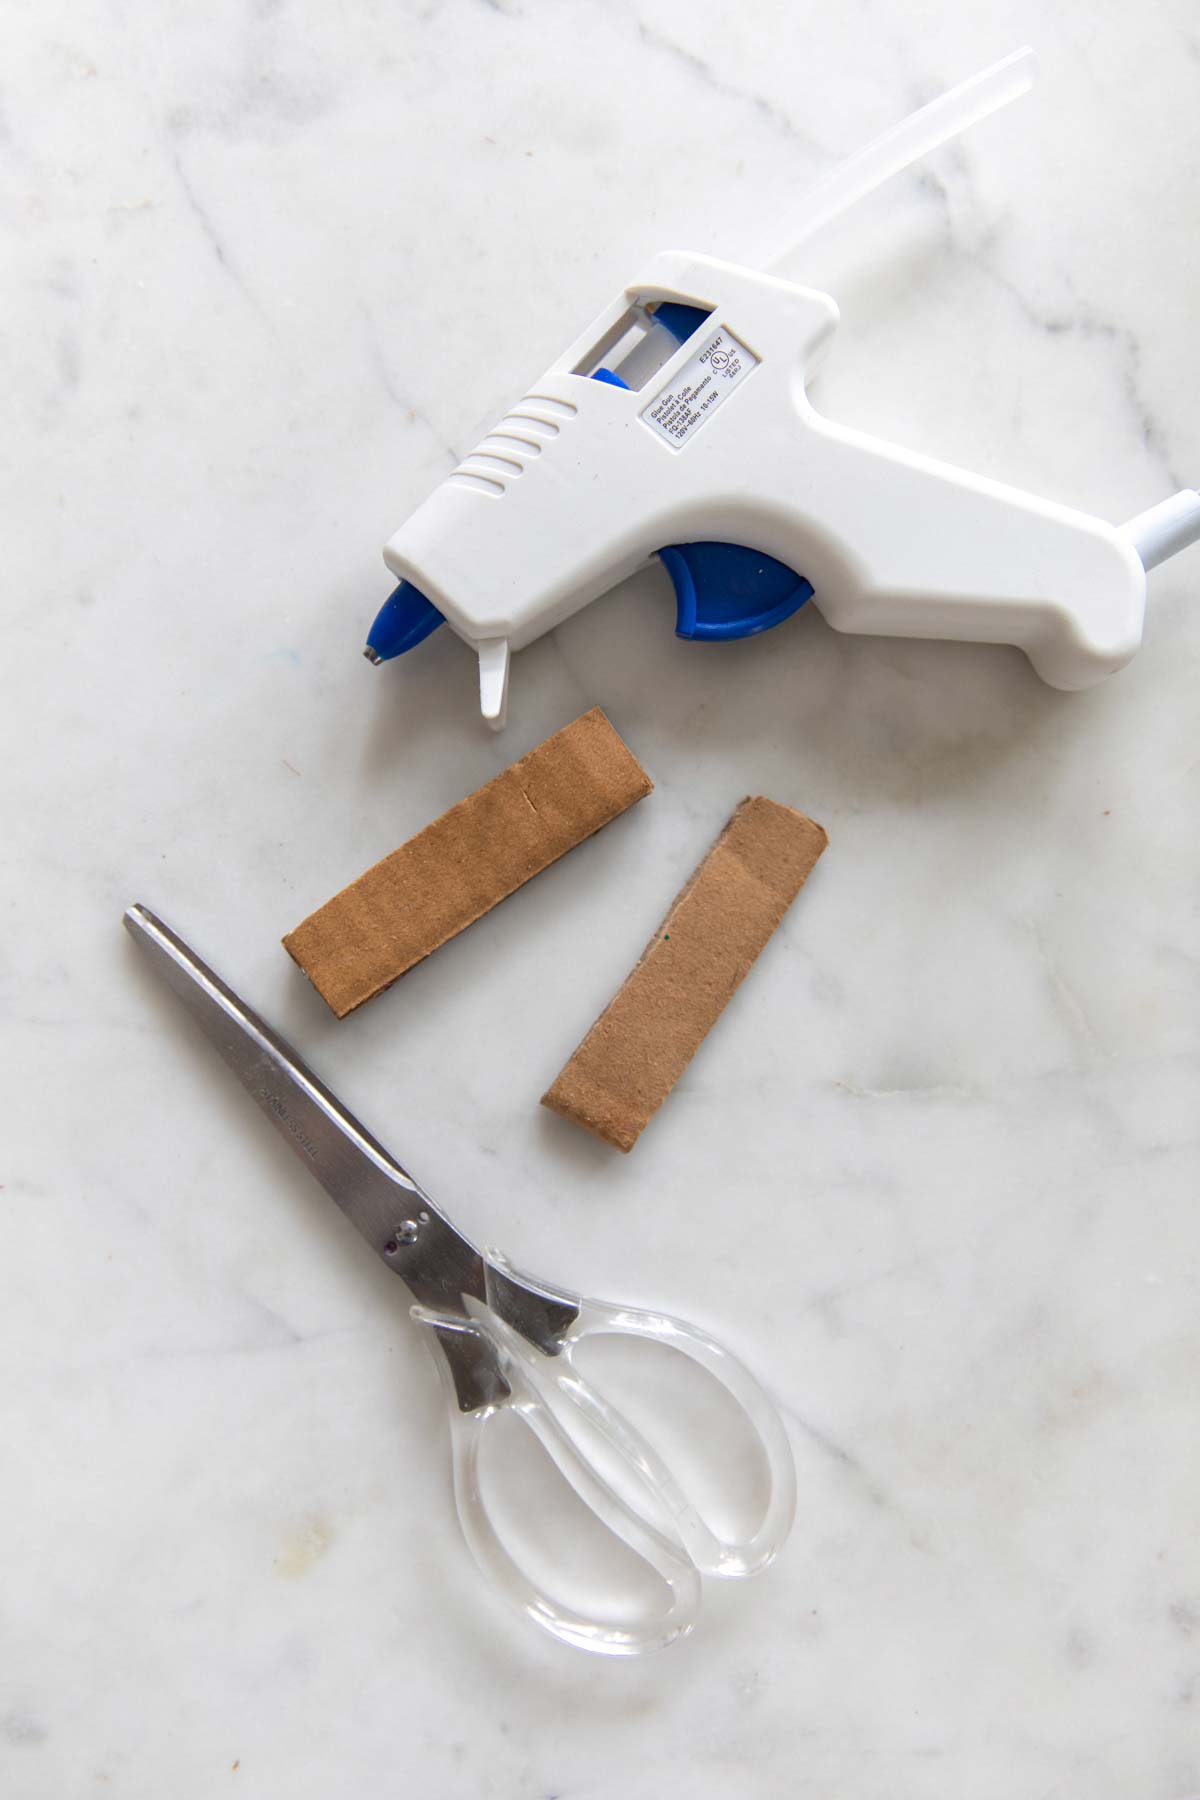
Cardboard Guitar
Supplies Needed:
1. Cardboard box
2. Scrap cardboard
3. Cardboard Tube (paper towel tube or wrapping paper tube work great!)
4. Four rubber bands
5. Marker or paint
6. Scissors
7. Hot glue
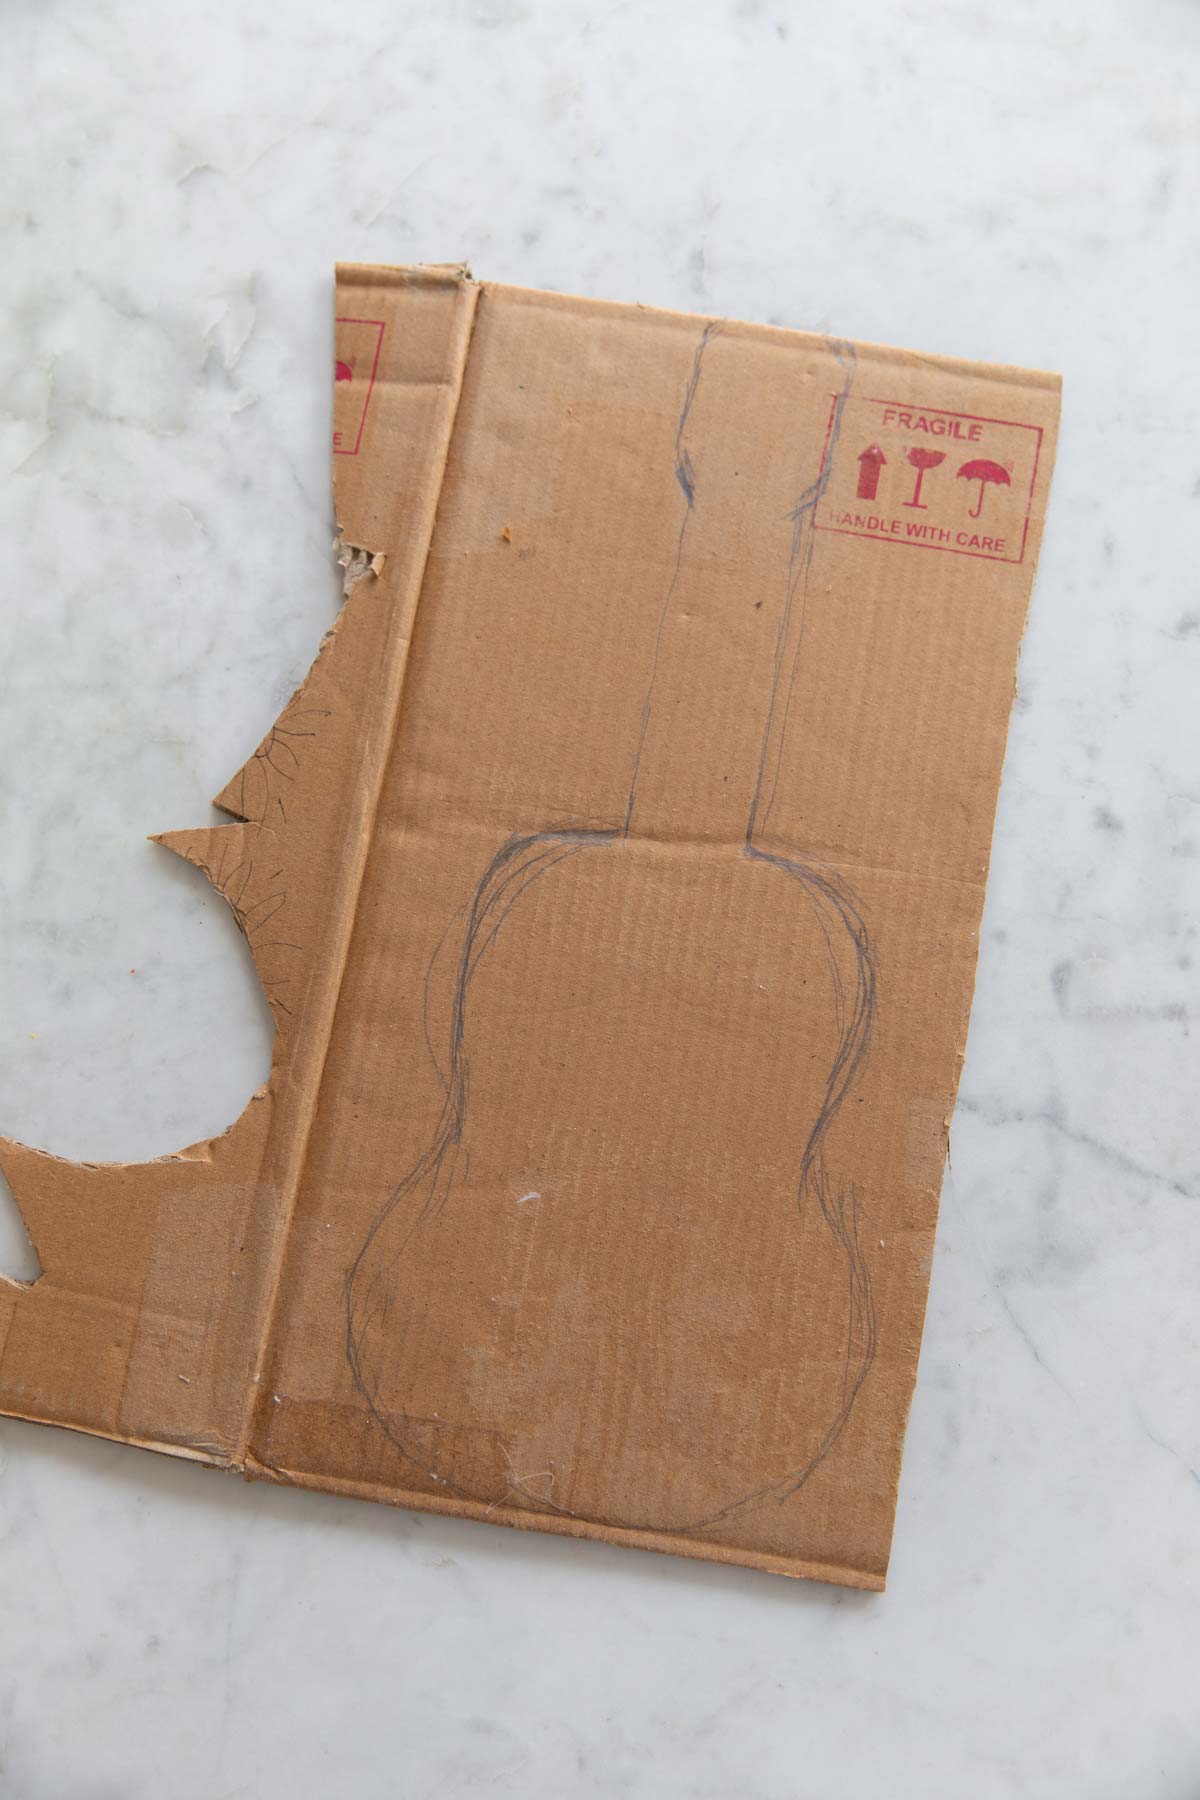
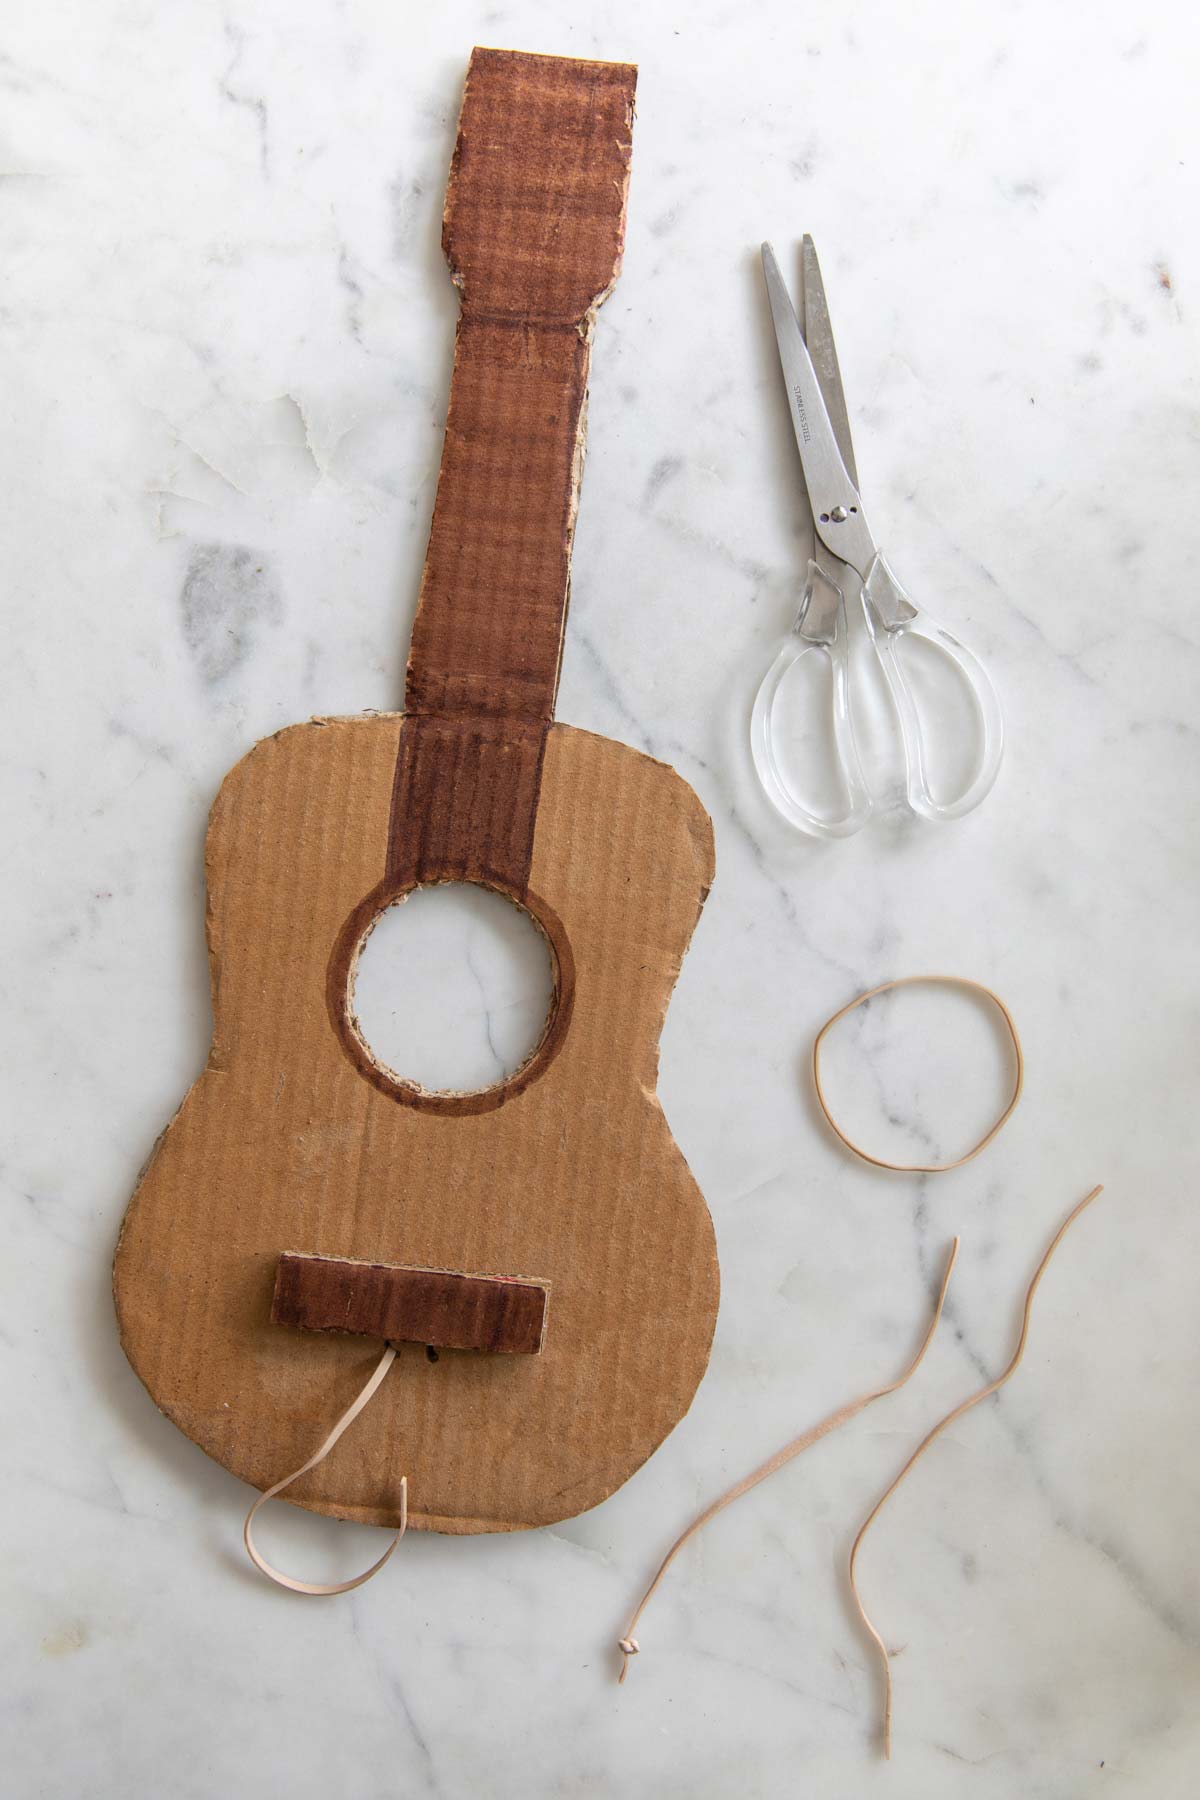
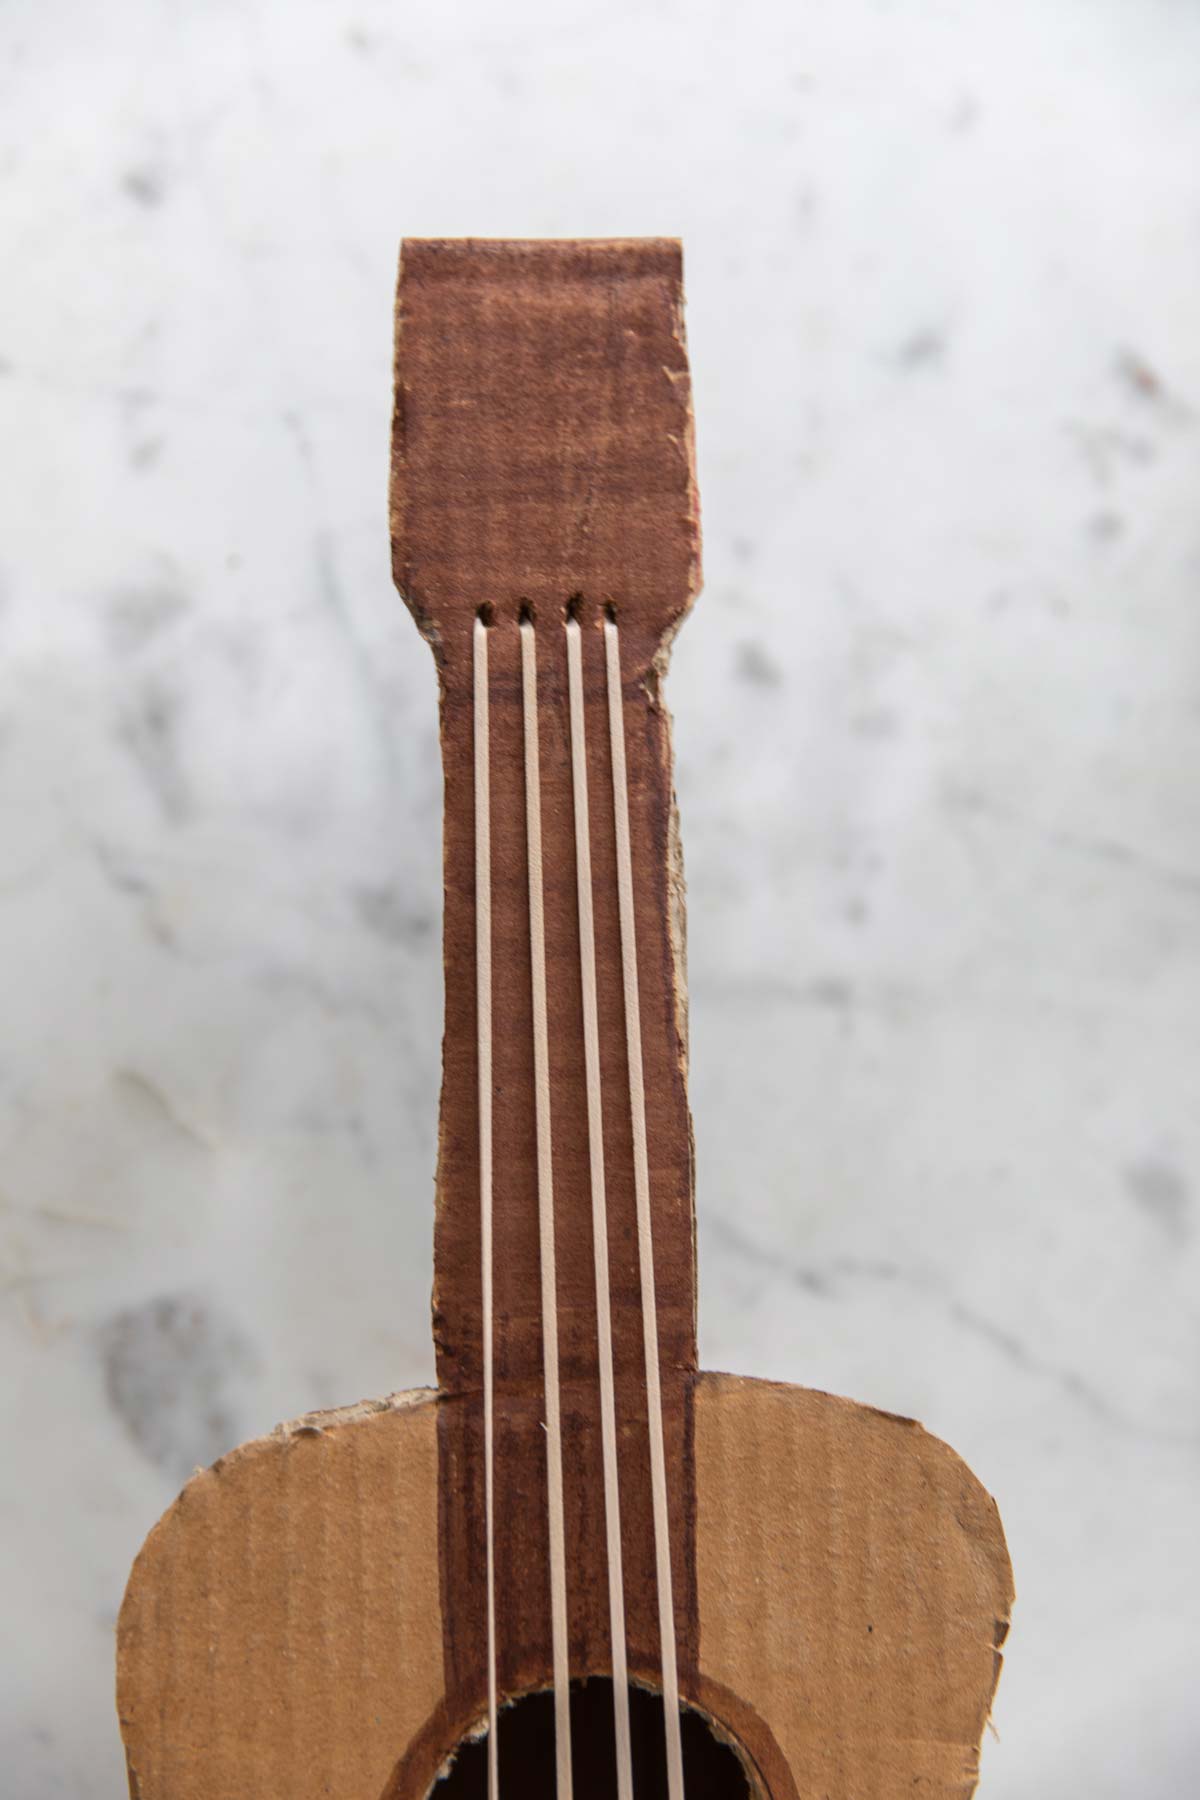
5. Use paint or a marker to color the small strip you just glued on, the handle and around the circle a darker brown as shown.
6. Poke four holes just below the strip you glued on. Then cut four rubber bands so they become long strips.
7. Tie a double knot in one end of each rubber band and string one through each hole, with the knots on the back side of the guitar.