We partnered with Katie Oxman of @KatherineAlice to create a flower crown inspired by THE SOUND OF MUSIC. Just as Maria created playclothes for the von Trapp children using old curtains, you can upcycle your clothes and fabric scraps – and even curtains! – to create a DIY flower crown. Gather a few fabric supplies from around your home to put together this fun craft!
flower crown
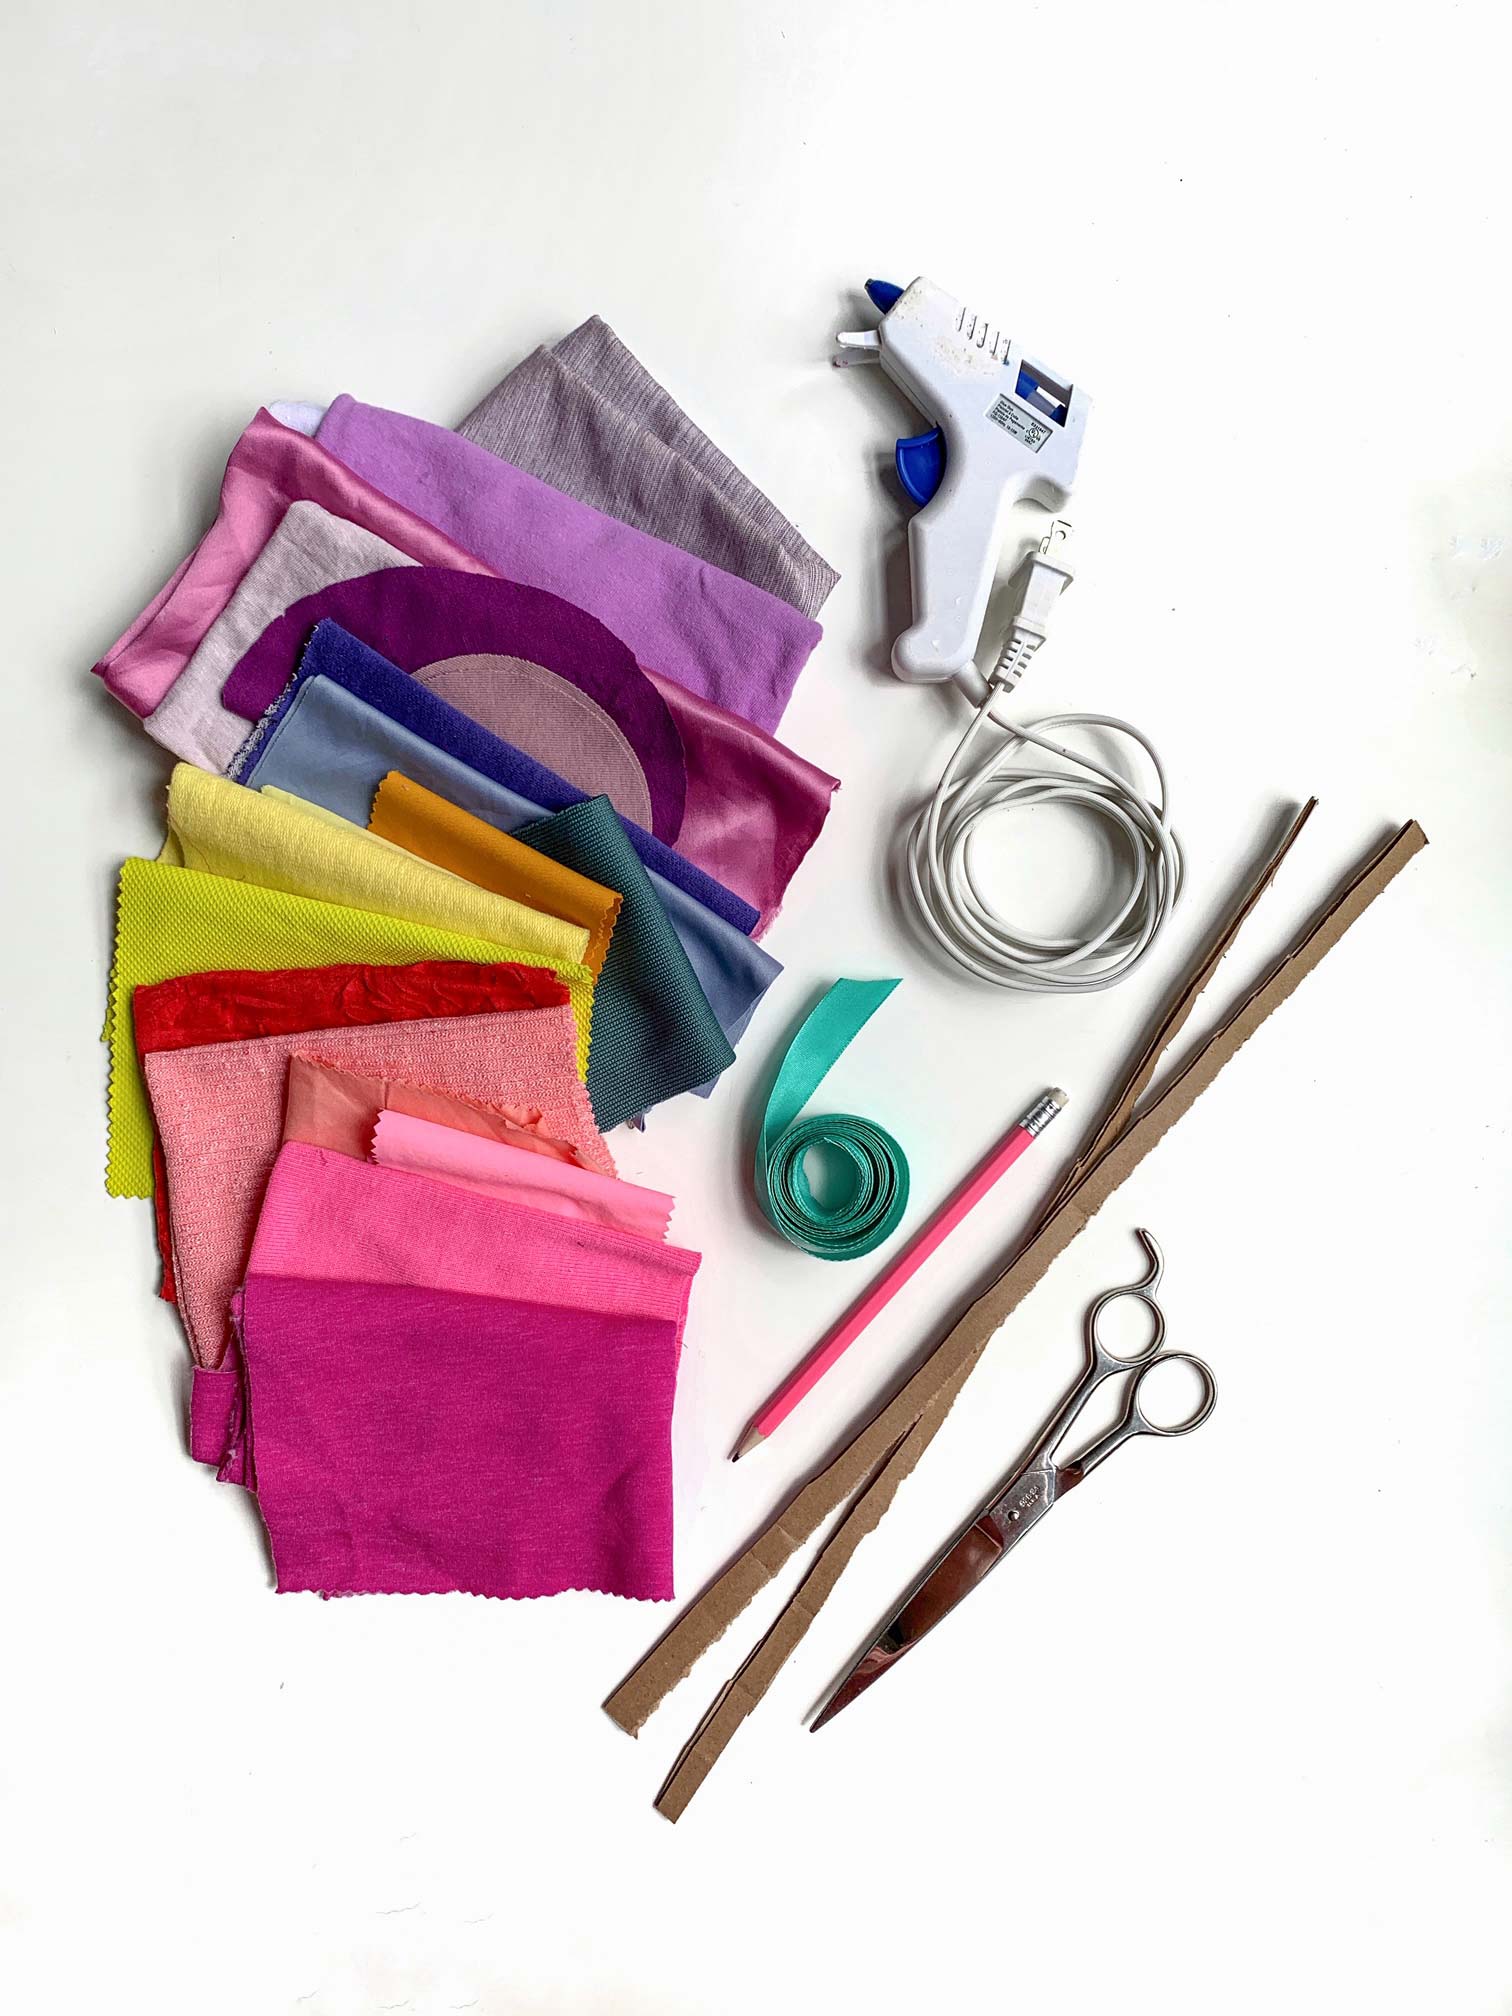
Supplies Needed:
1. Scraps of fabric; old curtains, clothes, sheets, scarves, etc.
2. Two strips of cardboard
3. Hot glue / tape
4. Ribbon of any kind, in any color
5. Pencil / marker
6. Scissors
7. The soundtrack to The Sound of Music for listening while you craft (optional, but recommended!) – listen on Spotfiy HERE.
1. Let’s start at the very beginning! Tape the thin long pieces of cardboard together to create your crown base. Measure the thin strips of cardboard to be the circumference of your head, and then cut and tape to size.
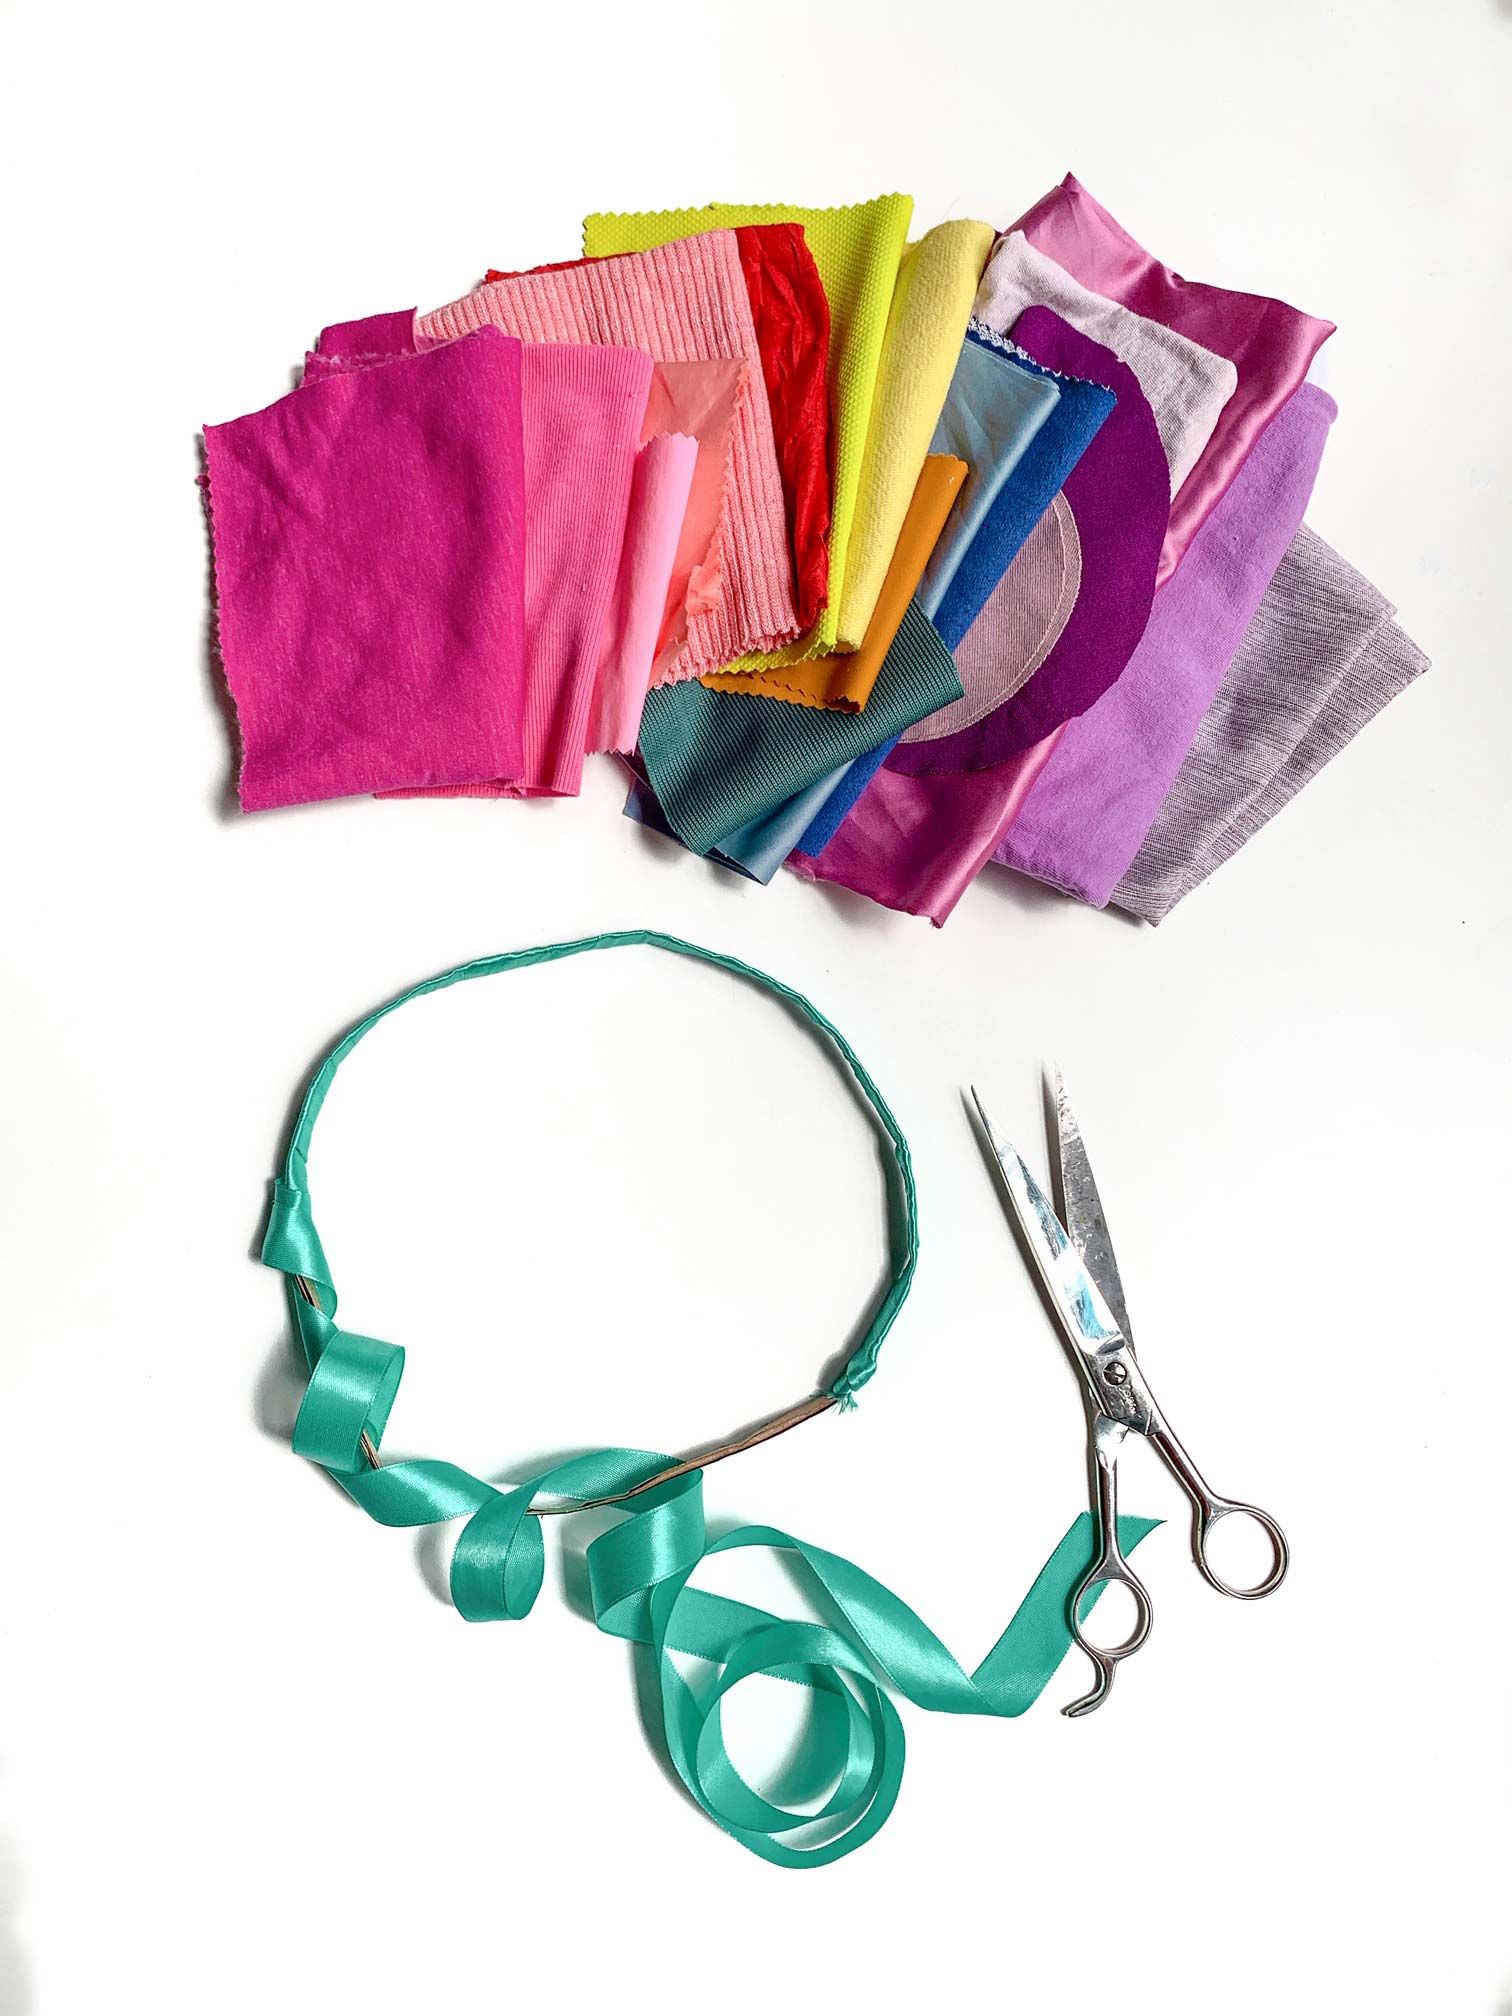
2. Tie the ribbon in a knot around the cardboard circle, and then slowly wrap it around the entire cardboard crown base. Finish by tying another knot or bow and let it flow!
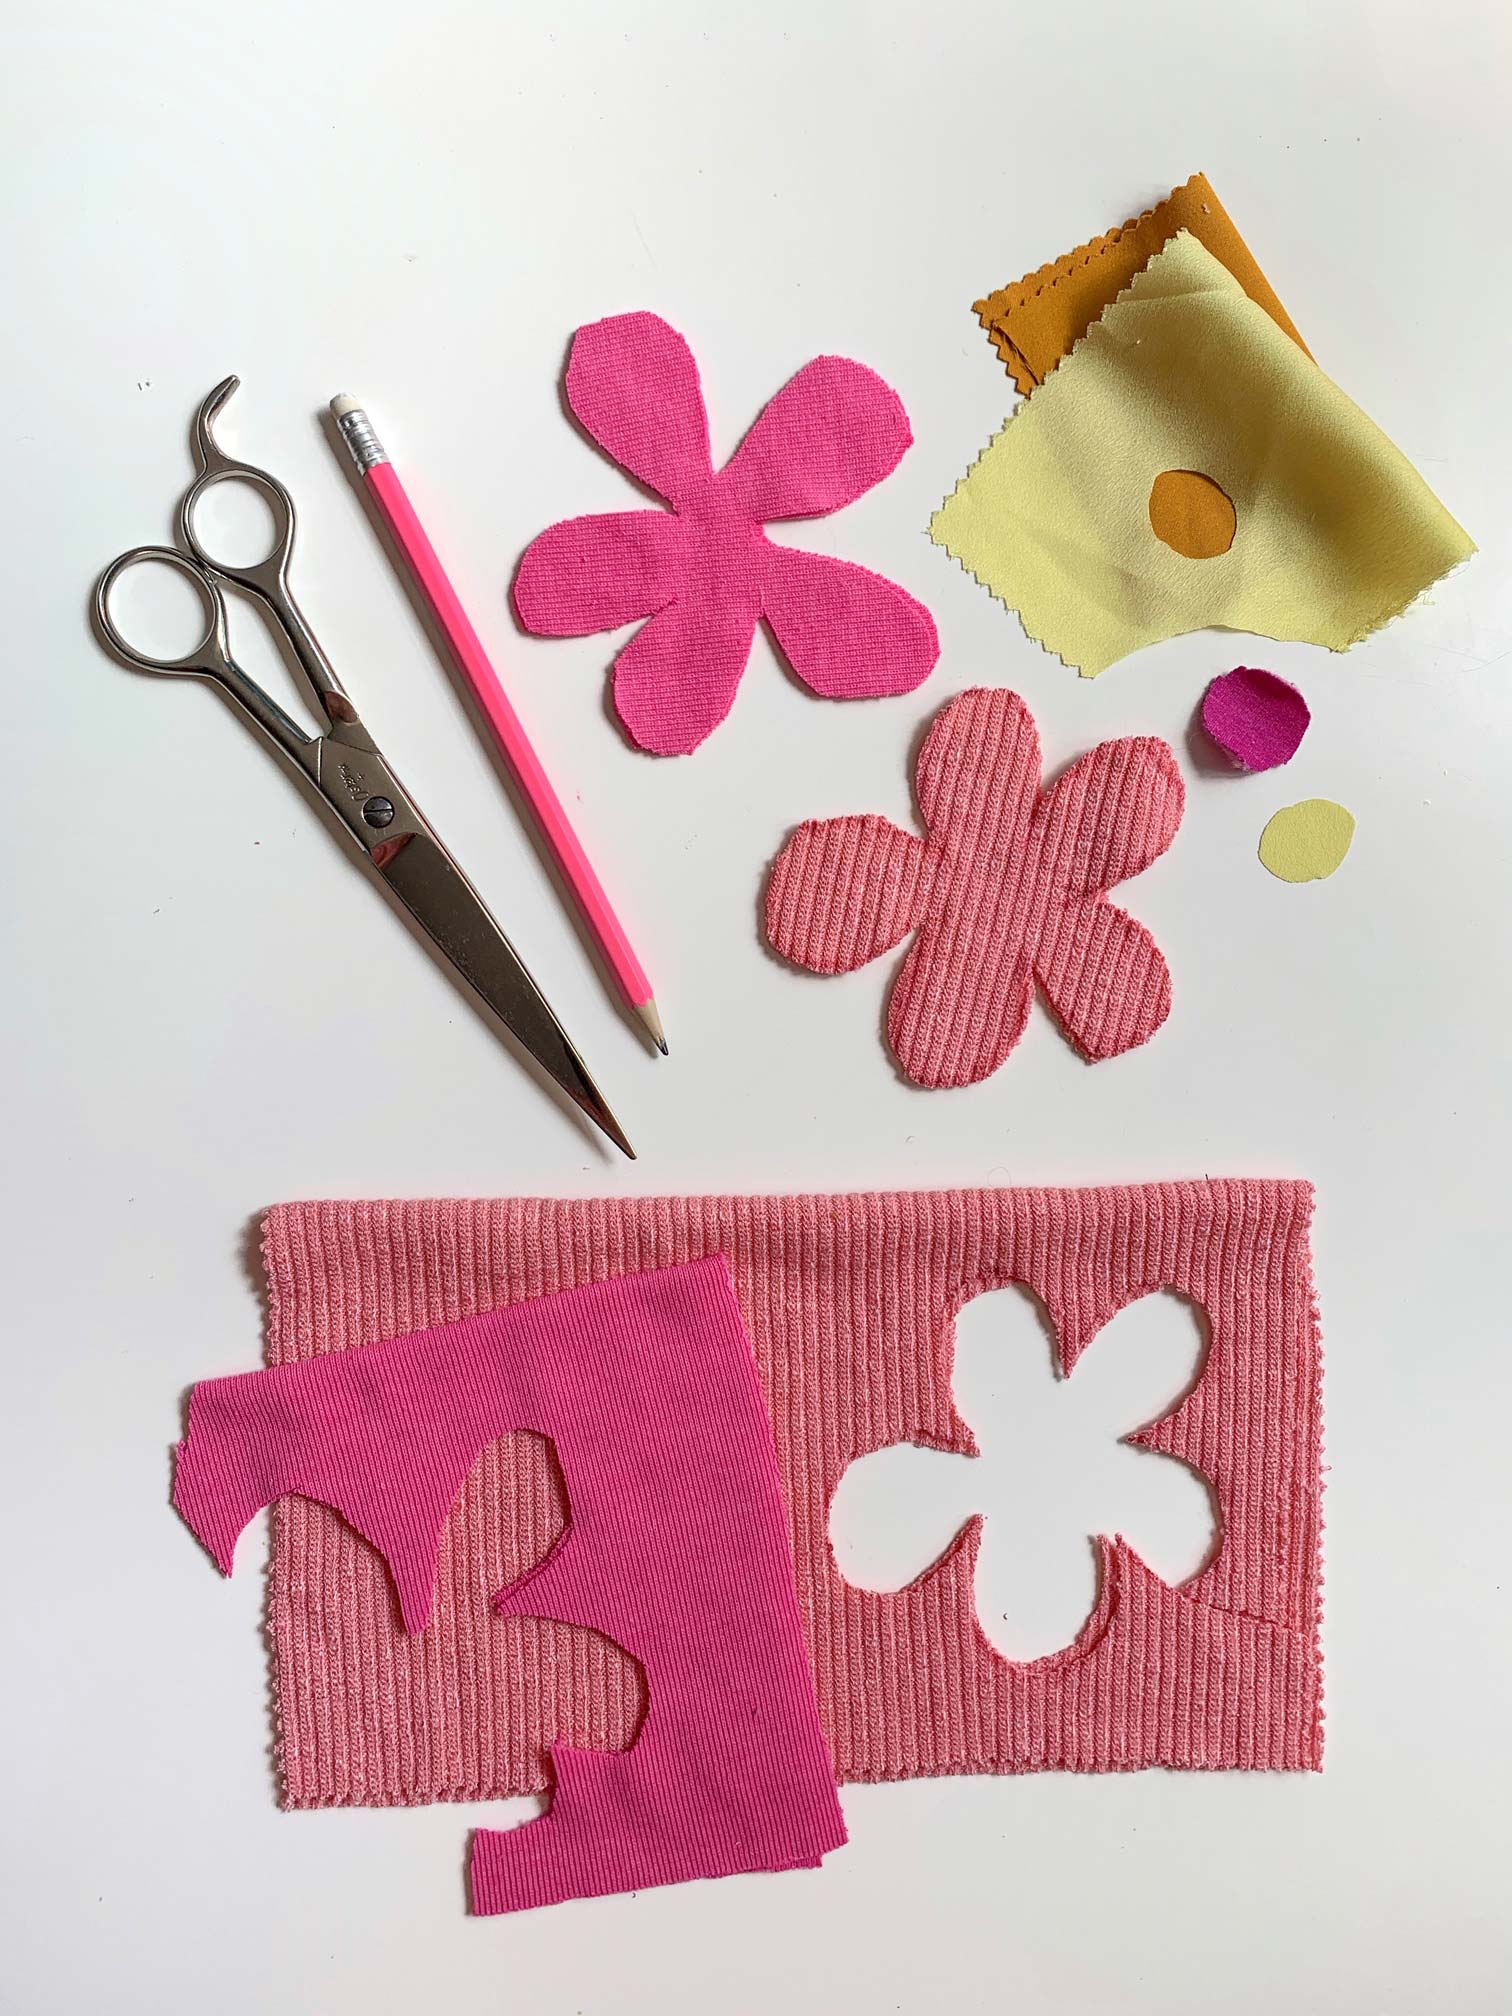
3. Use your pencil or marker to trace flowers on your fabric. Fold each piece in half first so there are two layers. I recommend the simple five-petal flower, but all flowers are welcome! Remember to cut out some small circles to be the center of your flowers. If you’re crafting with younger ones, this is a great opportunity to let the kiddos draw their flowers however they like – and then roughly cut out the flowers they create!
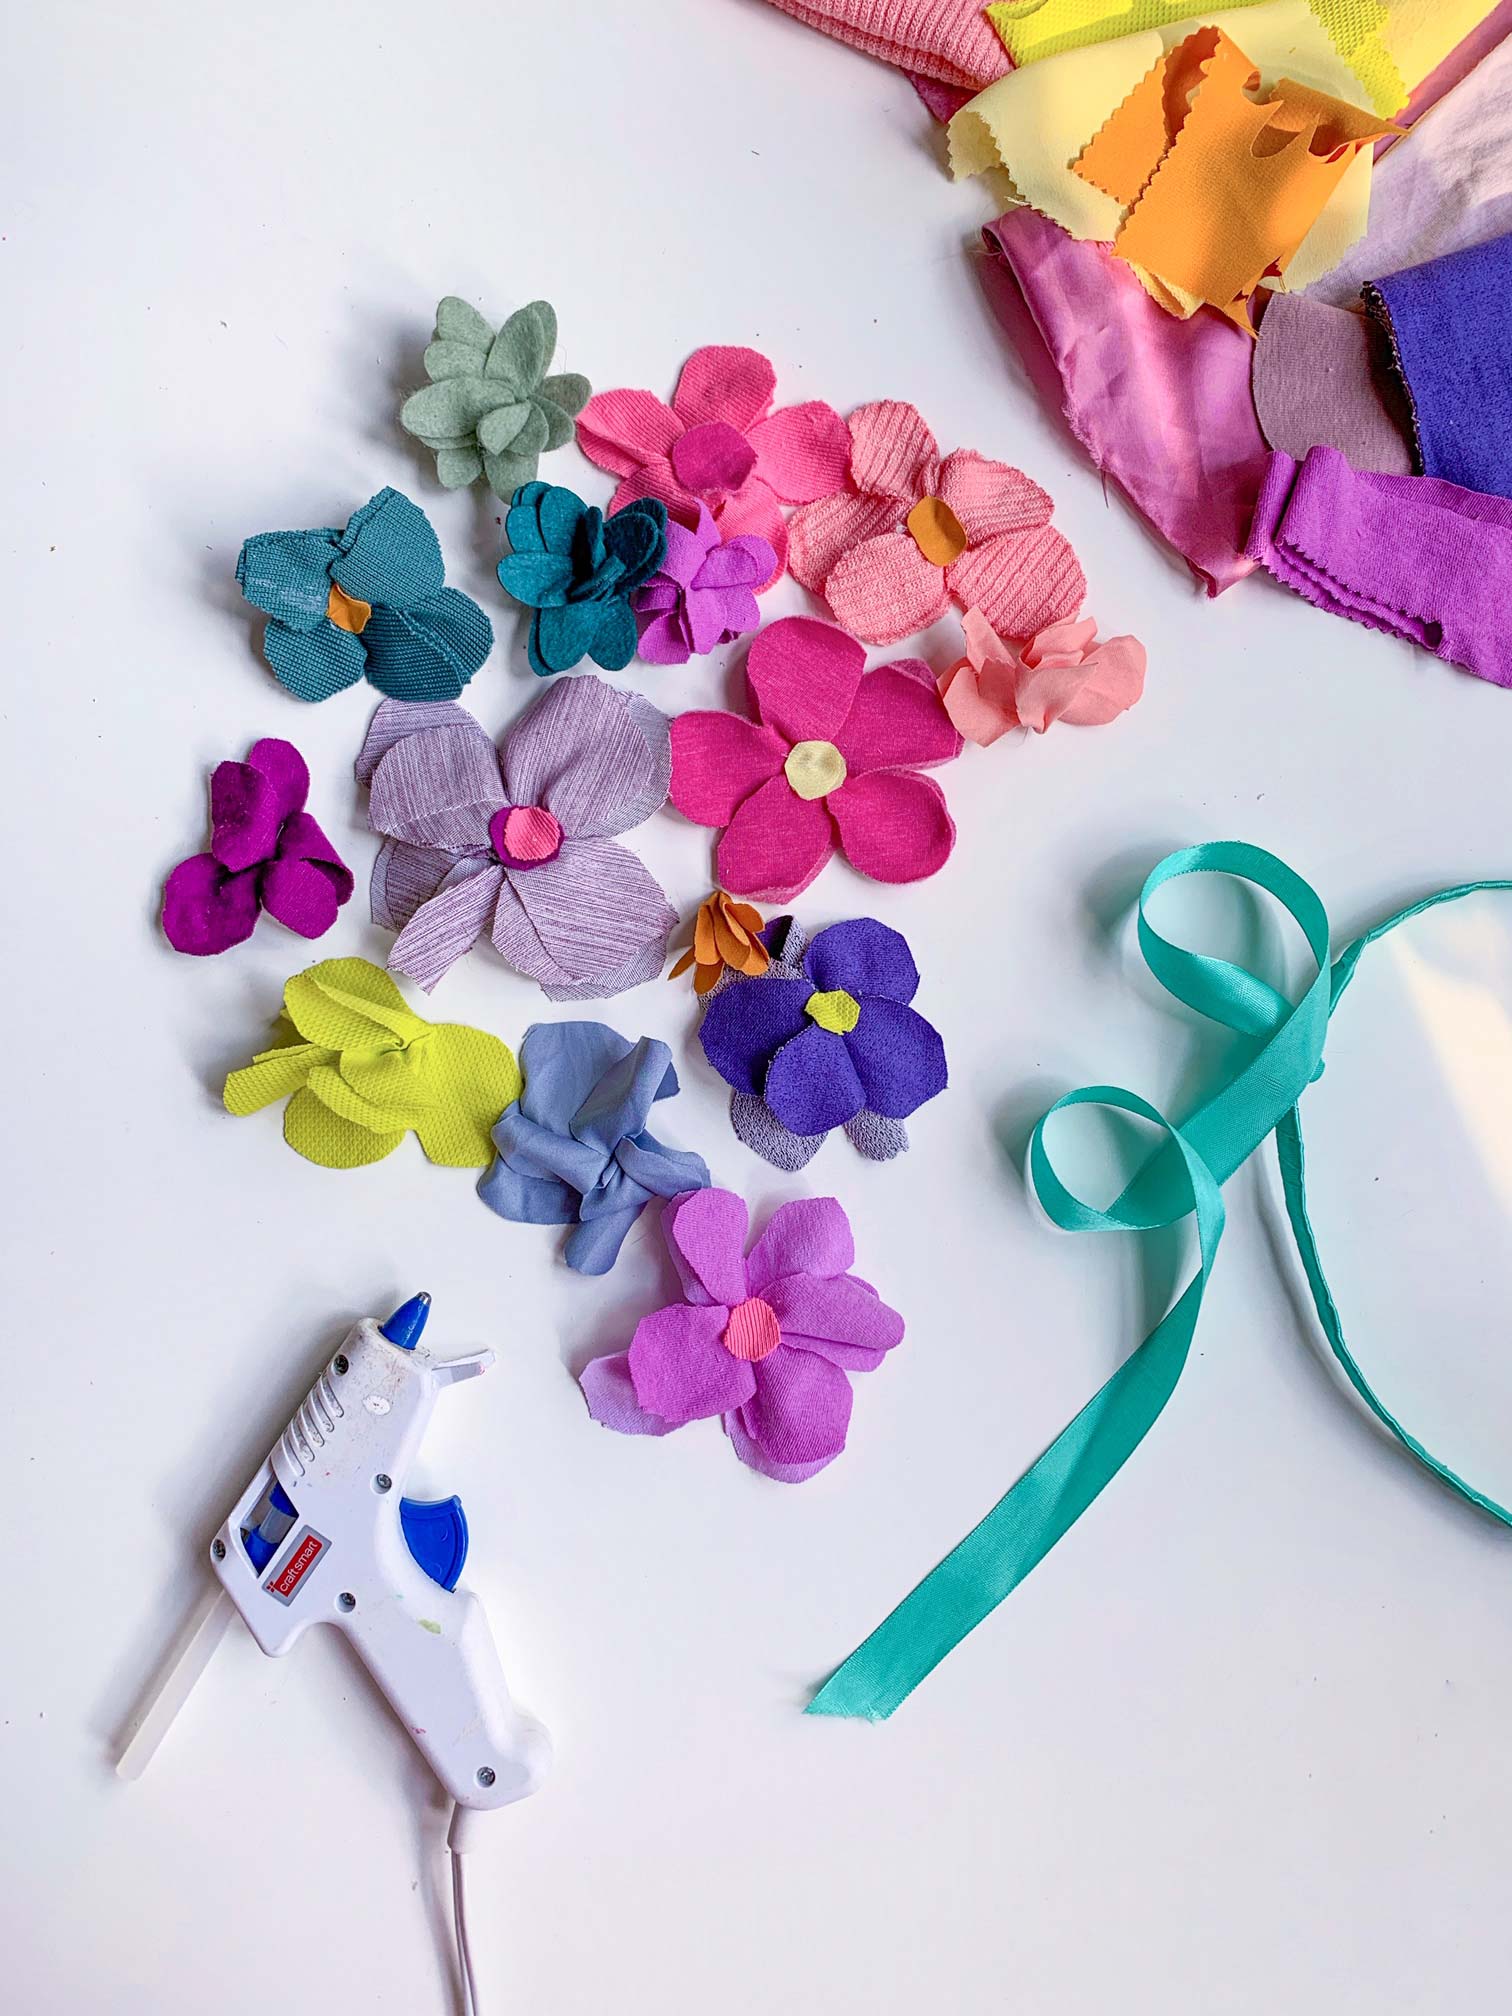
4. Bloom and grow forever! Once you've cut out your flowers, carefully put a little glue in the center to stick your two layers together. Then draw a small circle of glue in the center of your flower, and pinch *underneath* your flower to create their “bloom.” BE CAREFUL with thinner fabrics! To ensure you don't get burned, try leaving the glue for at least 5-10 seconds to cool before you pinch. Then add a final touch of glue in the center and you can add your small circles!
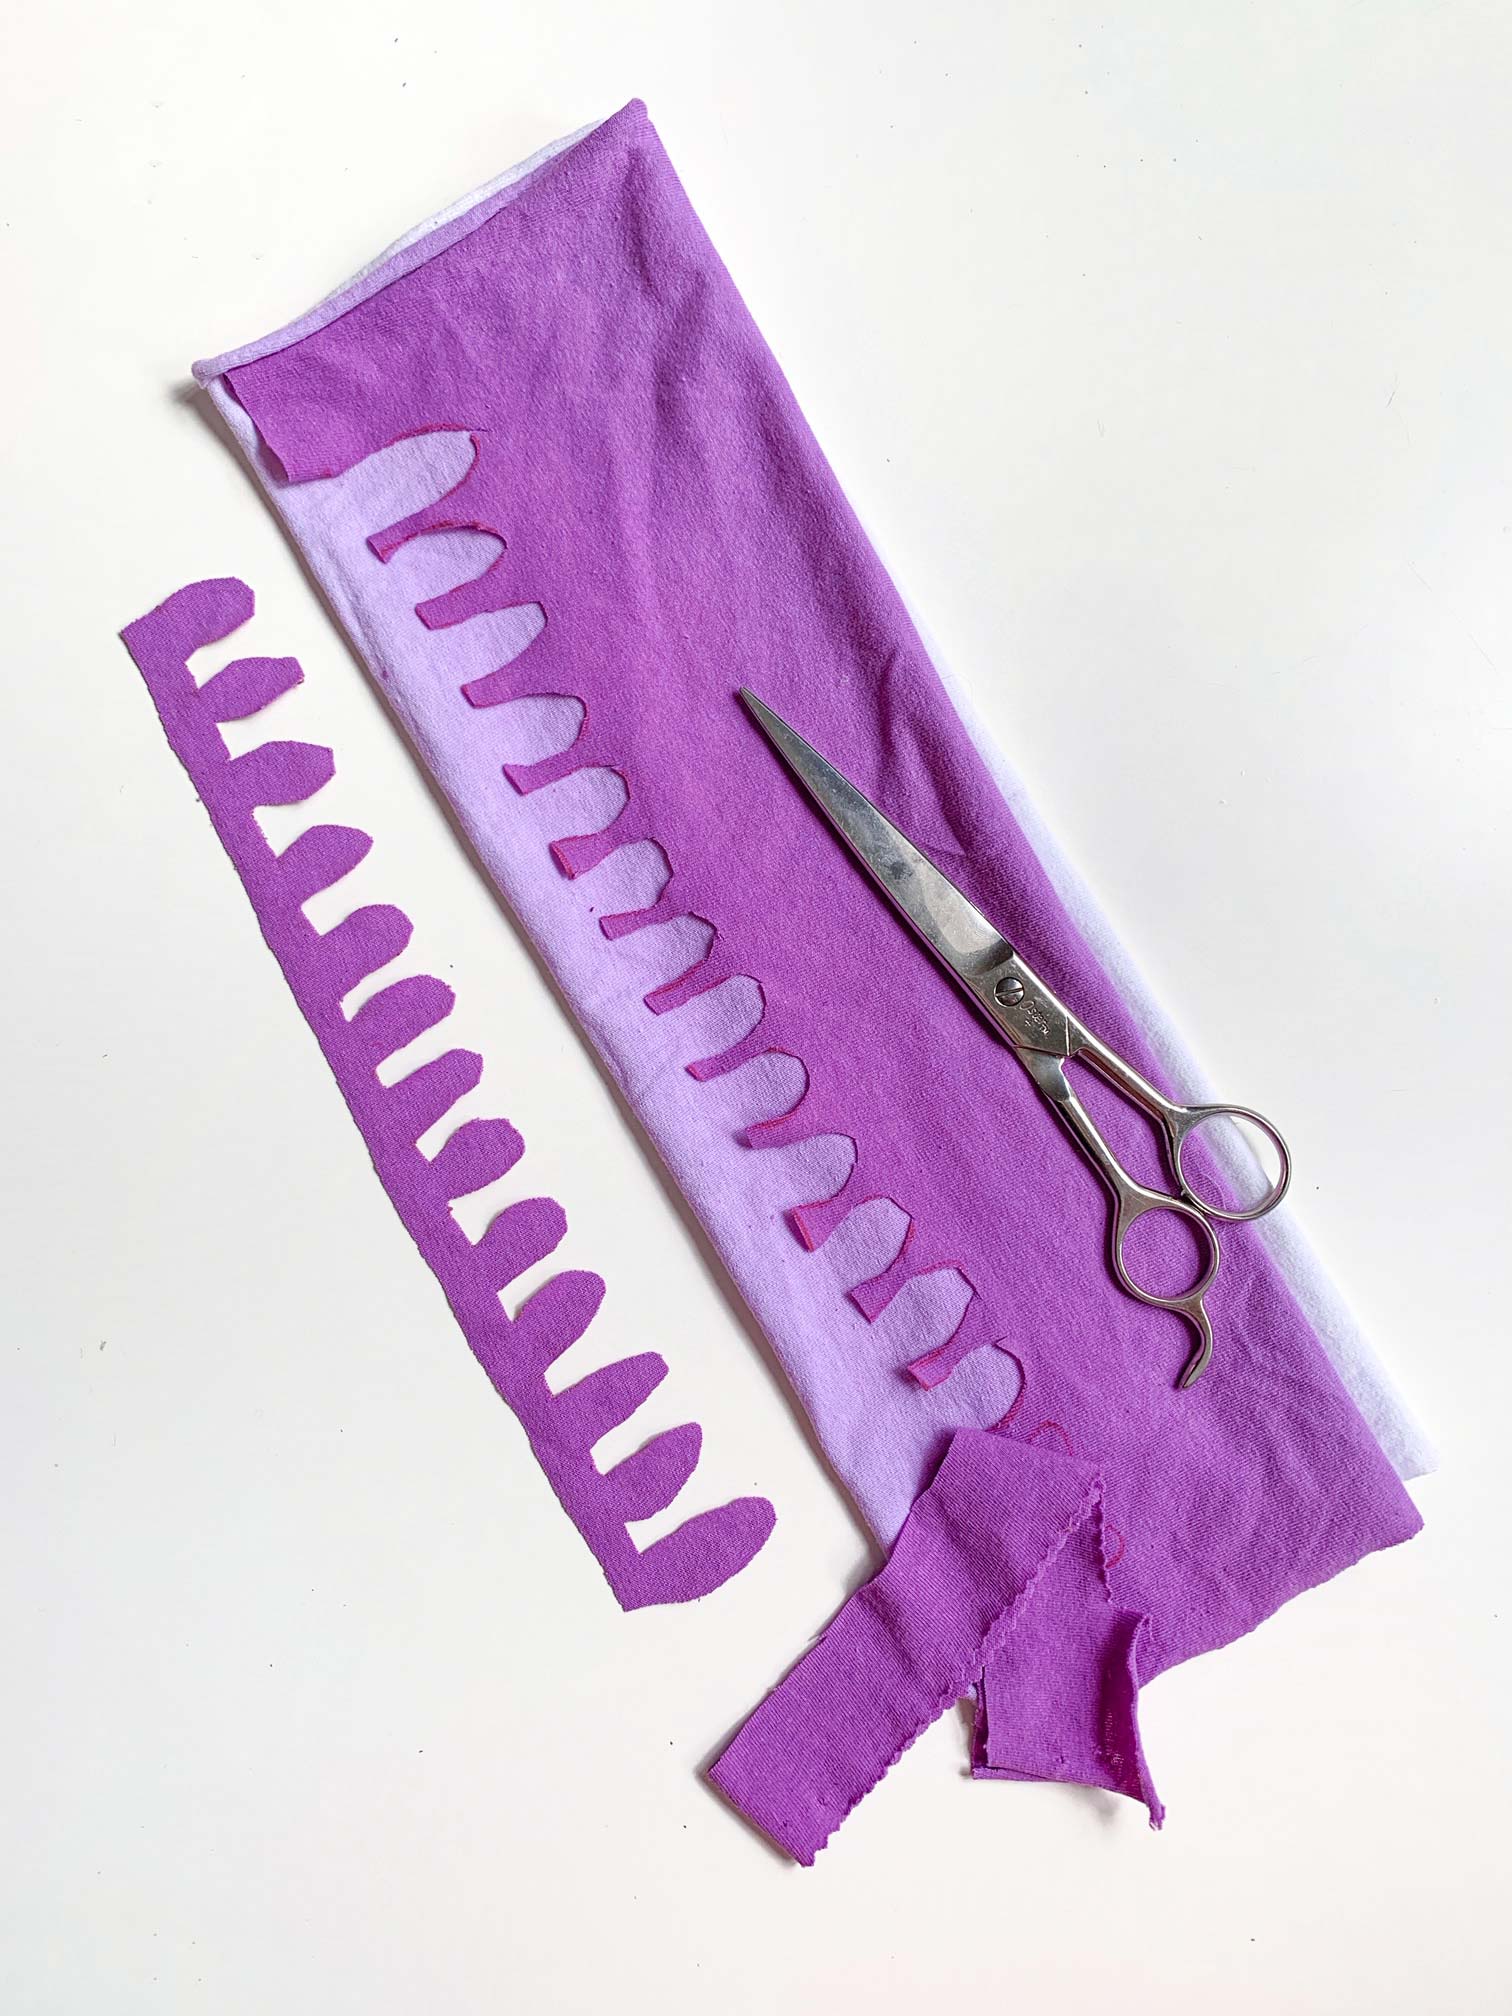
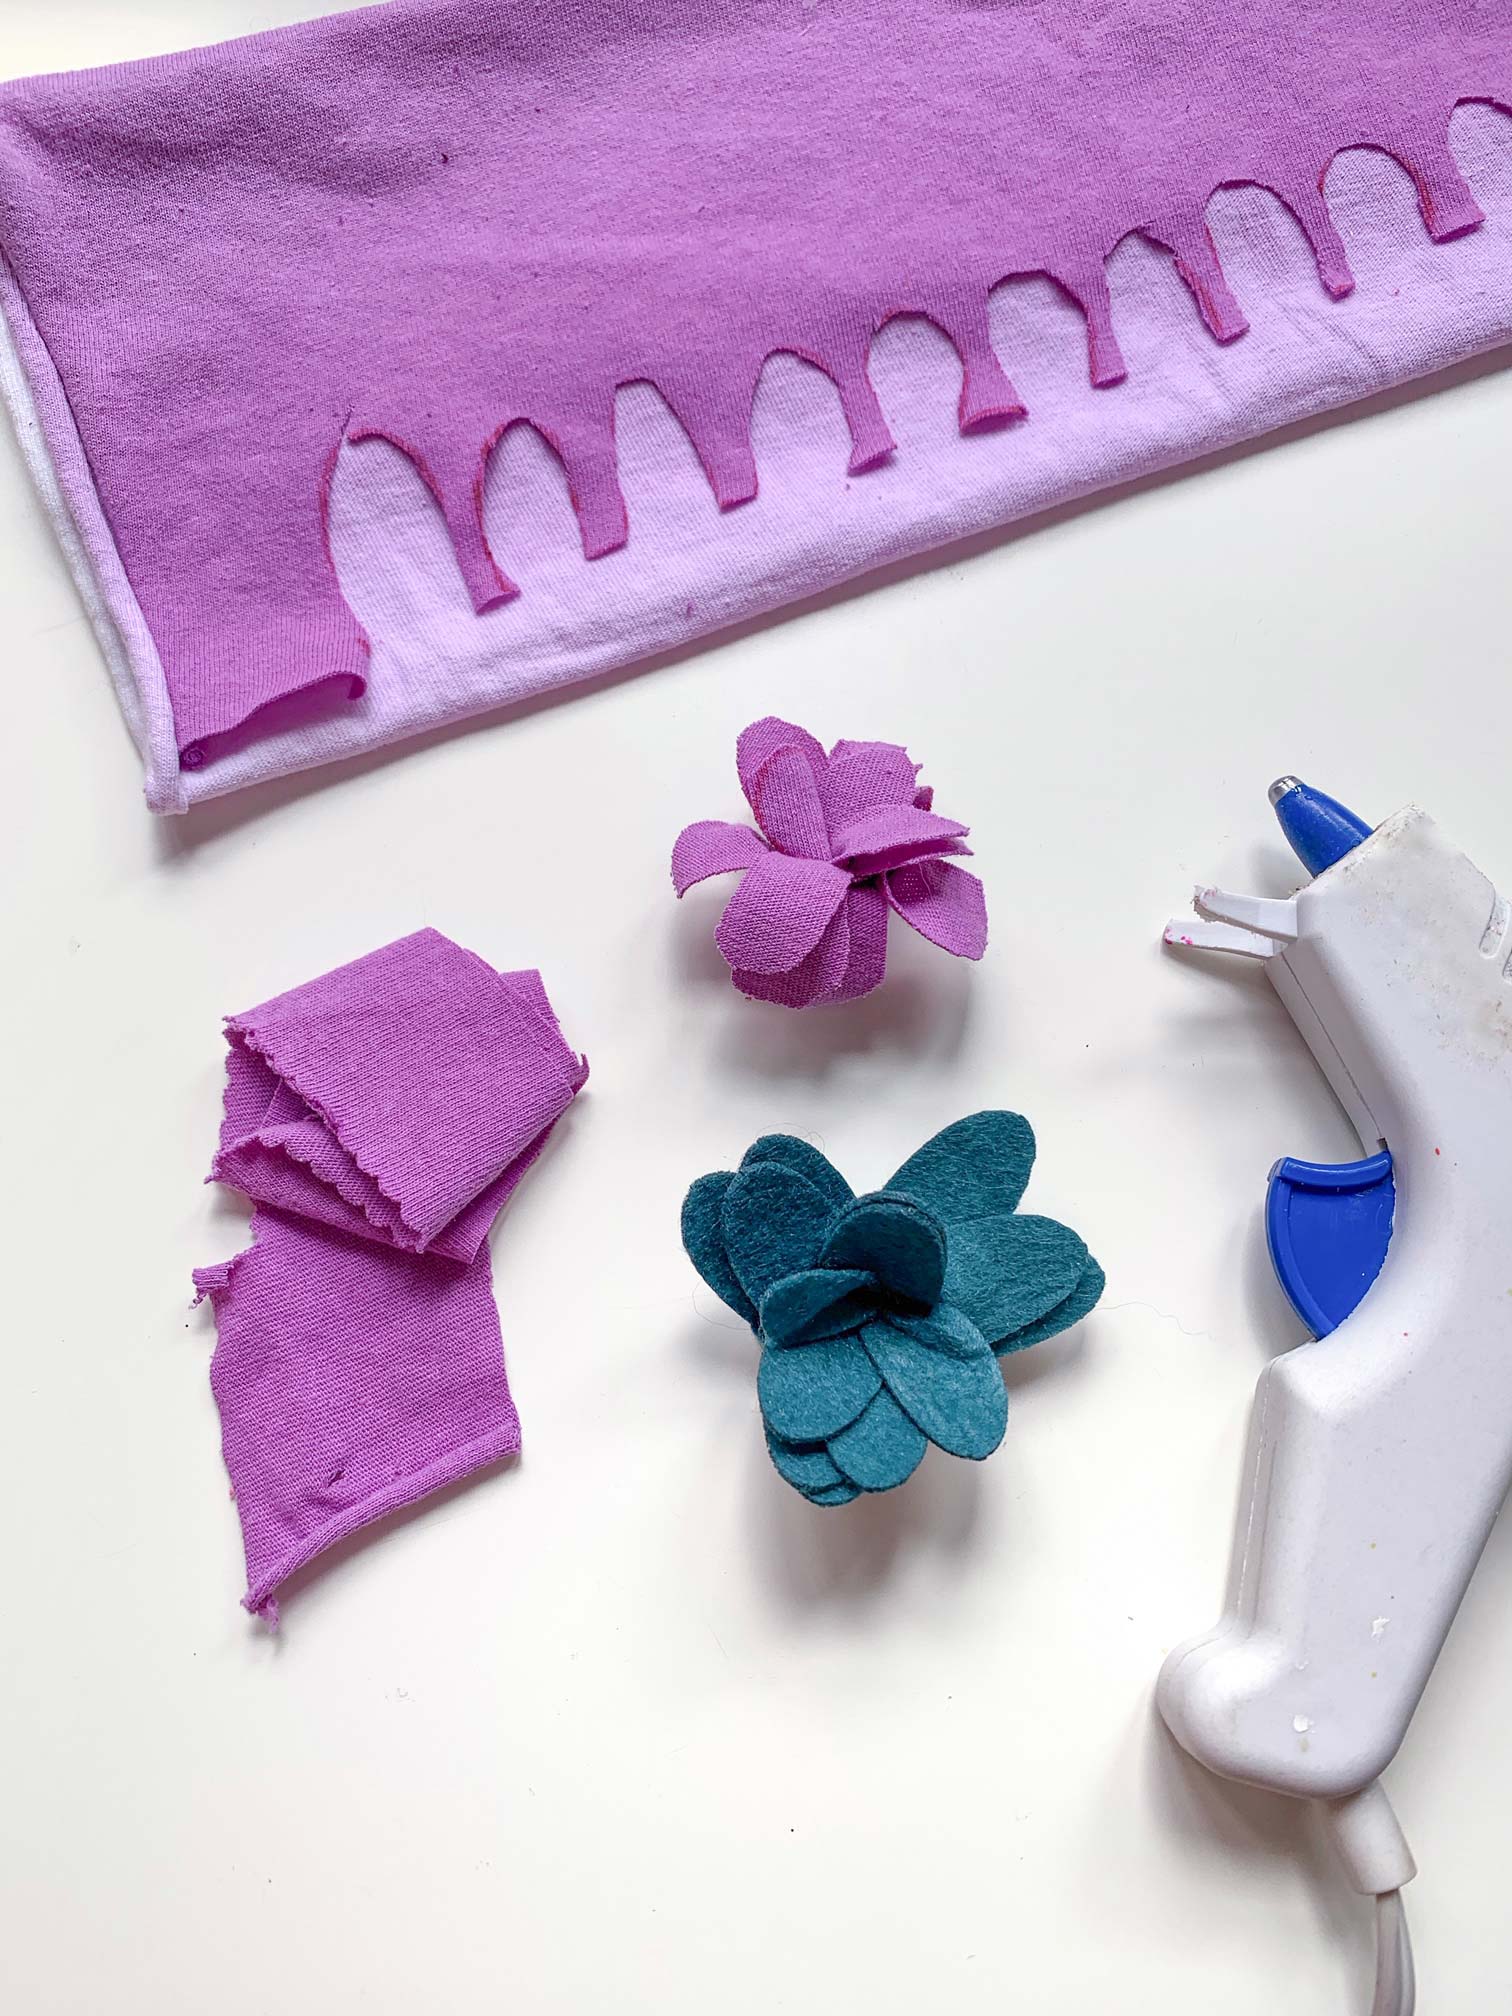
5. High on a hill was a lonely goatherd! Another way to make the flowers is to use your marker to draw a long line of “hills,” and cut them out while leaving a flat line at the bottom. Then simply roll hills from one side to the other to create a beautiful bloom! Carefully add a dot of glue at the end to keep them closed, or tie a scrap or piece of ribbon around them in a knot.
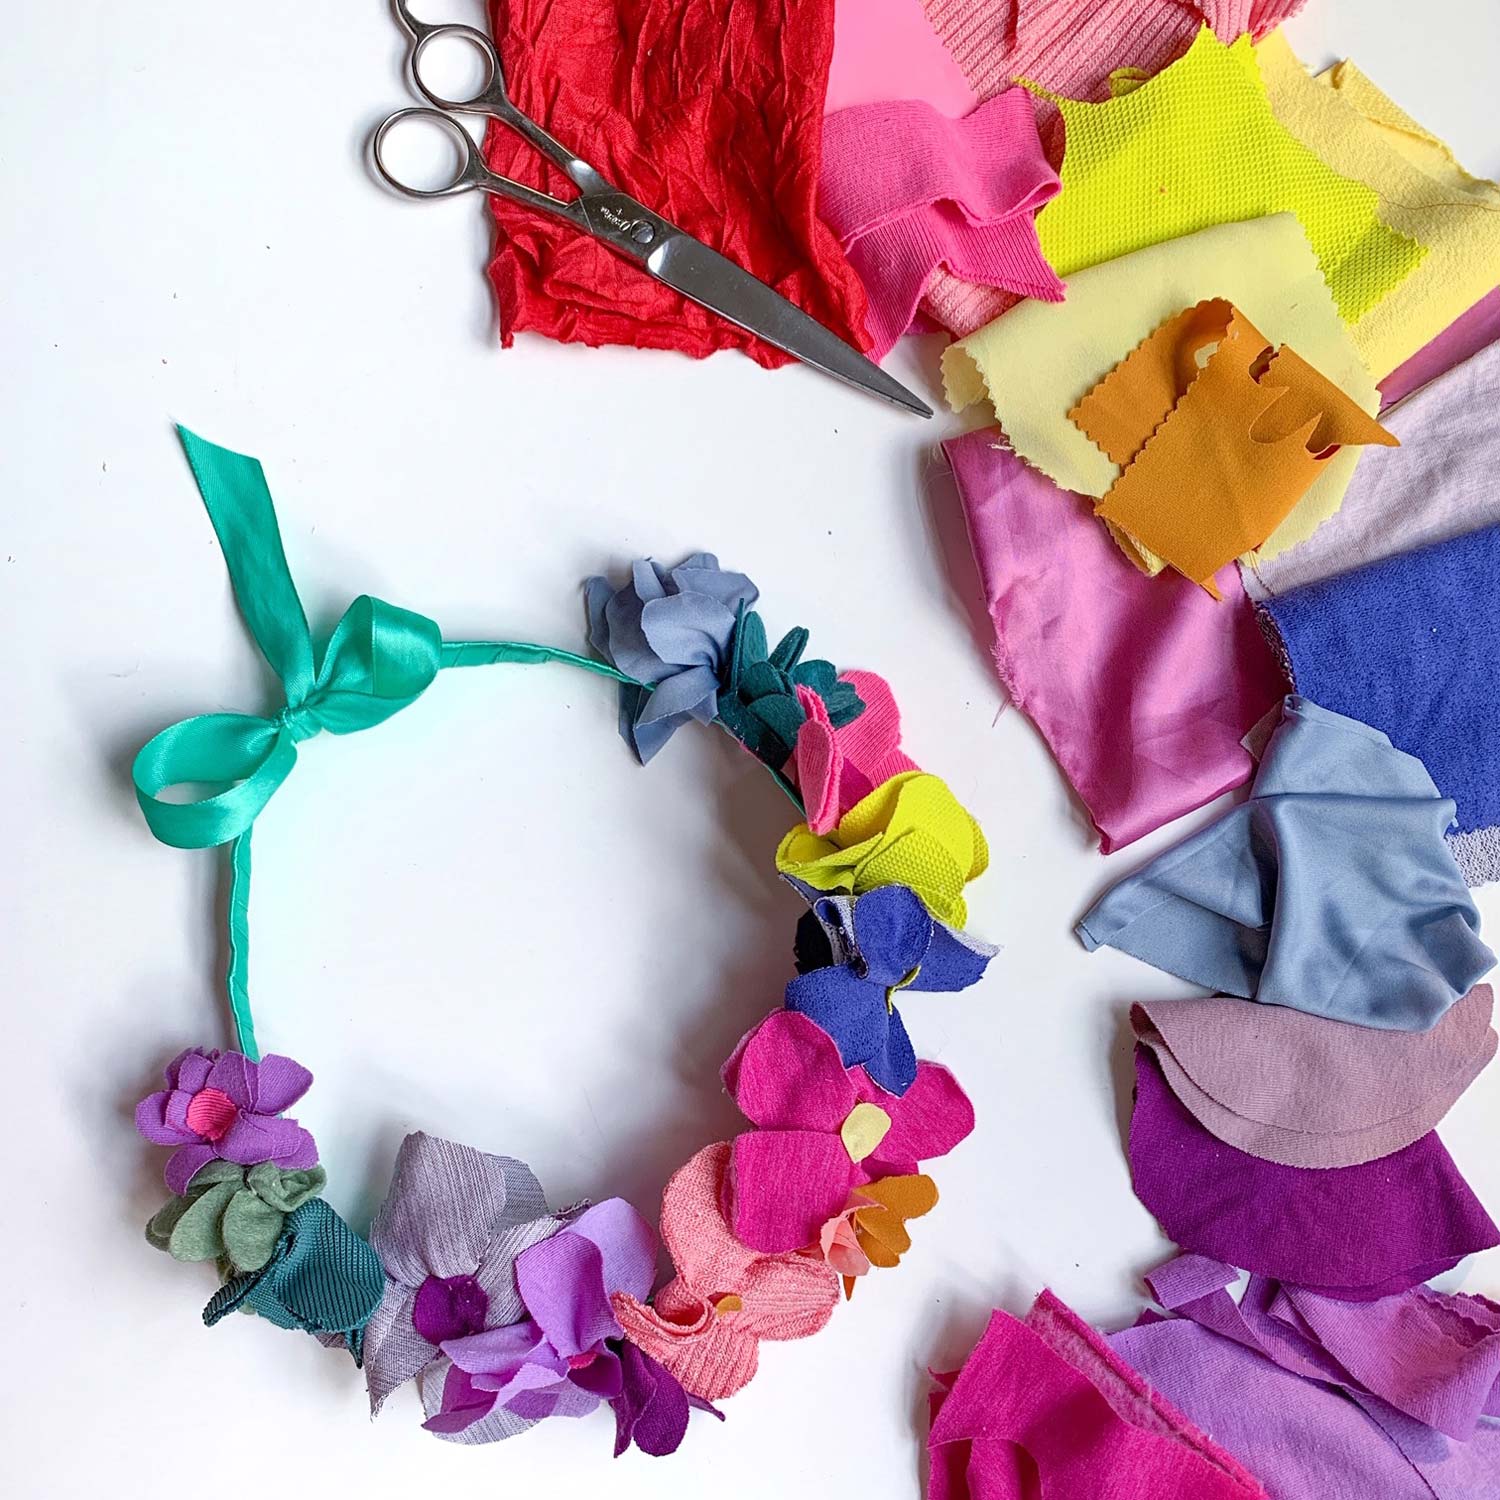
6. Now you have your beautiful assortment of flowers! Remember that no two flowers are alike, and that only makes your crown more beautiful!
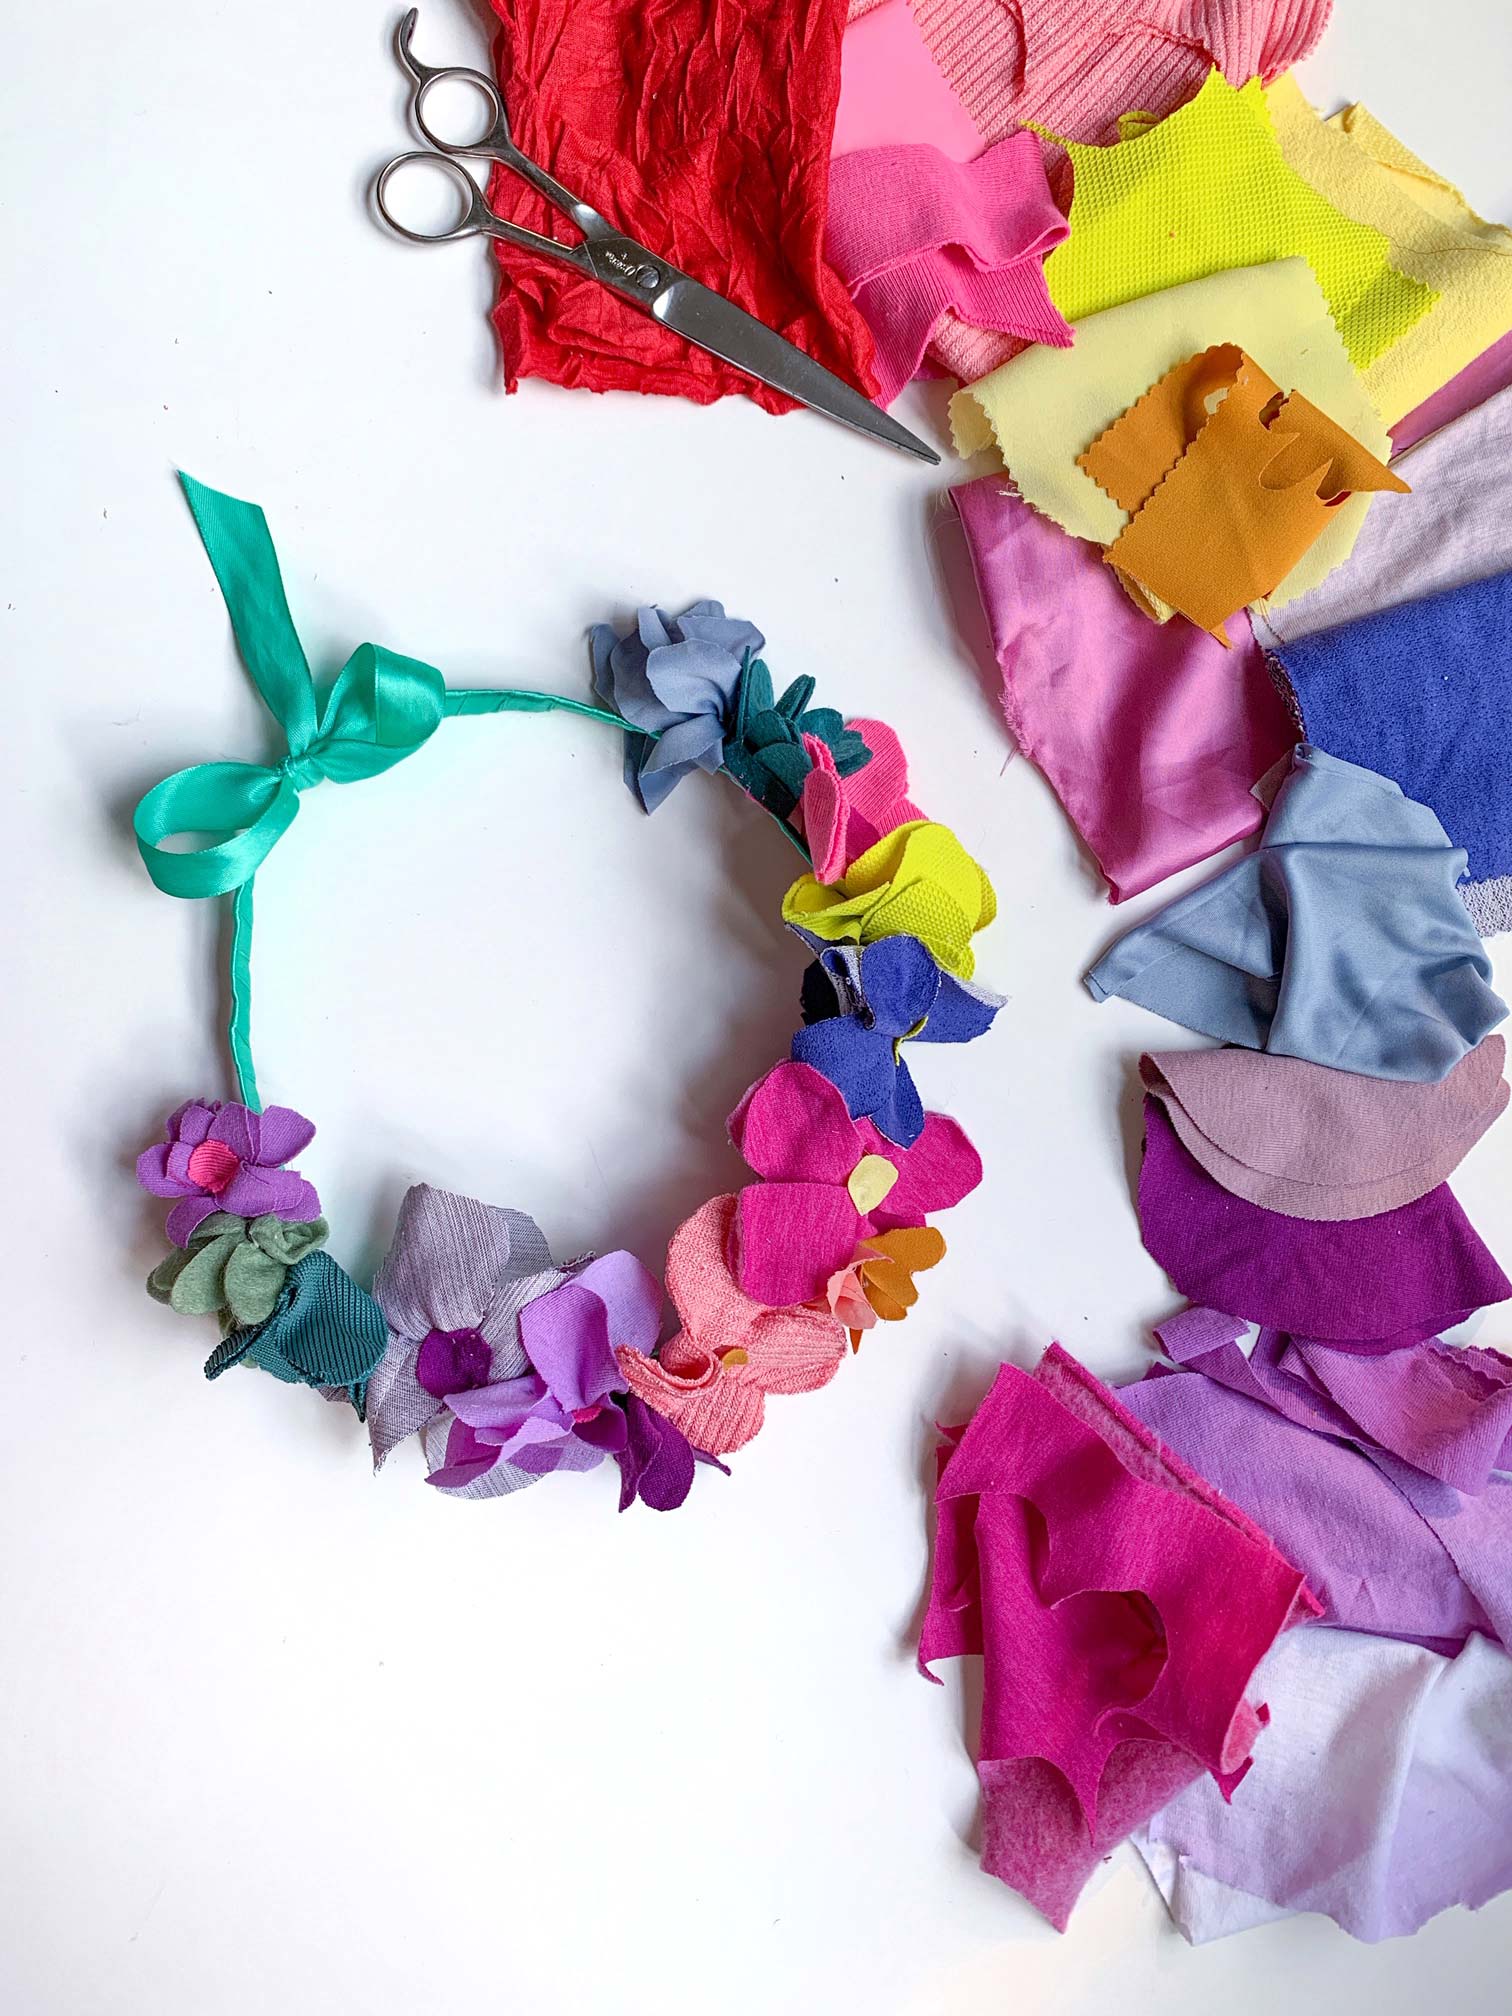
7. Carefully glue your flowers to your crown base, one at a time. Add the bigger flowers first, and then fill in with smaller flowers. Pop your crown on your head – and the hills are alive!